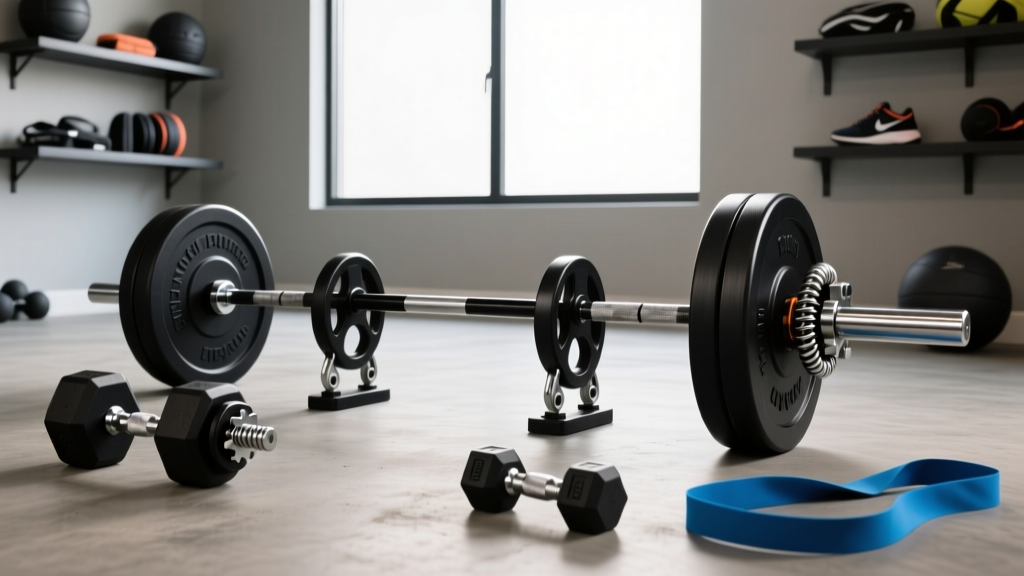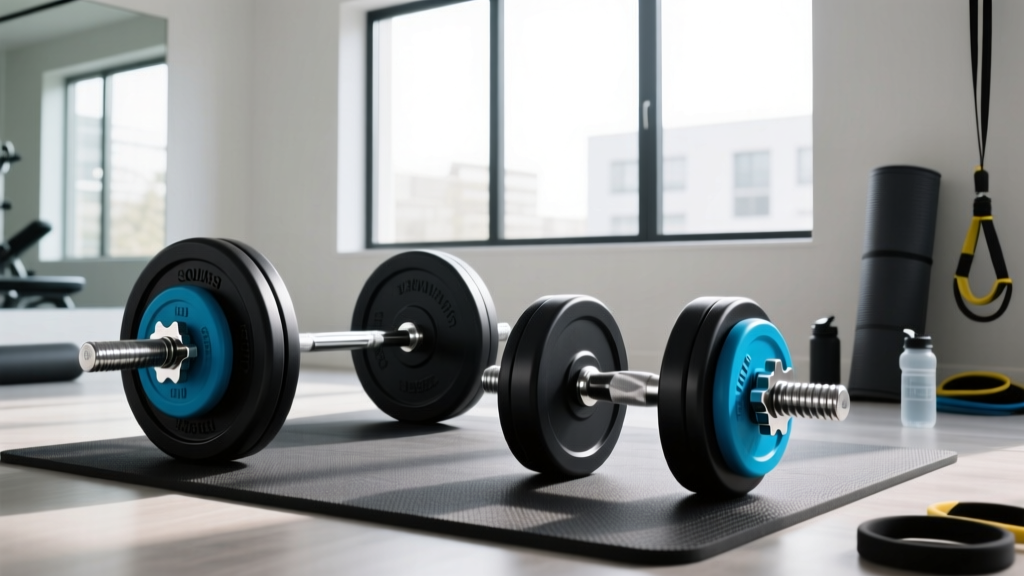
Weighted Dumbbell Squats Setup: Collar & Clamp Comparison
Master your weighted dumbbell squats setup with our complete walkthrough. Compare barbell collars and clamps for loadable handles to ensure max safety.

The Architecture of a Safe Loadable Dumbbell Setup
When transitioning from fixed-weight implements to heavy loadable dumbbell handles for lower body training, the margin for error shrinks dramatically. Performing heavy weighted dumbbell squats requires absolute stability. Unlike a barbell, which rests symmetrically across the traps, dumbbells are held independently in a front-rack, goblet, or suitcase position. This introduces severe multi-planar rotational forces and lateral plate-shifting risks. If your collar or clamp fails during the concentric drive out of the hole, the shifting center of gravity can instantly result in a torn rotator cuff, a severe wrist sprain, or a crushed toe.
In 2026, loadable Olympic dumbbell handles—such as the Rogue Loadable Dumbbell Handles or the Titan Fitness 2-inch Olympic Dumbbell Handles—are staple equipment in serious home and commercial gyms. These handles feature 1.968-inch diameter sleeves, meaning they require standard Olympic barbell collars. However, not all collars are engineered to withstand the unique lateral torque generated during unilateral and independent bilateral squats. This complete setup and installation walkthrough will guide you through sleeve preparation, plate sequencing, and a deep-dive comparison of barbell collar and clamp types to guarantee your safety under heavy loads.
Step-by-Step Loadable Dumbbell Assembly Walkthrough
Proper installation is just as critical as the hardware itself. Follow this exact sequence to eliminate sleeve play and maximize clamping friction.
Step 1: Sleeve Decontamination and Prep
Chalk, sweat, and skin oils create a micro-lubricating layer on zinc, chrome, or black oxide sleeves. This reduces the friction coefficient between the sleeve and the collar's inner jaw. Before loading, scrub the sleeve with a stiff nylon bristle brush and wipe it down with a 70% isopropyl alcohol solution. Allow it to dry completely. A perfectly clean sleeve can increase a clamp's lateral holding force by up to 20%.
Step 2: Plate Sequencing and Flush Alignment
Always load plates in descending order of diameter, but pay special attention to the inner flange. If you are using bumper plates, start with a 10lb or 15lb technique bumper plate. These have a thicker hub that sits perfectly flush against the dumbbell's inner sleeve flange, eliminating the microscopic wobble that occurs when standard machined iron plates are placed directly against the lip. Ensure all plates are pushed completely inward until there is zero daylight between the plates.
Step 3: Collar Seating Technique
Do not jam the collar directly against the outermost plate. Leave exactly a 1-millimeter gap. When you engage the lever or tighten the clamp, the inner lip of the collar needs that tiny fraction of space to bite into the steel sleeve and pull itself flush against the plate. If you start flush, the clamp's mechanism will push the collar slightly outward, creating lateral play.
⚠️ CRITICAL WARNING: Never use 1-inch standard spin-lock collars with Olympic sleeve adapters. The torque required to secure a 100lb+ dumbbell for squats will strip the threads on cheap adapters, leading to catastrophic failure mid-rep.Barbell Collar and Clamp Types: A Deep-Dive Comparison
Choosing the right retention system is a matter of physics. According to extensive equipment testing reviewed by Garage Gym Reviews, collars are measured by their lateral holding force—the amount of sideways pressure they can withstand before slipping. Below is a comprehensive comparison matrix of the primary collar types used on loadable dumbbells.
| Collar Type | Model Example | Lateral Hold Force | Weight (per pair) | 2026 Price Range | Best Use Case |
|---|---|---|---|---|---|
| Spring Collar | Titan Fitness Spring | 15 - 30 lbs | 0.5 lbs | $8 - $15 | Light isolation, rehab |
| Nylon Clamp | Lock-Jaw Pro | 80 - 120 lbs | 1.2 lbs | $25 - $35 | Quick changes, CrossFit |
| Aluminum Lever | Rogue HG 2.0 | 250 - 300+ lbs | 1.36 lbs | $45 - $60 | Heavy squats, drops |
| Competition Lever | Eleiko Olympic Collar | 350+ lbs | 1.5 lbs | $85 - $110 | Max effort, competition |
Spring Collars: The Budget Trap
Spring collars rely on the tension of coiled steel. While they are inexpensive and universally available, they are entirely unsuitable for heavy weighted dumbbell squats. When you rack a heavy dumbbell on your shoulder, the handle tilts at a 30-to-45-degree angle. Gravity immediately pulls the plates against the collar. A standard spring collar will slowly deform under sustained lateral loads exceeding 45 lbs, leading to plate rattle and eventual slippage.
Lock-Jaw and Nylon Clamps: The Quick-Release Standard
Clamp-style collars utilize a cam-lever mechanism that bites into the sleeve. They are excellent for high-volume sessions where you need to strip plates quickly between sets of lunges or split squats. However, the nylon or composite jaws can wear down over time. If you are performing heavy front-rack dumbbell squats where the implements are dropped to the floor (or onto thick mats) at the end of a set, the shockwave can occasionally pop the plastic cam lever open.
Aluminum and Competition Lever Clamps: The Heavy-Duty Solution
For any weighted dumbbell squat variation exceeding 50 lbs per hand, machined aluminum lever clamps (like the Rogue HG 2.0) are non-negotiable. These collars use a steel-reinforced inner band that tightens via a cam-action lever, applying over 250 lbs of clamping pressure evenly around the 360-degree circumference of the sleeve. They will not slip during the violent deceleration of a dropped dumbbell, nor will they yield to the lateral tilt of a heavy front-rack hold.
Biomechanical Failure Modes During Squats
Understanding why collars fail requires analyzing the biomechanics of the squat. During the descent of a heavy dumbbell front squat, your elbows drive forward to create a shelf on your anterior deltoids. The dumbbell handles rest vertically, but the plates are subjected to inertial forces.
The most common failure mode occurs during the transition phase (the bottom of the squat). As you reverse momentum, the plates experience a momentary spike in G-force. If you are using undersized collars, the plates compress the collar's spring or shift the clamp's jaw by a fraction of a millimeter. Over a set of 8 repetitions, this micro-movement compounds. By the 6th rep, the plates may have shifted a quarter-inch outward. This alters the moment arm of the dumbbell, forcing your wrist into extreme ulnar deviation to compensate for the new, unbalanced center of mass. This is a primary mechanism for triangular fibrocartilage complex (TFCC) tears in the wrist.
Expert Maintenance and Sleeve Care Checklist
To ensure your collars perform to their engineered specifications throughout their lifespan, implement the following maintenance protocol:
- Monthly Jaw Inspection: Check the inner gripping surface of your lever clamps. If the rubber or urethane lining is scored, flattened, or missing chunks, the collar must be retired. A metal-on-metal connection will scratch your dumbbell sleeves and provide zero friction.
- Lubricate the Hinge, Not the Sleeve: Apply a single drop of 3-in-One oil to the cam-lever hinge pin of your aluminum clamps to ensure smooth engagement. Never let oil touch the dumbbell sleeve or the inner grip pad.
- Store Off-Sleeve: Never leave clamps tightened on the dumbbell handles when stored on the rack. The constant tension compresses the internal polymer bands, leading to "memory set" and a permanent loss of clamping force over 6 to 12 months.
Final Verdict for Your 2026 Setup
If your training program prioritizes heavy, independent lower-body movements, your budget for loadable dumbbell handles must include a premium pair of aluminum lever clamps. The $50 investment in a set of Rogue HG 2.0 or Eleiko lever collars acts as an insurance policy for your joints. By combining meticulous sleeve preparation, precise plate sequencing, and high-tolerance lever clamps, you transform a pair of steel handles into a world-class, fail-safe implement capable of handling the most brutal weighted dumbbell squats your legs can produce.
More gear to consider
All reviews
Bumper vs Iron Plates: Budgeting for Dumbbell Back Lunges & Squats

Barbell Collars Compared for Your Dumbbell Strength Training Program

How to Add Weight: Dumbbells vs Power Rack vs Squat Rack vs Stand

Olympic vs Standard Plates: Best for Dumbbell Shoulder Front Raises?
Smart Storage for Your 20 Minute Dumbbell Strength Workout