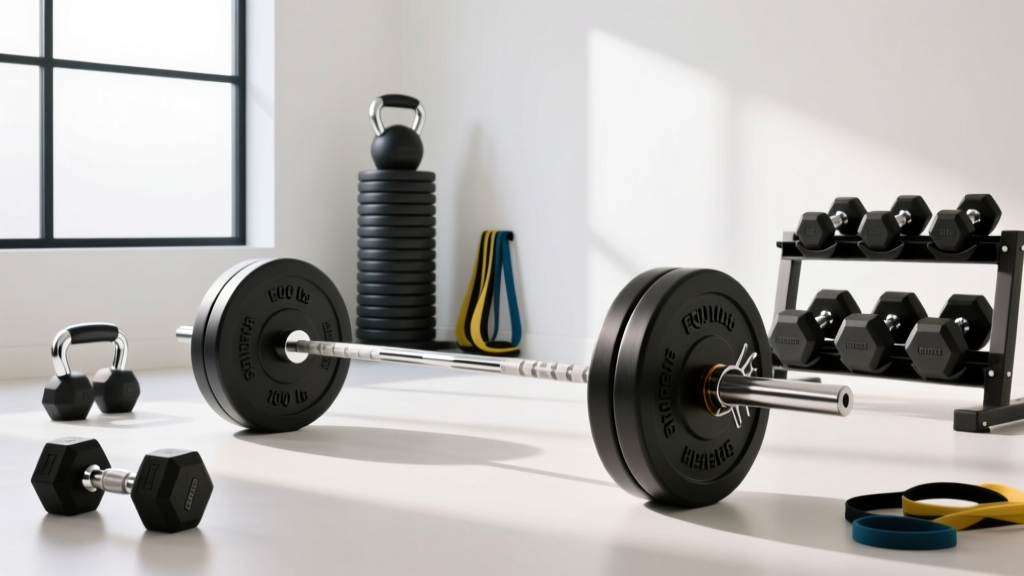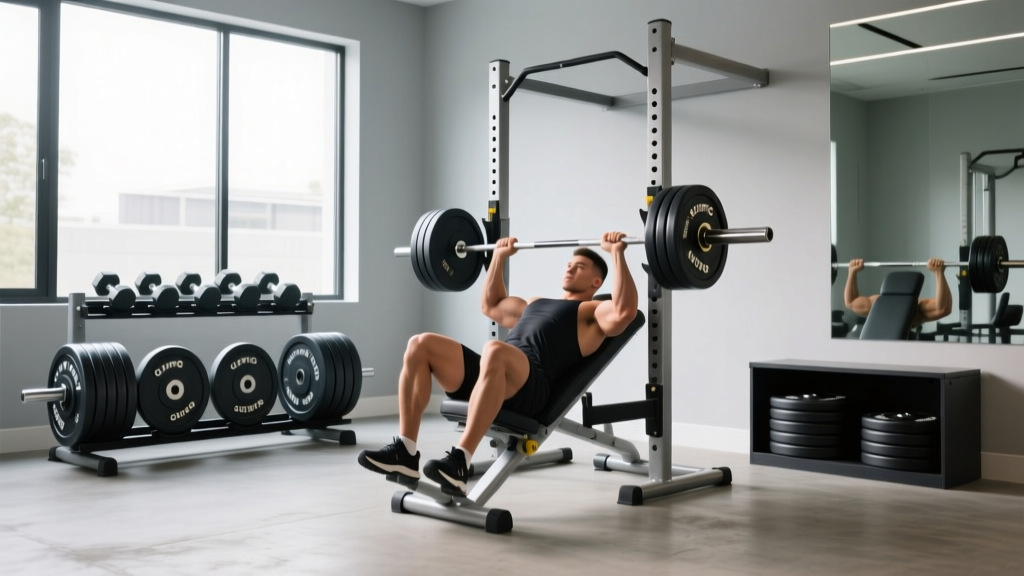
Olympic vs Standard Plates Setup & Incline Dumbbell Curls Angle
Master your home gym setup with our Olympic vs standard plates installation walkthrough, plus tips on optimizing your incline dumbbell curls angle.

The Ultimate 2026 Home Gym Installation Walkthrough
Building a functional, safe, and biomechanically optimized home gym requires more than just buying equipment; it demands precise installation and an understanding of how your gear interacts with human anatomy. Whether you are bolting down a power rack or adjusting a utility bench, the margin for error is slim. In this comprehensive setup guide, we will walk through the foundational debate of weight plate types Olympic vs standard, detailing exactly how to install and store them safely. Then, we will transition to the adjustable bench, providing a step-by-step walkthrough to dial in the perfect incline dumbbell curls angle for maximum hypertrophy.
2026 Market Update: As of early 2026, urethane-coated Olympic plates have stabilized at approximately $2.85 to $3.50 per pound, while standard cement-filled vinyl plates remain a budget option at $1.10 per pound. Factor these costs into your initial footprint planning.Phase 1: Weight Plate Types — Olympic vs Standard
Before you can install your plate storage, you must commit to a sleeve diameter ecosystem. The choice between Olympic and standard plates dictates your barbell purchases, rack attachments, and floor loading capacity.
Dimensional and Material Breakdown
Olympic Plates feature a 50mm (2-inch) center hole. They are typically manufactured from cast iron, calibrated steel, or urethane-coated steel. According to equipment standards outlined by Rogue Fitness, true Olympic plates are designed to withstand high-impact drops, featuring a dead-blow urethane shell that minimizes bounce and protects your flooring.
Standard Plates feature a 25.4mm (1-inch) center hole. Often encased in vinyl and filled with cement or sand, these are strictly for light-duty, budget home gyms. They lack the structural integrity for heavy deadlifts and will warp if dropped.
| Feature | Olympic Plates (50mm) | Standard Plates (25.4mm) |
|---|---|---|
| Center Hole | 50mm (2 inches) | 25.4mm (1 inch) |
| Core Material | Cast Iron / Calibrated Steel | Cement / Sand / Low-grade Iron |
| Drop Tolerance | High (with bumpers/urethane) | None (will crack/shatter) |
| 2026 Avg Cost | $2.85 - $4.00 / lb | $1.00 - $1.50 / lb |
Phase 2: Plate Storage and Rack Installation
Improperly stored plates are a leading cause of home gym injuries and equipment damage. If you are using Olympic plates, you must install a dedicated plate tree or utilize horn attachments on your power rack.
Step-by-Step Plate Tree Assembly
- Base Alignment: Position the plate tree base on a level surface. If your gym uses 3/4-inch rubber horse stall mats, ensure the tree's feet are resting on a solid subfloor or use shim washers to prevent wobbling under asymmetric loads.
- Vertical Post Insertion: Slide the main vertical post into the base receiver. Insert the provided M12 carriage bolts.
- Torque Specifications: Using a calibrated torque wrench, tighten all structural bolts to 45 Nm (Newton-meters). Over-tightening can strip the threads on budget imported trees, while under-tightening leads to catastrophic tipping when loading 45lb plates on one side.
- Peg Installation: Screw in the loading pegs. Always load the heaviest plates (45lb/20kg) on the bottom pegs to maintain a low center of gravity.
Phase 3: Adjustable Bench Setup for Isolation
With your heavy rack and plate storage secured, we move to the adjustable Flat/Incline/Decline (FID) bench. For isolation movements, the structural integrity of the bench's ladder mechanism and pop-pins is paramount. Ensure your bench's rear support leg is locked into the desired incline notch, and verify that the pop-pin is fully seated through both sides of the steel tubing. A partially engaged pin will shear under a 100lb dumbbell load.
Phase 4: Dialing in the Incline Dumbbell Curls Angle
The incline dumbbell curls angle is one of the most misunderstood variables in arm hypertrophy. According to kinesiology data from ExRx, the biceps brachii is a bi-articular muscle, meaning it crosses both the elbow and the shoulder joint. To maximally stretch the long head of the biceps, the shoulder must be placed in hyperextension.
Optimal Angle Parameters
- 30 to 45 Degrees: This is the gold standard for targeting the long head. At this angle, gravity pulls the dumbbell directly down, placing maximum mechanical tension on the stretched bicep tendon at the bottom of the movement.
- 60 Degrees or Higher: As the bench approaches a more upright position, the shoulder moves out of hyperextension. The stretch on the long head diminishes, and the load shifts toward the short head and the underlying brachialis.
Execution Walkthrough
Set your FID bench to the second or third notch (approximately 35 degrees). Sit back, allowing your shoulders to rest flush against the pad. Let your arms hang completely dead, allowing the dumbbells to pull your shoulders into a deep stretch. Keep your elbows pinned behind your torso. As you curl, supinate your wrists outward, driving the pinky finger toward your shoulder. Do not swing your elbows forward; if your elbows drift past the midline of your torso, the angle is effectively negated.
"Stretch-mediated hypertrophy is highly dependent on joint positioning. If the incline dumbbell curls angle is too steep, you lose the mechanical advantage of the shoulder's extended position, reducing the micro-trauma necessary for muscle growth." — Principles of Biomechanics, NSCA
Troubleshooting and Edge Cases
Issue: Shoulder impingement at the bottom of the incline curl.
Solution: Your bench angle is too low (below 30 degrees), or your dumbbells are too heavy, forcing the humeral head forward in the glenoid cavity. Raise the bench to 45 degrees and reduce the weight by 15%.
Issue: Standard plates rattling on the barbell sleeve during setup.
Solution: Standard 1-inch sleeves lack the tight tolerances of Olympic bars. Always use spring collars tightened against the plate, and wrap a thin layer of athletic tape around the sleeve end to reduce the gap between the 25.4mm hole and the 24mm sleeve.
Final Inspection Checklist
Before your first working set, run through this final installation verification:
- Verify all plate tree bolts are torqued to 45 Nm.
- Ensure Olympic collars (like lockjaw or traditional spring clips) are fully seated against the inner sleeve collar.
- Confirm the FID bench pop-pins are fully engaged and the secondary safety latch (if equipped) is locked.
- Test the incline dumbbell curls angle with a lightweight warm-up set to ensure your shoulder mobility accommodates the 35-degree hyperextension without pain.
By respecting the engineering limits of your weight plates and the biomechanical realities of joint angles, your 2026 home gym setup will be both structurally sound and optimized for elite-level hypertrophy.
More gear to consider
All reviews
Dumbbell vs Barbell RDL: Rubber Hex vs Urethane Value

Ethos Dumbbells Review: Rubber Hex vs Urethane Tested
Setup: Dumbbell Bench Press for Beginners & Olympic vs Standard Plates
Barbell Collar Types Compared: From Squats to One Leg Dumbbell Squat
Best Adjustable Dumbbells for a 20 Pound Dumbbell Workout (2026)