
Olympic vs Standard Plates: Rack Setup & 35lb Dumbbells Guide
Master your home gym installation. We compare Olympic vs standard plates, walk through rack setup, and integrate 35lb dumbbells for a complete system.

The Foundation of Your Home Gym: Why Plate Standards Dictate Your Setup
Building a functional, safe, and progressive home gym in 2026 requires more than just purchasing gear; it demands a strategic understanding of equipment compatibility. The most critical fork in the road for any home gym owner is choosing between Olympic and standard weight plates. This decision doesn't just affect your barbell—it dictates the type of power rack you can install, the storage solutions you need, and how you integrate fixed free weights into your ecosystem.
In this complete setup and installation walkthrough, we will break down the biomechanical and structural differences between plate types, guide you through the physical installation of a power rack, and demonstrate how to properly store and utilize essential fixed weights, specifically focusing on the often-overlooked necessity of 35lb dumbbells for a balanced hypertrophy program.
Phase 1: The Core Divergence — Olympic vs. Standard Plates
The term 'standard' is a legacy misnomer in the modern fitness industry. In commercial and competitive environments, the Olympic standard is the undisputed global benchmark. Understanding the physical differences is crucial before you bolt down your rack.
| Feature | Olympic Plates (IWF Spec) | Standard Plates (Legacy Home Gear) |
|---|---|---|
| Hole Diameter | 50.4mm (approx. 2 inches) | 25.4mm (1 inch) |
| Barbell Sleeve Compatibility | Rotating sleeves (bushings/bearings) | Fixed, non-rotating steel sleeves |
| Max Load Capacity | 1,000+ lbs (commercial grade) | 200-300 lbs (sleeve bending risk) |
| Plate Profile & Drop Rating | Calibrated width; high drop tolerance | Thick, uneven; low drop tolerance |
| Avg. Cost Per Pound (2026) | $1.50 - $3.50 / lb | $0.80 - $1.20 / lb |
According to equipment guides from Eleiko, the rotating sleeve of an Olympic barbell is non-negotiable for dynamic movements. When you perform a power clean, the bar spins independently of the plates, reducing rotational torque on your wrists. Standard 1-inch bars lack this mechanism, making Olympic plates the only viable choice for serious lifters.
Expert Insight: Never mix Olympic and standard equipment on the same storage tree without specialized adapters. The 50.4mm hole of an Olympic plate will slide right off a 1-inch standard peg, creating a severe crushing hazard in your home gym.Phase 2: Power Rack Installation Walkthrough
Once you have committed to the Olympic ecosystem, your next step is installing the power rack. For this walkthrough, we assume a standard 4-upright power rack (such as the Rep Fitness PR-4000 or Rogue R-3) designed to hold Olympic plate storage horns.
Step 1: Floor Preparation and Anchoring
Olympic plates are dense and heavy. A fully loaded rack with storage horns can easily exceed 800 lbs. If your gym is on a concrete slab, you must use 1/2-inch by 3-3/4-inch wedge anchors. Drill a 1/2-inch hole through the rack base plate and into the concrete to a depth of at least 4 inches. Clean the concrete dust out of the hole with a wire brush and vacuum before inserting the anchor. Torque the nuts to 80 ft-lbs using a star pattern to ensure even pressure distribution.
If you are installing over a wood subfloor or in a garage with an epoxy coating, use a 3/4-inch OSB or plywood sub-base cut to the exact footprint of the rack to distribute the point-load of the uprights.
Step 2: Assembling Uprights and Crossmembers
Always assemble the rack upside down or on its side to allow gravity to assist in aligning the crossmembers. Finger-tighten all hardware first. Once the frame is square (measure diagonally from corner to corner; the measurements must be identical), tighten all bolts using an impact driver or torque wrench.
Step 3: Installing Olympic Storage Horns
Mount the weight storage horns on the rear uprights. Crucial Safety Rule: Always load the heaviest Olympic plates (45lb and 35lb bumpers) on the lowest horns. This lowers the rack's center of gravity, preventing forward tipping when you are unracking a heavy barbell from the front J-cups.
Phase 3: Integrating Fixed Weights — The 35lb Dumbbell Benchmark
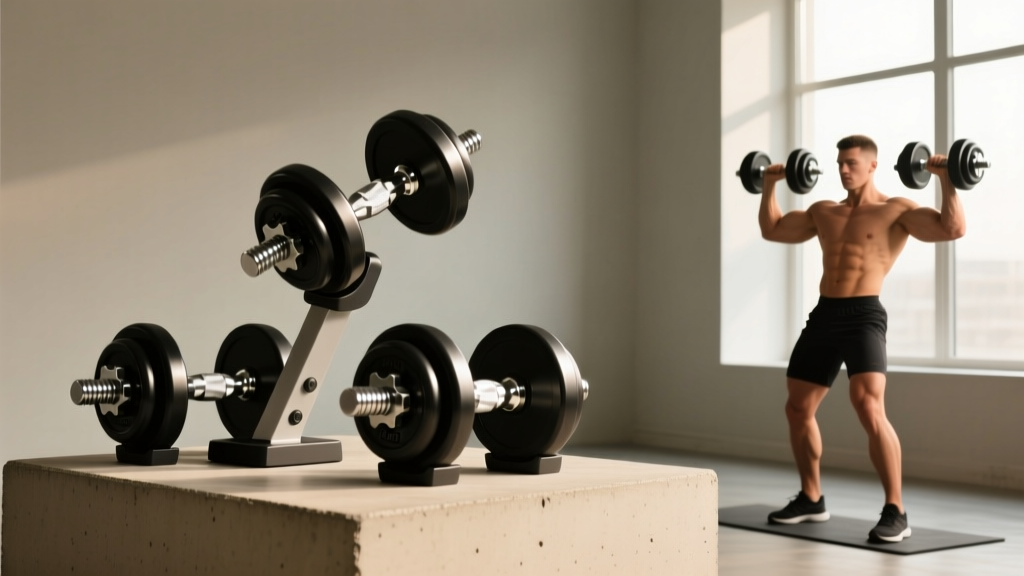
A complete free weight setup isn't just about barbell plates; it requires a strategic dumbbell matrix. While many home gym owners purchase 25lb and 40lb pairs, they skip the middle ground. This is a critical error. Integrating 35lb dumbbells into your setup is essential for progressive overload on unilateral and isolation movements.
Why 35lb Dumbbells are the 'Missing Link'
The jump from 25 lbs to 40 lbs represents a massive 60% increase in load. For exercises like unilateral dumbbell rows, goblet squats, or floor presses, this jump is often too steep, leading to form breakdown or stalled progress. High-quality 35lb dumbbells (like Rogue's Rubber Hex or Rep Fitness Urethane models) bridge this gap perfectly. According to strength training principles outlined by the NSCA, micro-loading and incremental weight jumps are vital for continuous neuromuscular adaptation without overloading connective tissue.
Storage Solutions: Weight Trees vs. Tiered Racks
When designing your gym's floor plan, you must allocate space for both your Olympic plates and your fixed dumbbells.
- Rack-Mounted Storage: Best for Olympic plates. Keeps the footprint compact but requires strict load balancing.
- Freestanding Weight Trees: Ideal for mixing lighter Olympic plates (10lb, 15lb, 25lb) with fixed dumbbells. Ensure the tree has a wide, angled base to prevent tipping when loading 35lb dumbbells on the upper tiers.
- 3-Tier Dumbbell Racks: The gold standard for fixed weights. A 35lb dumbbell typically features a hex-head width of about 6.5 inches and a handle length of 5 inches. Ensure your tiered rack has at least 10 inches of vertical clearance between shelves to allow for easy gripping without knuckle scraping.
Phase 4: Loading Protocols and Sleeve Maintenance
How you load your Olympic barbell directly impacts the lifespan of your equipment. As detailed in equipment maintenance guides by Rogue Fitness, the order in which you stack plates matters immensely, especially when using a mix of rubber bumpers and cast-iron plates.
- Collar First: Always slide on your inner collar or spring clip before adding plates to protect the inner sleeve bearing from dust and chalk.
- Bumpers Closest to the Collar: Load full-diameter Olympic bumper plates (45lb, 35lb, 25lb) first. These plates are designed to absorb the impact of drops and protect the barbell sleeve.
- Iron Plates on the Outside: If you need to add fractional iron plates (e.g., 5lb or 2.5lb standard-width iron plates with 50mm inserts), place them on the outside of the bumpers. Never drop a barbell loaded with iron plates on the outside, as the smaller diameter will cause the iron to crack or chip your flooring.
- Secure the Collar: Use heavy-duty Olympic spring collars or clamp collars. A loose 45lb plate shifting outward during a bench press can alter the bar's center of mass and cause a severe wrist injury.
Finalizing Your Gym Layout
By choosing the Olympic standard, properly anchoring your power rack, and strategically integrating fixed weights like 35lb dumbbells, you create a commercial-grade training environment in your own home. Remember that a successful installation is measured not just by the tightness of your bolts, but by the logical flow of your weight storage, ensuring every piece of equipment is accessible, safe, and ready for your next progressive overload session.
More gear to consider
All reviews
Dumbbell Exercises for Chest and Shoulders: Neoprene Mistakes

Olympic Barbell Guide: Weight, Knurling & Dumbbell Stickers
Train Your Core with Dumbbells: Adjustable Reviews & Form Mistakes

Barbell Shrugs vs Dumbbell Shrugs: EZ Curl Bar vs Straight Bar Value

What Do Dumbbell Front Raises Work? Smart Rack Storage Layouts
