
Olympic vs Standard Plates: Setup & Dumbbell Slicey Guide
Master your home gym setup with our Olympic vs standard weight plates guide. Includes rack installation, storage tips, and Dumbbell Slicey integration.

The Foundation of Your Free Weight Zone: Olympic vs Standard
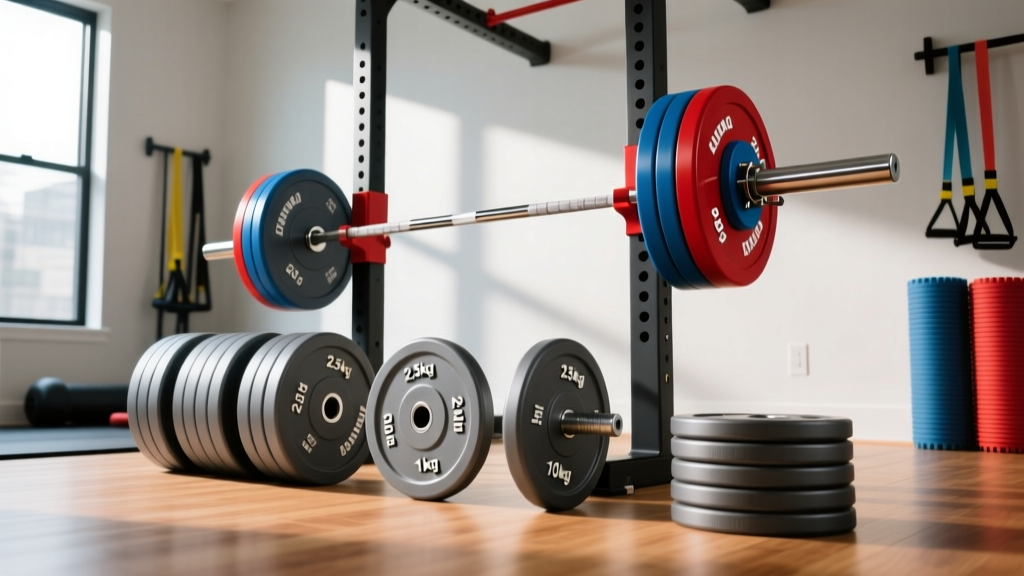
Building a functional, safe, and efficient home gym in 2026 requires more than just ordering iron and waiting for the freight truck to arrive. The most critical decision you will make before drilling a single hole into your wall is choosing your weight plate ecosystem: Olympic (50mm) or Standard (25mm). This choice dictates your barbell compatibility, rack attachments, storage footprint, and long-term upgrade path.
While standard plates were once the default for budget-friendly basement gyms, the modern home gym landscape has shifted heavily toward Olympic specifications due to superior weight tolerance and equipment versatility. However, standard plates still hold a niche for specific light-duty setups and vintage equipment restoration. Below is your complete setup and installation walkthrough, including modern space-saving integrations like the Dumbbell Slicey system.
Phase 1: The Ecosystem Matrix
Before unboxing your gear, review the structural and financial differences between the two primary plate types. Understanding these metrics prevents the costly mistake of buying mismatched sleeves and collars.
| Feature | Olympic Plates (50mm) | Standard Plates (25mm) |
|---|---|---|
| Center Hole Diameter | 50mm (approx. 2 inches) | 25mm (approx. 1 inch) |
| Barbell Sleeve Compatibility | Olympic Barbells & Loadable Handles | Standard/Studio Barbells |
| Max Weight Capacity (Bar) | 500 - 1,500+ lbs | 200 - 300 lbs (bending risk) |
| Avg Cost Per Pound (2026) | $1.50 - $3.00 / lb | $1.00 - $1.50 / lb |
| Resale Value & Liquidity | High (Universal demand) | Low (Niche market) |
| Rack Storage Compatibility | Standard 2" Pegs (Band, Plate Trees) | 1" Pegs (Rare on modern power racks) |
Phase 2: Procurement and Material Selection
Once you commit to an ecosystem (we strongly recommend Olympic for 95% of lifters), you must choose your plate material. According to comprehensive testing by Garage Gym Reviews, the material you choose impacts your gym's air quality and noise levels.
- Cast Iron: The gold standard for durability and thin profile. Expect to pay $1.50 to $2.00 per pound. Best for lifters who need to fit multiple 45lb plates on a sleeve.
- Virgin Rubber: Coated iron that protects floors and reduces noise. However, cheap rubber off-gasses a potent 'tire' smell that can take months to dissipate in a closed garage.
- Urethane: The premium 2026 choice. Urethane (like the Rogue Urethane Plates) is odorless, highly resistant to UV degradation, and virtually indestructible. Budget $2.50 to $3.50 per pound.
Phase 3: Storage and Rack Installation Walkthrough
Proper installation of your plate storage is critical. A fully loaded plate tree can easily exceed 800 lbs, turning it into a massive lever that can rip drywall and studs apart if mounted incorrectly.
Step-by-Step Wall-Mounted Plate Tree Installation
- Locate Structural Studs: Use a magnetic or capacitive stud finder to locate 16-inch on-center wood studs or metal studs. Do not rely on drywall anchors for any weight-bearing fitness equipment.
- Mark and Pre-Drill: Mark your mounting holes. Use a 7/32-inch drill bit to pre-drill through the drywall and 2 inches into the center of the wood stud. This prevents the stud from splitting when driving heavy lag bolts.
- Secure the Backplate: Drive 3/8-inch x 3-inch structural lag screws through the tree's backplate into the studs. Use a socket wrench to torque them to approximately 40 ft-lbs.
- Attach the Horns: Slide the 2-inch storage horns into the backplate receivers and secure them with the provided locking pins or set screws.
- Load Testing: Load the tree symmetrically. Place 45lb plates on the bottom horns and 25lb/10lb plates on the top to maintain a low center of gravity.
Integrating with a Power Rack
If you are using a power rack (e.g., Titan T-3 or Rep PR-4000), utilize the integrated 2-inch laser-cut holes on the uprights. Always install plate storage horns on the rear or side uprights, never the front, to avoid interfering with barbell racking and spotter arm deployment.
Phase 4: Loadable Handles & The Dumbbell Slicey Integration
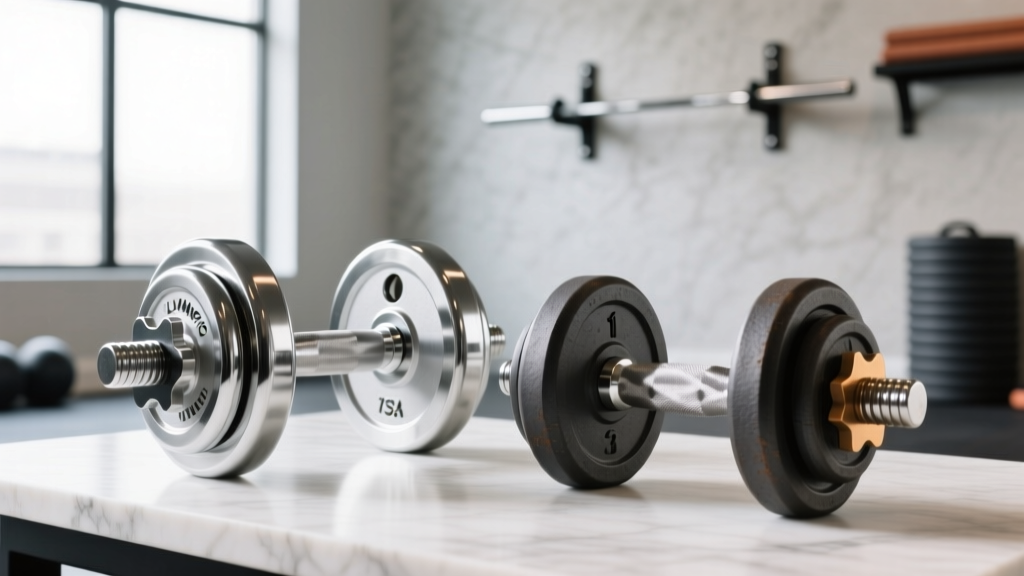
One of the most significant space-saving trends in 2026 is the shift away from fixed-weight dumbbell racks toward loadable Olympic dumbbell handles. While highly efficient, loadable handles present a unique setup challenge: sleeve length and grip spacing.
This is where the Dumbbell Slicey modular accessory kit becomes an essential part of your installation. Originally designed as a specialized grip-thickener for strongman training, the Dumbbell Slicey system has evolved to include precision-machined spacer rings and inner collars.
How to Configure the Dumbbell Slicey System
- Micro-Spacing: When loading smaller fractional plates (e.g., 2.5lb or 5lb Olympic plates), standard spring collars often leave a 1/2-inch gap, causing the plates to rattle and shift during lateral movements like lateral raises. The Dumbbell Slicey spacer rings slide onto the sleeve to eliminate this dead space, locking the plates flush against the handle.
- Grip Thickness Modulation: By sliding the Dumbbell Slicey thick-grip sleeves over the knurled handle, you can instantly convert a standard 28mm Olympic dumbbell handle into a 50mm+ fat grip. This is vital for home gyms that lack the space for a full set of dedicated fat-grip dumbbells.
- Installation Sequence: Inner Collar → Weight Plates → Dumbbell Slicey Spacer Ring → Outer Lock-Jaw Collar. This sequence ensures zero lateral play.
'The shift toward loadable handles paired with modular spacers like the Dumbbell Slicey kit represents a massive leap in home gym spatial efficiency. You are effectively storing 150 lbs of dumbbells in a footprint smaller than a single shoebox.' — FitGearPulse Equipment Analysis Team
Phase 5: Safety Protocols and Maintenance
The National Strength and Conditioning Association (NSCA) emphasizes that equipment failure is rarely spontaneous; it is usually the result of compounding micro-damages and improper loading protocols.
The Collar Mandate
Never perform a dynamic movement (cleans, snatches, or even heavy bench presses) without securing your plates. Spring collars are insufficient for Olympic plates due to their low clamping force. Invest in aluminum lock-jaw collars or competition-style lever clamps. They provide upwards of 150 lbs of lateral clamping force, keeping the plates locked against the sleeve shoulder.
Calibration and Scale Checking
Cheaper cast iron and rubber plates are notorious for weight variance. It is common for a budget '45lb' plate to actually weigh 42lbs or 48lbs. During your initial setup, use a digital luggage scale or a calibrated bathroom scale to weigh your plates. Mark any plates that deviate by more than 2% with a piece of colored electrical tape on the edge so you know to pair them with a compensating plate on the opposite side of the barbell.
Troubleshooting Common Setup Failures
Problem: Plates are 'stuck' on the barbell sleeve.
Cause: Moisture and iron oxidation have created a rust bond between the plate's center ring and the barbell's steel sleeve.
Solution: Apply a few drops of 3-in-One oil or a dedicated barbell lubricant to the seam. Let it sit for 15 minutes. Use a rubber mallet to gently tap the face of the plate (never strike the iron edge directly with a steel hammer, as it will shatter or chip the coating). Wipe the sleeve clean with a microfiber cloth after removal.
Problem: Rubber plates feel 'sticky' or leave black marks.
Cause: UV exposure and heat degradation breaking down the vulcanization process in low-grade rubber.
Solution: Wipe the plates down with a mild dish soap and warm water solution. If the degradation is severe, the plates must be moved out of direct sunlight or replaced with urethane variants to protect your flooring and equipment.
Final Walkthrough Checklist
- [ ] Verified all plates match the 50mm Olympic standard.
- [ ] Wall-mounted plate trees secured directly into 16-inch OC wood studs with 3/8" lag bolts.
- [ ] Loadable dumbbell handles configured with Dumbbell Slicey spacers for zero lateral play.
- [ ] Lock-jaw collars procured and stationed at every lifting platform.
- [ ] Plates weighed, calibrated, and variance-marked.
By meticulously planning your plate ecosystem and executing a structurally sound installation, your free weight zone will remain safe, organized, and ready for progressive overload for decades to come.
More gear to consider
All reviews
Beyond the Arm Circuit with Dumbbells: Barbell Collar & Clamp Types Comparison
Dumbbell to Barbell Calculator Mistakes: Olympic vs Standard Plates

Neutral Grip Dumbbell Press Muscles Worked: 2026 Rack Trends

Beyond the Dumbbell Shoulder Squat: Olympic vs Standard Plates
TSA Dumbbell Travel Rules & Home Gym Mistakes: Olympic vs Standard Plates
