Space-Saving Racks for Dumbbell Workouts to Tone Arms
Optimize your home gym layout with space-saving racks designed for dumbbell workouts to tone arms. Compare footprints, prices, and storage solutions.

The Architecture of the Arm Zone: Why Layout Dictates Results
When designing a dedicated space for high-volume dumbbell workouts to tone arms, the primary objective is minimizing transition friction. Arm isolation exercises—such as bicep curls, tricep kickbacks, and lateral raises—rely heavily on drop sets, supersets, and micro-loading to achieve metabolic stress and muscle fatigue. If your storage layout forces you to walk across the room to grab a lighter set of 15-pound dumbbells for a burnout set, your heart rate drops, the muscle cools, and the efficacy of the toning routine plummets.
In 2026, the trend in home gym design has shifted from massive, warehouse-style layouts to hyper-specialized 'micro-zones.' According to facility design guidelines from the National Strength and Conditioning Association (NSCA), optimizing the spatial envelope around your equipment not only prevents injury but significantly improves workout density. This guide breaks down the exact rack dimensions, layout frameworks, and storage solutions required to build the ultimate space-efficient arm-toning station.
Biomechanical Clearances for Arm Isolation Exercises
Before selecting a rack, you must calculate the spatial envelope required for the specific movements in your arm-toning arsenal. Unlike heavy compound lifts that require large spotting platforms, arm workouts demand precise, localized clearances.
- Standing Lateral Raises & Rear Delt Flyes: Require a lateral wingspan clearance of at least 36 inches on each side of the body (72 inches total width) to prevent knuckle-scraping on walls or mirrors.
- Seated Bicep Curls & Hammer Curls: Require a forward swing path of 12 inches and a lateral width of 24 inches.
- Overhead Tricep Extensions & Skull Crushers: Require a vertical clearance of 84 inches and a posterior bench clearance of 18 inches to allow for safe elbow extension without hitting a wall-mounted rack.
Tiered Storage Solutions: Footprint vs. Capacity Matrix
For a dedicated arm and accessory zone, a massive 10-pair commercial rack is overkill and wastes valuable square footage. Below is a comparison of the top space-optimized racks currently dominating the home fitness market, balancing physical footprint with weight capacity.
| Rack Model | Footprint (L x W) | Capacity | Approx. Price | Best Layout Application |
|---|---|---|---|---|
| Rogue 3-Tier Dumbbell Rack | 35' x 22' | 10 Pairs (5-50 lbs) | $395 | Against a load-bearing wall; high visibility. |
| Rep Fitness 3-Tier Rack | 34.5' x 21.5' | 10 Pairs (5-50 lbs) | $299 | Budget-conscious micro-gyms; tight corners. |
| Titan Fitness A-Frame | 28' x 28' | 10 Pairs (5-50 lbs) | $149 | Freestanding center-of-room islands. |
| Nuobell Adjustable Dock | 17.5' x 9' | 1 Pair (5-80 lbs) | $49 (Dock) | Ultra-small apartments; drop-set stations. |
Why the 3-Tier Horizontal Rack Wins for Arm Toning
While the A-Frame saves floor space, it fails the 'visual scan' test. When you are mid-superset and experiencing forearm pump, reading the weight labels on an angled A-Frame is frustrating. The Rogue 3-Tier Dumbbell Rack keeps the handles parallel to the floor and the weight numbers facing directly outward. The 22-inch depth is shallow enough to tuck behind a doorway or inside a closet alcove, making it the gold standard for space optimization.
The 'Two-Step Rule' Layout Framework
To maximize the efficiency of your dumbbell workouts to tone arms, implement the 'Two-Step Rule' popularized by elite sports facility designers. This rule dictates that your primary weight storage must be exactly one pivot or two steps away from your working position.
- Step 1: The Anchor Point. Place an adjustable FID (Flat/Incline/Decline) bench in the center of your 6x6 foot arm zone.
- Step 2: The Rack Placement. Position your 3-tier rack exactly 24 inches to the right of the bench (if you are right-hand dominant) or parallel to the head of the bench.
- Step 3: The Mirror Alignment. Mount a shatterproof gym mirror on the wall directly facing the open side of the bench. This allows you to monitor elbow tracking during tricep kickbacks and bicep curls without twisting your cervical spine.
This triangular layout ensures that during a drop set—say, moving from 25 lb curls to 15 lb curls, and finally to 10 lb curls—you never have to break your stance or lose your mind-muscle connection to retrieve the next set.
Adjustable Dumbbells: The Ultimate Space Hack for Micro-Loading
If your space is severely limited (under 50 square feet), traditional cast-iron or urethane dumbbell sets are a mathematical impossibility. Arm muscles, specifically the brachialis and the long head of the triceps, fatigue rapidly and require precise weight jumps (e.g., moving from 12.5 lbs to 15 lbs) to maintain progressive overload.
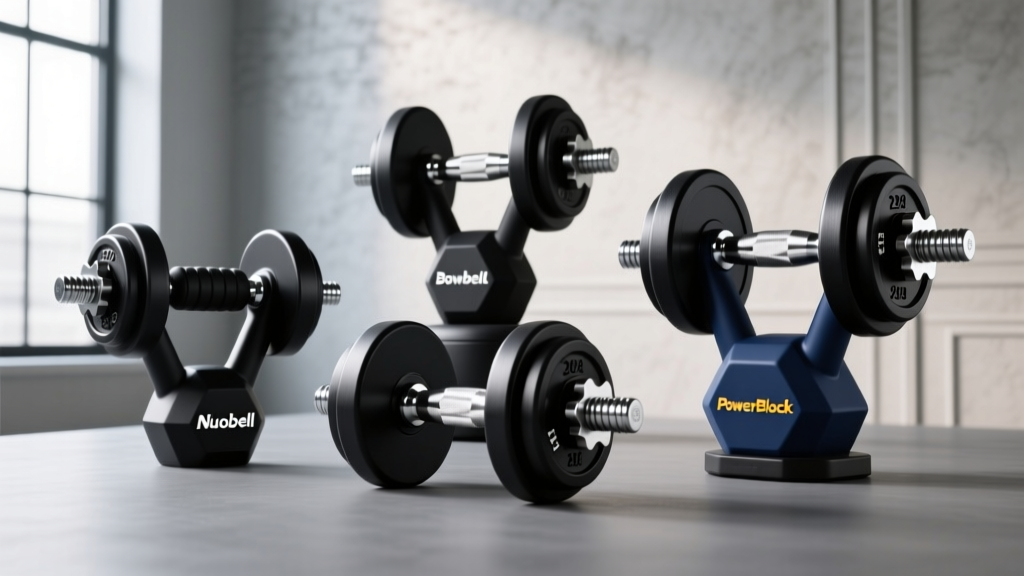
Adjustable dumbbells like the Nuobell 80lb Set or the PowerBlock Elite replace 15 pairs of traditional weights with a single 17-inch footprint. However, the storage cradle is critical. Leaving adjustable dumbbells on the floor exposes the delicate internal dial mechanisms to dust and moisture, leading to catastrophic failure modes like jammed selector pins.
- Nuobell Cradle: Measures 17.5' x 9'. Must be placed on a raised surface or dedicated stand to prevent bending over, which can compromise lower back integrity during high-volume arm days.
- PowerBlock Tower: A vertical storage solution that reduces the floor footprint to just 12' x 12', ideal for sliding into narrow gaps between a squat rack and a wall.
Common Layout Failure Modes and Mitigation Strategies
Even with the best equipment, poor spatial planning can ruin your home gym. Watch out for these specific edge cases:
1. Wall Scuffing from Eccentric Control
Proper arm toning requires slow, controlled eccentrics (the lowering phase of the lift). If your rack is placed just 12 inches from a drywall partition, the rear head of the dumbbell will repeatedly strike the wall during seated shoulder presses or lateral raises. Solution: Maintain a minimum 18-inch buffer zone between the rack and any finished wall, or install high-density EVA foam wall guards.
2. Moisture and Urethane Degradation
Storing the bottom tier of your dumbbell rack directly on a concrete garage floor or uninsulated basement slab invites condensation. Over time, this moisture degrades the bonding agent between the steel handle and the urethane coating, causing the heads to rattle or detach. Solution: Always place your rack on top of a 3/4-inch thick vulcanized rubber horse stall mat to create a thermal and moisture barrier.
Final Thoughts on Space Optimization
Designing the perfect layout for dumbbell workouts to tone arms is an exercise in applied ergonomics. By prioritizing the two-step rule, selecting a rack with a shallow depth but high visual clarity, and respecting the biomechanical clearances of isolation exercises, you transform a cluttered corner into a high-performance hypertrophy zone. Remember that in a micro-gym, every square inch must serve the workout; eliminate the friction, and the results will follow.
More gear to consider
All reviews
2026 Loadable Dumbbell Market & Proper Dumbbell Squat Form

Beyond the Dumbbell Weight for Women: Barbell Collar Mistakes

Kettlebell Care: Cast Iron vs Competition & Dumbbell Workout for Core
Olympic Barbell Guide: Knurling & Tricep Dips Dumbbell

Bent Over Dumbbell Reverse Fly: Best Loadable Picks 2026