Olympic Barbell Setup and Side Dumbbell Curls: Full Gym Walkthrough
Master your home gym setup with our walkthrough on Olympic barbell knurling, weight selection, and building the perfect zone for side dumbbell curls.

Introduction: The 2026 Home Gym Installation Standard
Building a commercial-grade home gym in 2026 requires more than just dropping heavy iron onto a rubber mat. A proper installation walkthrough bridges the gap between raw equipment and a functional, biomechanically sound training environment. In this comprehensive setup guide, we will walk through the precise installation of your primary lifting station—focusing heavily on the Olympic barbell buying guide for weight and knurling—and then transition to designing a dedicated accessory zone optimized for isolation movements like side dumbbell curls.
Whether you are bolting down a new power rack or calibrating your dumbbell storage for seamless transitions, this walkthrough ensures your equipment is protected, your spacing is mathematically sound, and your lifting experience is frictionless.
Phase 1: Unboxing and Initial Barbell Inspection
Before we discuss knurl profiles and tensile strength, the physical setup begins the moment the barbell arrives. Olympic bars are precision instruments. Dropping a 20kg bar on its end during unboxing can permanently bend the shaft or damage the sleeve bearings.
- Extract Safely: Cut the strapping and slide the bar out of the tube horizontally. Never stand the tube up and let the bar slide out the bottom.
- The Spin Test: Hold the shaft with one hand and spin the sleeve with the other. A high-quality bar with needle bearings (like those used in Olympic weightlifting) should spin freely for several seconds. Bushing-based bars (better for powerlifting) will have a more controlled, dampened spin.
- Shaft Roll Test: Place the bar on a flat, level surface (like your lifting platform). Roll it slowly. If the center of the shaft wobbles or lifts off the ground, the bar is bent and must be returned immediately.
Phase 2: The Core Guide to Barbell Weight and Knurling
Selecting the right barbell is the most critical decision in your gym setup. The International Weightlifting Federation technical rules dictate strict tolerances for competition bars, but the commercial market offers specialized variations. Your choice of weight and knurling will dictate the bar's longevity, your grip security, and your joint health over thousands of reps.
Understanding Barbell Weight Classes
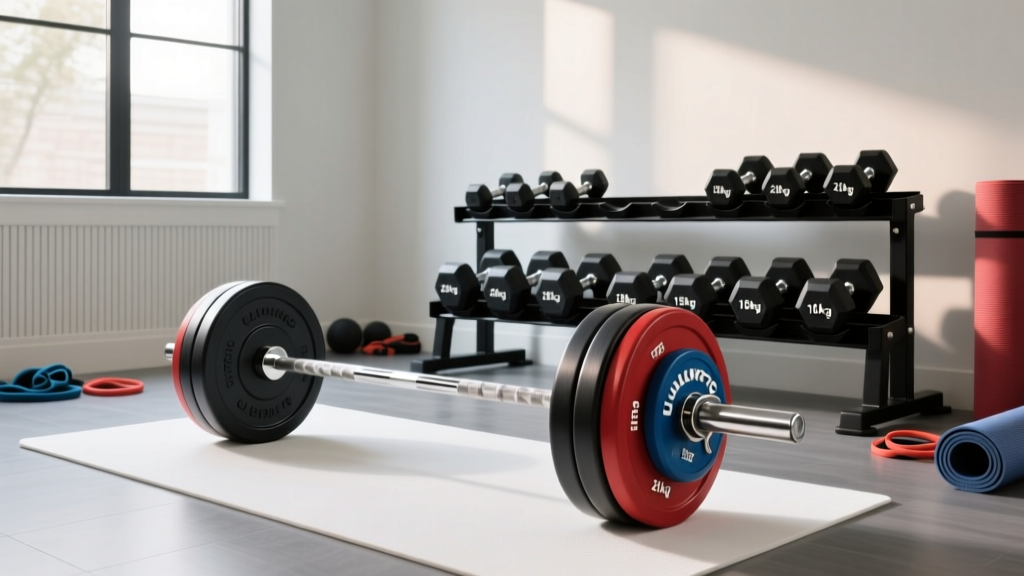
- 20kg (44 lbs) Men's Standard: The universal standard. Features a 28mm to 29mm shaft diameter and a 2200mm overall length. Ideal for squats, bench presses, and deadlifts.
- 15kg (33 lbs) Women's Standard: Features a narrower 25mm shaft (better for smaller hands) and a shorter 2010mm length. The reduced sleeve length means it holds fewer bumper plates, but it is perfect for Olympic lifts and high-rep conditioning.
- 25kg+ Specialty Bars: Texas deadlift bars or stiff squat bars. These are longer, thicker, and designed to handle massive loads without whipping.
Decoding the Knurl: Volcano, Mountain, and Hill
The knurl is the machined pattern on the shaft that provides grip. In 2026, manufacturers have refined these patterns into three distinct categories:
Knurl Profile Breakdown
Volcano (e.g., Rogue Fitness): Features sharp, deep grooves with small peaks. It provides maximum surface area contact without tearing calluses. Ideal for mixed-grip deadlifts and high-volume benching.
Mountain (e.g., American Barbell): Wider, flatter peaks that feel highly aggressive. Best for lifters who chalk heavily and need absolute grip security for heavy 1-rep max attempts.
Hill (e.g., Eleiko): Smooth, rounded peaks with shallow valleys. Designed for Olympic weightlifting where the bar must spin rapidly in the hands during cleans and snatches without ripping the skin.
2026 Market Comparison: Top Olympic Barbell Models
| Model | Weight | Knurl Type | Tensile Strength | 2026 Est. Price |
|---|---|---|---|---|
| Rogue Ohio Bar (Bushing) | 20kg | Volcano | 190,000 PSI | $245.00 |
| REP Fitness AB-4100 | 20kg | Volcano (Deep) | 190,000 PSI | $189.00 |
| Eleiko Olympic WL Bar | 20kg | Hill (Smooth) | 215,000 PSI | $1,150.00 |
| Kabuki Transformer Bar | 20kg | Mountain | 195,000 PSI | $475.00 |
For a deeper look at the exact machining tolerances of the most popular multi-purpose bar on the market, review the official Rogue Fitness Ohio Bar specifications.
Phase 3: Rack Installation and Barbell Storage Setup
With your barbell selected, the next step is integrating it into your power rack or squat stand. Improper rack setup is the leading cause of ruined knurling and damaged bar sleeves.
Step-by-Step Rack Integration
- Install UHMW Plastic Inserts: Never rest a bare steel or cerakote barbell directly on metal J-cups. Ensure your J-cups are lined with Ultra-High-Molecular-Weight (UHMW) polyethylene. This high-density plastic absorbs the impact of re-racking and protects the bar's knurl and sleeve finish.
- Set the Safety Spotter Arms: For bench pressing, set the spotter arms exactly one inch below your chest's maximum expansion point. For squats, set them two inches below your lowest hole depth.
- Barbell Storage Placement: Install dedicated barbell storage hangers on the rear uprights of your rack. Store the bar vertically or horizontally off the floor to prevent moisture accumulation, which leads to surface oxidation (rust) on the shaft.
Phase 4: Designing the Accessory Zone for Side Dumbbell Curls
A complete gym setup isn't just about the main compound lifts; it requires a meticulously planned accessory zone. Isolation movements require specific spatial clearances and equipment angles. Let's focus on setting up the perfect station for side dumbbell curls (also known as cross-body or lateral dumbbell curls), a movement critical for targeting the brachialis and the long head of the biceps.
Biomechanics and Spatial Requirements
According to the ExRx biceps exercise kinesiology directory, performing curls with a lateral or cross-body arc alters the line of pull, placing continuous tension on the biceps brachii while heavily recruiting the brachialis. Unlike standard hammer curls, side dumbbell curls require the lifter to swing the weight across the torso's midline.
The Spatial Rule: Because the dumbbells travel diagonally across the body, you need a minimum of 4.5 feet of lateral clearance on your left and right sides. If your dumbbell rack is placed too close to your lifting bench, you will strike the rack during the concentric phase of the lift.
Equipment Selection for the Accessory Zone
- The Dumbbells: For side dumbbell curls, most lifters operate in the 15 lb to 35 lb range per hand. Invest in Urethane Hex Dumbbells. As of 2026, urethane costs roughly $2.20 per pound, but it eliminates the odor of cheap rubber and, crucially, the hex shape prevents the dumbbells from rolling away when you set them on the floor between sets.
- The Bench: Use an adjustable FID (Flat/Incline/Decline) bench. Set the backrest to a 15-degree incline. This slight angle prevents the lifter from using momentum to swing the dumbbells and keeps the shoulder joint in a safe, slightly extended position during the lateral arc.
- The Rack Placement: Position your 3-tier dumbbell rack exactly 3 feet behind the foot of the bench. This creates a 'safe drop zone' where you can lean forward and deposit the dumbbells without twisting your spine.
Pro Setup Tip: Lay down a 3/4-inch thick horse stall mat under your accessory zone. When performing side dumbbell curls to failure, your grip will eventually give out. The thick rubber mat will absorb the acoustic shock and protect your concrete subfloor from the urethane dumbbells.
Phase 5: Ongoing Maintenance Walkthrough
Installation is just day one. To keep your Olympic barbell's knurling aggressive and your accessory zone pristine, implement this 5-minute monthly maintenance protocol:
- Brush the Knurl: Use a stiff nylon brush (never brass or steel, which can damage cerakote or zinc finishes) to scrub chalk and dead skin out of the knurl valleys.
- Wipe Down: Use a microfiber cloth with a mild, non-abrasive cleaner to wipe the shaft and sleeves.
- Lubricate the Sleeves: Apply 3-4 drops of 3-in-One oil or mineral oil to the seam where the sleeve meets the shaft. Spin the sleeve to work the oil into the bushings or bearings.
- Sanitize the Dumbbells: Wipe down the handles of your urethane dumbbells with a gym-safe disinfectant to prevent the buildup of corrosive sweat salts, which can degrade the chrome plating on the handles over time.
Summary: Your Fully Integrated Training Space
By carefully selecting an Olympic barbell with the correct weight and knurl profile for your specific lifting style, you ensure safety and performance on your heavy compound days. By complementing this with a mathematically spaced accessory zone designed specifically for the lateral arc of side dumbbell curls, you create a holistic, commercial-tier training environment right in your home. Follow this installation walkthrough, respect the spatial clearances, and maintain your steel, and your gym will serve you flawlessly for decades.
More gear to consider
All reviews
Dumbbell Wrist Curls Palms Up: Rubber Hex vs Urethane Value

Power Rack vs Squat Rack vs Stand: Side Laterals Dumbbells Mistakes

Barbell Collar Types Compared: Dumbbell Pullover Bench Safety

Beyond the Dumbbell Leg Routine: Olympic Barbell Knurling Compared

What Is a Good Starting Dumbbell Weight for Neoprene Home Sets?