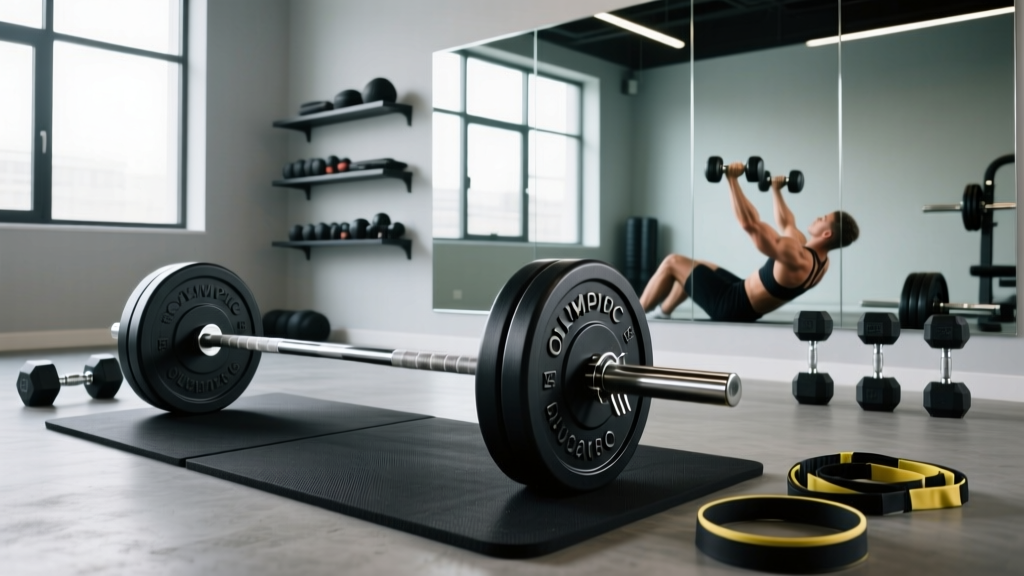
Olympic Barbell Knurling Guide & Lying Dumbbell Reverse Fly Setup
Master your gym setup with our Olympic barbell knurling guide and a complete installation walkthrough for the perfect lying dumbbell reverse fly station.

Building a high-performance home gym in 2026 requires moving beyond generic starter kits and understanding the precise biomechanics and spatial requirements of your equipment. A complete free-weight station must seamlessly accommodate heavy compound barbell lifts and highly specific isolation movements. This comprehensive setup and installation walkthrough will first decode the critical nuances of selecting an Olympic barbell—focusing on weight tolerances and knurling profiles—before guiding you through the physical installation of your power rack and adjustable bench. Finally, we will configure that exact station for optimal rear-deltoid isolation, specifically dialing in the geometry required for the lying dumbbell reverse fly.
Olympic Barbell Buying Guide: Weight and Knurling Decoded
The barbell is the anchor of any free-weight setup. When evaluating an Olympic barbell, two primary factors dictate its performance and longevity: weight tolerance (tensile strength) and knurling geometry. According to International Powerlifting Federation (IPF) and IWF barbell standards, a standard men's Olympic barbell must weigh exactly 20kg (44 lbs) with a 28mm to 29mm shaft diameter, while a women's specification bar weighs 15kg (33 lbs) with a 25mm shaft.
Tensile Strength and Yield
Tensile strength, measured in PSI, determines how much load the bar can handle before permanent deformation. For a serious home gym in 2026, never settle for anything below 190,000 PSI. Premium power bars, like the Rogue Ohio Power Bar (205,000 PSI, priced around $395), utilize high-grade spring steel that guarantees the bar will return to its original straightness even after heavy 500+ lb squats.
Knurling Profiles: Volcano, Mountain, and Hill
Knurling is the machined pattern on the shaft that provides grip. Understanding the three main profiles is essential for matching the bar to your training style:
- Volcano Knurl: Features deep, sharp grooves with a flattened peak. It provides an aggressive 'bite' without tearing the calluses. Ideal for heavy powerlifting and low-rep hypertrophy.
- Mountain Knurl: Characterized by sharp, pointed peaks. It feels like coarse sandpaper and is highly aggressive, often preferred by strongman athletes and heavy deadlifters.
- Hill Knurl: Smooth, rounded peaks with shallow valleys. Found on Olympic weightlifting bars (like the Eleiko Competition Bar, $1,100+), it allows for the rapid grip transitions required in the snatch and clean & jerk without shredding the hands.
Installation Walkthrough: Rack and Bench Footprint
Once you have selected your barbell, the next phase is installing the power rack and adjustable FID (Flat/Incline/Decline) bench. Proper installation ensures safety and dictates the spatial clearance required for accessory movements.
Step 1: Upright Spacing and Hardware
Standard power racks come in two primary interior widths: 43 inches and 49 inches. While 43-inch racks save floor space, we strongly recommend a 49-inch interior spacing for versatile home gyms. This wider footprint is non-negotiable for dumbbell isolation work, as it prevents your elbows from striking the steel uprights during lateral movements.
Step 2: Anchoring to the Floor
- Position the rack on a 3/4-inch thick horse stall mat over a concrete subfloor.
- Mark the bolt-down holes through the base plates.
- Drill 1/2-inch holes into the concrete using a hammer drill with a masonry bit.
- Insert 1/2-inch wedge anchors and torque them to 60 ft-lbs using a calibrated torque wrench.
Configuring the Station for the Lying Dumbbell Reverse Fly
With the rack secured, we must configure the adjustable bench for precise isolation work. The lying dumbbell reverse fly is a staple for targeting the posterior deltoids, rhomboids, and middle trapezius. However, performing this movement standing often invites lower-back cheating and momentum. The gold standard for strict isolation is the chest-supported incline variation.
According to American Council on Exercise (ACE) exercise biomechanics, stabilizing the torso removes the ability to use hip extension to move the weight, forcing the rear delts to handle the entire load. Here is how to configure your station specifically for the lying dumbbell reverse fly:
Bench Geometry and Angle
Set your FID bench (such as the Rep AB-5200 2.0) to a 30-degree incline. A 45-degree angle shifts too much tension onto the upper traps, while a flat bench limits the range of motion at the bottom of the eccentric phase. At 30 degrees, the scapula can freely protract and retract without the bench pad obstructing the shoulder blades.
Spatial Clearance and Dumbbell Pickup
This is where your 49-inch rack spacing pays dividends. When performing the lying dumbbell reverse fly, your arms will extend laterally and drop below the plane of your torso at the bottom of the movement. If your bench is positioned inside a narrow 43-inch rack, your elbows or the dumbbells will collide with the uprights, severely limiting your stretch and risking injury.
'The eccentric stretch is where the majority of muscle damage and subsequent hypertrophy occurs in the rear deltoids. Hitting a steel upright at the bottom of a reverse fly not only ruins the set but can cause severe elbow contusions.' — National Strength and Conditioning Association (NSCA) training guidelines.
Position the bench perfectly centered between the uprights. Place a low-profile dumbbell rack exactly 24 inches behind the head of the bench. This specific distance allows you to safely reach back, grip the dumbbells with a neutral grip, and pull them into the starting position without straining the rotator cuff.
Equipment Specification Matrix
Use the following matrix to verify your equipment specifications against the requirements for heavy barbell lifting and precise dumbbell isolation setups.
| Equipment Component | Recommended Specification | Purpose / Biomechanical Benefit |
|---|---|---|
| Olympic Barbell Shaft | 29mm diameter, 205k+ PSI | Maximizes grip security and prevents permanent bending under heavy loads. |
| Barbell Knurling | Volcano Profile (Stainless) | Provides aggressive grip without tearing skin; stainless prevents rust. |
| Rack Interior Width | 49 Inches Minimum | Prevents elbow/dumbbell collision during the lying dumbbell reverse fly. |
| FID Bench Angle | 30 Degrees (Incline) | Optimal chest support for rear delt isolation without upper trap takeover. |
| Dumbbell Rack Distance | 24 Inches Behind Bench | Allows safe, ergonomic pickup and racking of heavy dumbbells. |
Knurl Maintenance and Longevity Protocols
Installing premium gear is only half the battle; maintaining it ensures it lasts a lifetime. The knurling on your Olympic barbell acts as a magnet for dead skin, chalk, and humidity, which can lead to rust and a loss of 'bite' over time.
The Weekly Cleaning Routine
- Brush: Use a stiff nylon brush (never a wire brush on stainless steel, as it can embed carbon steel particles and cause rust) to scrub the knurling in a circular motion.
- Wipe: Apply a light coat of 3-in-One oil or mineral oil to a microfiber cloth and wipe down the shaft. This displaces moisture and keeps the knurl peaks sharp.
- Inspect: Check the sleeve bushings or bearings. If the sleeves do not spin freely during drops, apply a few drops of synthetic grease to the sleeve ends.
By meticulously selecting your barbell's knurl profile, properly anchoring your rack with adequate lateral clearance, and dialing in the exact 30-degree bench geometry required for the lying dumbbell reverse fly, you create a 2026 home gym environment that rivals elite commercial facilities. Precision in setup translates directly to precision in muscle recruitment and long-term joint health.
More gear to consider
All reviews
Beyond a Deadlift Workout With Dumbbells: Barbell Knurling Guide
Bumper vs Iron Plates: Gear for Core Workouts at Home with Dumbbells

40kg Dumbbell Set Showdown: Best Neoprene Options for Home Use

Olympic Barbell Setup & Best Lat Exercises With Dumbbells

10 Minute Workout with Dumbbells: 2026 Rack & Storage Market Trends
