
Olympic Barbell Knurling & Setup for Proper Dumbbell Curl Form
Master your home gym setup with our Olympic barbell knurling guide, rack installation walkthrough, and biomechanical tips for proper dumbbell curl form.

The Foundation: Selecting Your Olympic Barbell by Weight and Knurling
Building a comprehensive free-weight station in 2026 requires more than just buying the cheapest steel on the market. The centerpiece of any serious home gym is the Olympic barbell, and understanding the nuances of barbell weight, shaft diameter, and knurling profiles is critical for both heavy compound lifts and precise isolation work. Before we can discuss the biomechanics of accessory movements, we must establish a baseline of grip strength and tactile feedback, which starts with selecting the right bar.
Weight and Shaft Specifications
Standard Olympic barbells generally fall into two primary categories based on weight and shaft thickness:
- Men’s Olympic Bar (20kg / 44 lbs): Features a 28mm shaft diameter and a standard 190,000 to 215,000 PSI tensile strength. This thickness provides the necessary rigidity for heavy squats and deadlifts while offering a robust surface for grip training.
- Women’s Olympic Bar (15kg / 33 lbs): Features a slightly thinner 25mm shaft diameter. The reduced circumference allows lifters with smaller hands to achieve a full hook grip, which is essential for Olympic weightlifting variations.
When evaluating a barbell buying guide, always check the yield strength (the point at which the bar permanently bends) and tensile strength (the point at which the bar breaks). For a versatile home gym setup, aim for a minimum tensile strength of 190,000 PSI to ensure the bar can withstand repeated drops from overhead positions without taking a permanent set.
Decoding Knurling Profiles
Knurling is the diamond-patterned machining cut into the steel shaft to increase friction. The depth and geometry of this pattern drastically alter how the bar feels in your hands, directly influencing your grip endurance. According to manufacturing standards highlighted by industry leaders like Rogue Fitness, knurling generally falls into three distinct geometries:
| Knurl Type | Geometry & Depth | Best Application | Tactile Feel |
|---|---|---|---|
| Volcano | Sharp peaks with a small crater in the center (approx. 0.5mm - 0.8mm depth) | Powerbuilding, Olympic lifting, heavy accessories | Aggressive but grippy; bites the skin without tearing calluses. |
| Mountain | Sharp, pointed peaks with no crater (approx. 1.0mm+ depth) | Powerlifting (Deadlifts, Low-bar Squats) | Extremely aggressive; can tear skin during high-rep friction. |
| Hill | Rounded, flattened peaks (approx. 0.3mm depth) | High-rep WODs, Hypertrophy, Beginner lifters | Mild and smooth; relies on chalk for heavy loads. |
Choosing a volcano knurl is generally the most versatile option for a home gym. It provides enough bite to secure a heavy deadlift but is forgiving enough for high-volume accessory work where grip fatigue becomes a limiting factor.
Complete Walkthrough: Installing Your Power Rack and Barbell Station
Once you have selected your barbell, the next phase of the setup and installation walkthrough involves anchoring your power rack. A properly installed rack ensures safety during heavy lifts and provides the structural foundation for your entire free-weight zone.
Step-by-Step Rack Installation
- Map the Footprint: Standard power racks require a minimum of 48x48 inches of floor space. Ensure you have at least 12 inches of clearance on all sides for loading plates and maneuvering.
- Mark and Drill Concrete Anchors: If bolting to a concrete slab, use a hammer drill with a 1/2-inch masonry bit. Drill to a depth of 3 inches for standard wedge anchors. Warning: Never anchor a heavy-duty rack into drywall or wooden subflooring without specialized structural reinforcement.
- Assemble Uprights and Crossmembers: Tighten all Grade 8 hardware using a calibrated torque wrench. Most 3x3 inch, 11-gauge steel uprights require bolts torqued to 60-70 ft-lbs to eliminate lateral sway.
- Install J-Cups and Spotter Arms: Set your J-cups at a height where the barbell rests just below your anterior deltoid when standing upright. This prevents you from having to calf-raise the weight out of the rack.
Grip Translation: From Barbell Knurling to Proper Dumbbell Curl Form
Why does barbell knurling matter when transitioning to dumbbell isolation exercises? The neurological grip strength and callus density developed by handling an aggressive Olympic barbell directly translate to wrist stability during accessory movements. When you step away from the rack and move to the dumbbell zone, maintaining proper dumbbell curl form requires immense wrist neutrality and elbow tracking—both of which are compromised if your grip fails.
According to biomechanical guidelines outlined by the American Council on Exercise (ACE), the biceps brachii performs two primary functions: elbow flexion and forearm supination. To maximize hypertrophy and minimize joint shear, your setup must allow for both.
The Biomechanics of the Curl
Dumbbells lack the aggressive knurling of an Olympic barbell, meaning the smooth or mildly knurled handles can roll in your palm as the weight increases. Here is how to lock in your mechanics:
- The Starting Position: Stand with feet shoulder-width apart. Hold the dumbbells with a neutral grip (palms facing your thighs). Depress your scapulae to stabilize the shoulder girdle.
- Elbow Pinning: Pin your elbows to your ribcage. The most common failure in proper dumbbell curl form is allowing the humerus (upper arm) to drift forward, which shifts the load from the biceps to the anterior deltoid.
- Dynamic Supination: As you pass 45 degrees of elbow flexion, actively rotate your wrists so your palms face the ceiling at the top of the movement. This supination torque is where the peak contraction occurs.
- Eccentric Control: Lower the weight over a full 2-3 seconds, reversing the supination back to a neutral grip at the bottom.
Designing the Accessory Zone for Optimal Biomechanics
To facilitate perfect execution, your home gym layout must support visual and spatial feedback. When planning your installation walkthrough, dedicate a specific "accessory zone" adjacent to your power rack.
Mirror Placement and Rack Ergonomics
Install shatterproof gym mirrors starting exactly 18 inches from the floor. This specific height allows you to monitor your foot placement and knee tracking during squats, while also providing a full view of your elbow positioning when standing to perform curls. Place a 3-tier or 5-tier commercial dumbbell rack roughly 4 feet away from the mirror. This spacing allows you to pick up the weights, step back, and visually verify your spinal alignment and elbow tracking without crowding the rack.
"The environment dictates the movement. A poorly lit, cramped corner encourages sloppy mechanics. A well-spaced station with proper visual feedback enforces strict adherence to proper dumbbell curl form and joint longevity." — Kinesiology and Gym Design Principles, ExRx.net.
Maintenance Protocol for Knurled Steel and Dumbbell Handles
Both your Olympic barbell and your dumbbell handles require routine maintenance to preserve their knurling and prevent oxidation, especially in humid garage gyms.
The Weekly Brush and Oil Routine
- Scrub: Use a stiff nylon brush (never brass or stainless steel, as these will strip the black oxide or cerakote finish) to remove chalk, dead skin, and debris from the knurl valleys.
- Wipe: Use a microfiber cloth lightly dampened with a 50/50 mix of water and white vinegar to neutralize the alkaline salts left behind by sweat.
- Protect: Apply 3-5 drops of 3-IN-ONE oil or a specialized barbell conditioner to a clean rag, and wipe it into the knurling. This leaves a microscopic hydrophobic barrier that prevents rust without making the bar slippery for your next heavy session.
By meticulously selecting your barbell's weight and knurling profile, securely installing your power rack, and optimizing your accessory zone, you create a cohesive training environment. This setup not only supports maximal strength gains on the big three lifts but also provides the ergonomic foundation necessary to execute strict, hypertrophy-focused isolation movements with absolute precision.
More gear to consider
All reviews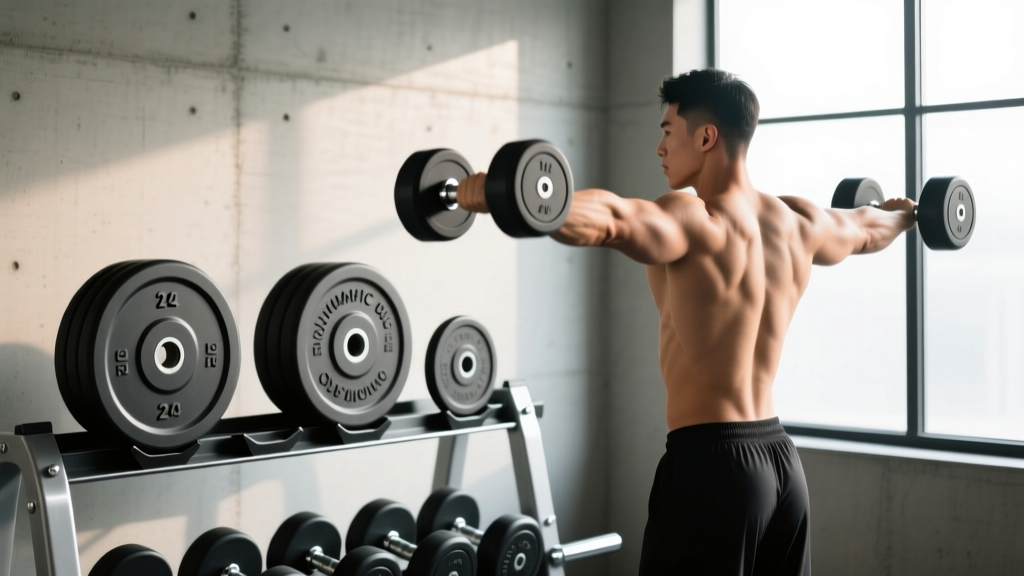
Olympic vs Standard Plates & the Standing Dumbbell Fly Exercise
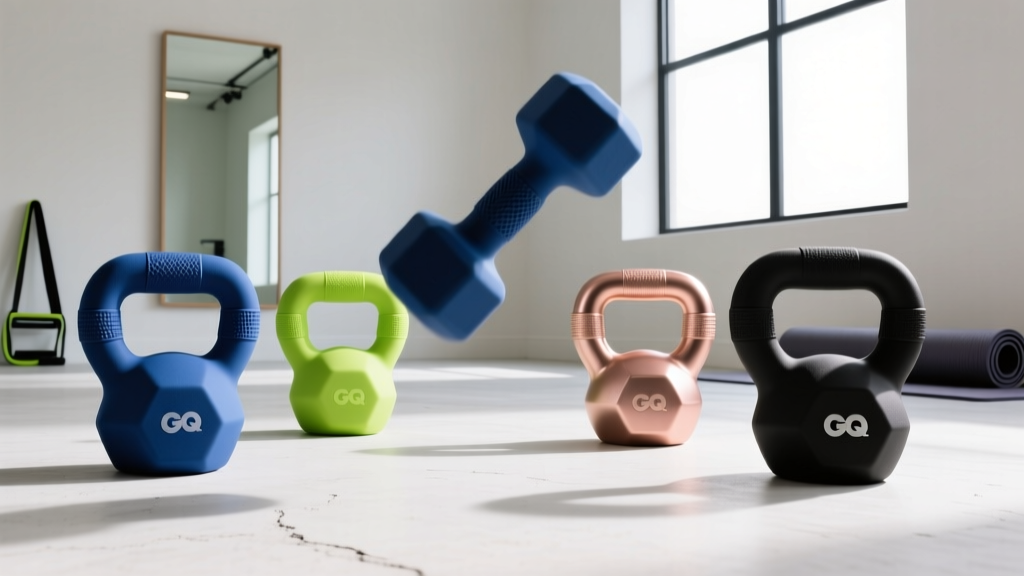
Best Neoprene Dumbbells for the Dumbbell French Press (2026)

Gold Dumbbells Weight Setup: Neoprene Home Gym Guide

Olympic vs Standard Plates for a Beginner Full-Body Dumbbell Workout
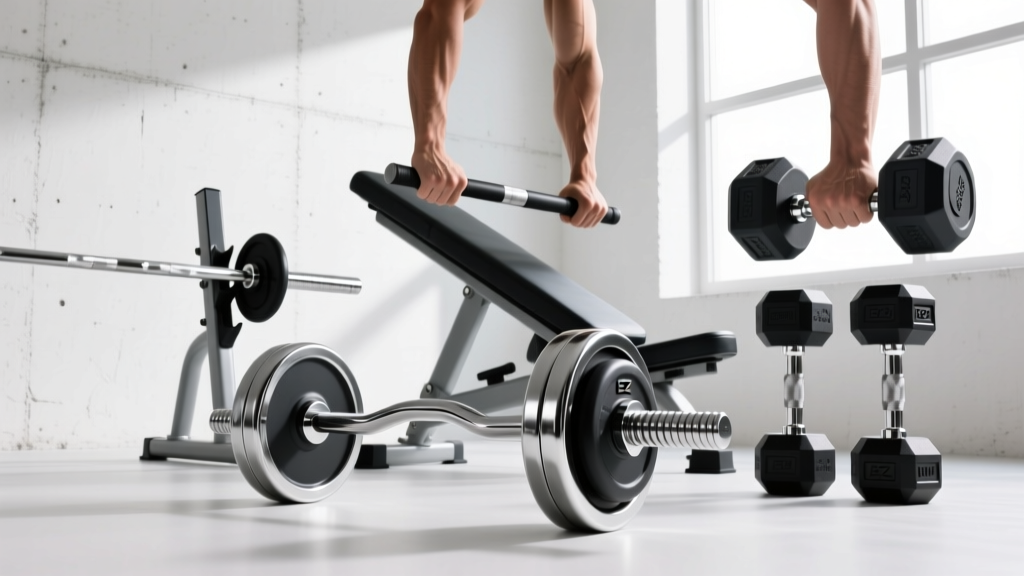
EZ Curl Bar vs Straight Bar and the Incline Dumbbell Squeeze Press
