Olympic vs Standard Plates Setup: A Dumbbell Deadlift Alternative
Master your home gym setup with our Olympic vs standard plates installation walkthrough, featuring a heavy plate-loaded dumbbell deadlift alternative.

The Dimensional Divide: 2-Inch Olympic vs 1-Inch Standard
When outfitting a home gym, the foundational decision regarding your free weight ecosystem hinges on the center hole diameter of your weight plates. You are ultimately choosing between the 2-inch (50.6mm) Olympic standard and the 1-inch (25.4mm) standard plate. This decision dictates not only your barbell sleeve compatibility but also your storage infrastructure, floor protection requirements, and accessory implement options.
Olympic plates, such as the industry-standard Rogue Echo Bumpers, feature a stainless steel insert that protects the barbell sleeve from abrasion and allows for smooth, high-velocity loading. Standard 1-inch plates, typically cast iron or cement-filled vinyl, lack this insert. While 1-inch plates are cheaper upfront (averaging $1.20 to $1.50 per pound in 2026 compared to $3.50+ for quality urethane Olympic plates), they introduce severe structural limitations at higher weight thresholds.
⚠️ Critical Safety Warning: Never attempt to load more than 150 lbs total onto a standard 1-inch threaded dumbbell handle or barbell sleeve. The tensile strength of standard 1-inch steel sleeves is significantly lower than Olympic-grade steel, leading to catastrophic bending or snapping under heavy eccentric loads.Building the Ultimate Dumbbell Deadlift Alternative
When advancing your posterior chain training, you will eventually outgrow standard 50-pound fixed hex dumbbells. Purchasing fixed pairs up to 120 or 150 pounds is financially and spatially ruinous for most home gyms, often costing upwards of $3.00 per pound and requiring massive, multi-tier storage racks. Instead, configuring a heavy dumbbell deadlift alternative using plate-loaded handles is the smartest, most space-efficient setup you can install.
According to biomechanical analyses of unilateral and bilateral hinge movements found on ExRx exercise databases, the dumbbell deadlift requires a deep range of motion and significant grip strength. To replicate this with plates, you have two installation pathways depending on your chosen plate type:
Pathway A: The 1-Inch Standard Plate Setup
For budget-conscious setups, you can use heavy-duty 1-inch threaded dumbbell handles (14-inch to 18-inch sleeves). By sliding on four 25-pound standard iron plates per side, you can construct a 100+ lb dumbbell. Installation requirement: You must use star-lock collars and tighten them with a dedicated collar wrench to prevent the plates from shifting during the deadlift hinge. Loose plates on a 1-inch handle will alter the center of gravity mid-rep, risking lumbar torsion.
Pathway B: The Olympic Plate-Loaded System
For commercial-grade durability, specialized plate-loadable dumbbell handles like the Ironmaster Quick-Lock V2 utilize proprietary Olympic-sized plates or standard 2-inch plates. This setup allows you to scale your dumbbell deadlift alternative up to 165 lbs per hand. The installation involves a simple drop-in pin mechanism, eliminating the slow threading of standard star collars and ensuring the plates sit flush against the handle block, perfectly mimicking the compact footprint of a fixed hex dumbbell.
Step-by-Step Weight Plate Storage Installation Walkthrough
Whether you choose Olympic or standard plates, improper storage installation is a leading cause of home gym property damage and personal injury. A fully loaded wall-mounted plate tree can easily exceed 800 lbs of sheer force. Here is the exact walkthrough for installing a heavy-duty wall-mounted storage unit.
- Locate Structural Studs: Do not rely on drywall anchors. Use a magnetic stud finder to locate the center of wooden wall studs (typically spaced 16 inches on-center) or mark the holes for toggle bolts if mounting into hollow cinder block.
- Pre-Drill Pilot Holes: For wooden studs, use a 7/32-inch drill bit to pre-drill pilot holes at the exact mounting points of your plate tree's backplate. This prevents the stud from splitting when driving heavy lag screws.
- Secure with Lag Screws: Use 3/8-inch x 3-inch galvanized hex lag screws. Drive them in using an impact driver until the washer is flush against the steel backplate. Pro-Tip: Apply a dab of blue Loctite to the threads to prevent vibration loosening over time.
- Install the Horns: Slide the storage horns into the backplate slots and secure them with the provided locking pins or set screws. Ensure Olympic horns (which are thicker) are placed on the bottom tiers to keep the center of gravity low, while standard 1-inch horns can occupy the upper tiers.
Cost, Footprint, and Durability Matrix
Understanding the long-term ROI of your plate choice is essential for a complete home gym setup. The table below breaks down the critical metrics for 2026 market conditions.
| Feature | Olympic Plates (2-Inch) | Standard Plates (1-Inch) |
|---|---|---|
| Average Cost per Pound | $2.50 - $4.50 (Urethane/Rubber) | $1.20 - $1.80 (Cast Iron/Cement) |
| Max Safe Sleeve Load | 500+ lbs (Depends on bar rating) | ~150 lbs (Sleeve bending risk) |
| Storage Horn Diameter | 2.06 inches | 1.03 inches |
| Dumbbell Deadlift Viability | Excellent (Requires specialized handles) | Moderate (Threaded handles, star collars) |
| Durability & Drop Rating | High (Bumpers survive repeated drops) | Low (Iron chips, cement cracks) |
Real-World Failure Modes and Edge Cases
Even with a flawless installation, lifters frequently encounter specific failure modes when mixing plate types or pushing the limits of their equipment. Anticipating these edge cases will save you from interrupted workouts and broken gear.
- The 'Standard Wobble' on Dumbbell Deadlifts: When using 1-inch standard plates for your dumbbell deadlift alternative, the center hole is often punched rather than drilled, leaving a slight metal burr. This burr prevents the plate from sitting perfectly flush against the dumbbell handle collar, causing a 1-2mm wobble. Fix: Take a metal file to the inner rim of your standard plates before first use to ensure a flush, silent fit.
- Olympic Collar Slippage on Incline Angles: If you transition your plate-loaded setup from deadlifts to incline presses, gravity pulls the plates away from the handle block. Standard spring clips will fail under heavy loads. Fix: Invest in aluminum lock-jaw collars or threaded Olympic spin-locks for any movement where the sleeve points toward the floor.
- Calibrated Plate Thickness Discrepancies: If you buy competition-grade calibrated steel Olympic plates (which are incredibly thin) and mix them with standard rubber bumper plates on a plate-loaded dumbbell handle, the differing diameters and thicknesses can throw off the rotational balance of the implement. Stick to uniform plate profiles when building heavy unilateral setups.
Floor Protection Integration
Finally, no weight plate setup walkthrough is complete without addressing the impact zone. Standard 1-inch iron plates have a high durometer (hardness) and will crack concrete or shatter ceramic tile if dropped during a heavy dumbbell deadlift set. Olympic bumper plates are designed to absorb impact, but they still require a proper sub-floor setup.
For a dedicated deadlift and heavy dumbbell hinge zone, install 3/4-inch thick vulcanized rubber horse stall mats over a plywood subfloor. The plywood (minimum 3/4-inch OSB) acts as a shock-distributing layer, preventing the concentrated force of a dropped 100-lb plate-loaded dumbbell from permanently compressing the rubber mat and cracking the concrete slab beneath. By meticulously planning your plate type, storage hardware, and floor integration, you create a commercial-grade training environment capable of supporting any heavy posterior chain movement.
More gear to consider
All reviews
Space-Saving Dumbbell Racks: Layouts for the Dumbbell Chop

Neoprene Dumbbell Setup & What Muscle Does Incline Dumbbell Press Work
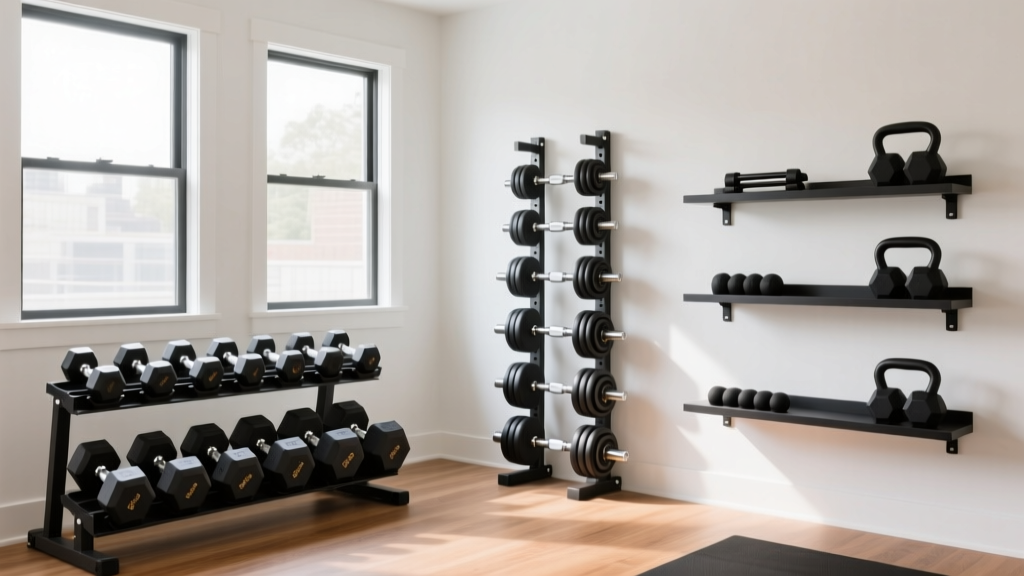
Storage Layouts for Different Types of Dumbbell Workouts

Olympic vs Standard Plates for Heavy Shrugs with Dumbbells

Rubber Hex vs Urethane Dumbbells: Pandora Dumbbell Charm