How to Do Kettlebell Swings With a Dumbbell: Home Guide
Master kettlebell swings with a dumbbell using our beginner step-by-step guide. Learn grip hacks, neoprene benefits, and safe home workout routines.

The Ultimate Home Gym Hack: Swinging a Neoprene Dumbbell
If you are building a home gym on a budget or dealing with limited space, you might not have room for a full set of kettlebells. Fortunately, learning how to perform kettlebell swings with a dumbbell is one of the most effective equipment hacks available to fitness enthusiasts. As home workout trends continue to evolve in 2026, the focus has shifted heavily toward versatile, space-saving gear that does not compromise on biomechanical benefits.
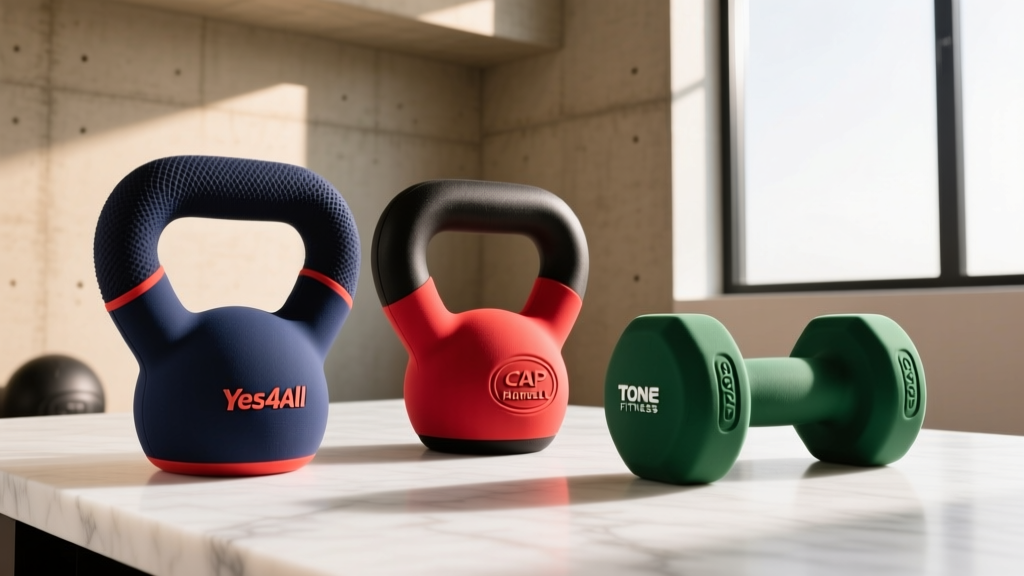
However, you cannot simply grab any dumbbell and start swinging. For home use—especially on hardwood, laminate, or luxury vinyl plank flooring—a neoprene-coated dumbbell is the undisputed champion. In this beginner-friendly, step-by-step guide, we will break down exactly why neoprene is the superior material for this movement, how to safely grip the dumbbell head, and how to master the hip hinge without wrecking your lower back.
⚠️ Safety Warning: Never swing a dumbbell by gripping the handle with both hands if your fingers overlap near the collars. The momentum can cause your knuckles to crush against the metal or neoprene heads, leading to severe bruising or fractures. Always use the 'Head-Cupping' grip detailed below.Why Neoprene Coated Dumbbells Are Ideal for Home Swings
Neoprene (polychloroprene) is a synthetic rubber coating commonly applied to cast-iron dumbbell cores. While bare cast iron or smooth vinyl dumbbells have their place, neoprene offers three distinct advantages for the dynamic, high-velocity movement of the dumbbell swing:
- Micro-Tacky Grip Security: Swings generate massive centrifugal force. As your hands sweat, smooth vinyl or painted iron becomes dangerously slippery. Neoprene retains a slight 'tackiness' even when damp, providing a secure friction surface that prevents the weight from flying across your living room.
- Floor Protection: The bottom position of a swing (the 'hike') requires the weight to travel between your legs, often coming within an inch of the floor. If you lose your form or fatigue, the neoprene coating acts as a shock absorber, preventing catastrophic dents and scratches to your home flooring.
- Noise Dampening: If you are working out in an apartment or shared living space, setting a neoprene dumbbell down between sets is virtually silent compared to the sharp clang of bare iron.
Equipment Comparison: Kettlebell vs. Neoprene Dumbbell
| Feature | Standard Cast Iron Kettlebell | Neoprene Coated Dumbbell |
|---|---|---|
| Average Cost (24 lb) | $55.00 - $75.00 | $22.00 - $30.00 |
| Center of Mass | Offset (extends past the handle) | Bilateral (distributed equally on both sides) |
| Grip Style for Swings | Standard Handle Hold | Head-Cupping Hold |
| Floor Safety | Low (Can dent hardwood) | High (Shock-absorbent coating) |
Step-by-Step: Executing the Dumbbell Swing
According to the Exercise Prescription on the Internet (ExRx), the swing is not a shoulder exercise; it is a explosive hip hinge that targets the posterior chain (glutes, hamstrings, and erector spinae). Here is how to execute it safely with your neoprene dumbbell.
Step 1: The Head-Cupping Grip
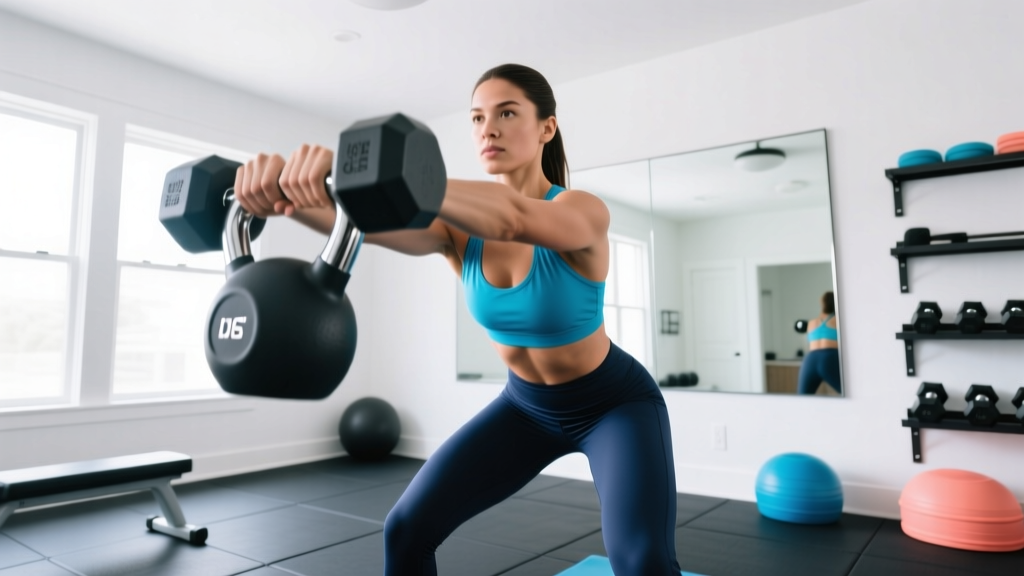
Instead of holding the handle, place the dumbbell vertically on the floor. Bend over and place both hands over one of the neoprene-coated heads. Interlock your fingers or stack one hand over the other, wrapping your palms securely around the rounded or hex-shaped top of the dumbbell head. This mimics the horn-grip of a kettlebell and keeps your wrists straight.
Step 2: The Setup and Hike
Stand with your feet slightly wider than shoulder-width apart, toes pointed out about 15 degrees. Hinge at your hips—pushing your glutes back toward the wall behind you—while keeping your shins relatively vertical. Hike the dumbbell back between your legs. Your forearms should brush the inner thighs, and the neoprene head should point toward the floor.
Step 3: The Explosive Snap
Drive your hips forward violently by squeezing your glutes and bracing your core. This hip extension is what propels the dumbbell forward. Do not use your shoulders to lift the weight. The power comes entirely from the snap of the hips.
Step 4: The Float and Catch
As the dumbbell reaches chest or eye level, it should momentarily 'float' in your hands. Your body should form a straight, vertical plank from head to heels. As gravity pulls the weight back down, immediately hinge at the hips again to guide it back between your legs for the next repetition. Breathe out sharply on the snap, and inhale on the hike.
'The arm is just a rope attached to the hip. The hip does the work, the arm just holds on.' - Pavel Tsatsouline, Kettlebell Pioneer
Biomechanics and Form: Mastering the Hip Hinge
The most common barrier for beginners learning kettlebell swings with a dumbbell is confusing the hip hinge with a squat. The American Council on Exercise (ACE) emphasizes that a proper hinge requires maximum hip flexion with minimal knee flexion. If your knees travel far over your toes, you are squatting the weight, which shifts the load to your quads and lower back rather than your hamstrings and glutes.
💡 Beginner Drill: The Wall TouchStand about one foot away from a wall, facing away from it. Keep your knees soft but fixed. Push your hips backward until your glutes touch the wall. Take a half-step forward and repeat. Keep stepping forward until you can no longer touch the wall without bending your knees excessively. This is your exact hinge depth for the swing.
Common Mistakes and Troubleshooting
Even with the secure grip of a neoprene dumbbell, poor form can lead to injury. Watch out for these failure modes:
- Mistake: Pulling with the Shoulders. Fix: Imagine your arms are hooks. If your front deltoids are burning, you are lifting the weight instead of swinging it. Reduce the weight and focus on the glute snap.
- Mistake: Rounding the Lower Back. Fix: This happens when the weight is too heavy or your hamstrings are tight. Engage your lats by pretending to 'crush an orange in your armpits' during the hike phase to keep your thoracic spine extended.
- Mistake: Death Grip Fatigue. Fix: Squeezing the neoprene head too tightly will burn out your forearms before your glutes get a workout. Grip tightly only at the apex of the swing; relax your hands slightly during the float phase.
Beginner Programming: Your First 4 Weeks
For beginners, the Every Minute on the Minute (EMOM) format is ideal. It forces you to rest and prevents form breakdown due to cardiovascular fatigue. Use a 15 lb to 25 lb neoprene dumbbell to start.
| Week | Format | Reps per Minute | Total Duration | Focus |
|---|---|---|---|---|
| Week 1 | EMOM | 10 Reps | 10 Minutes | Perfecting the Hike and Hinge |
| Week 2 | EMOM | 12 Reps | 10 Minutes | Explosive Glute Snap |
| Week 3 | EMOM | 15 Reps | 12 Minutes | Cardiovascular Endurance |
| Week 4 | EMOM | 15 Reps | 15 Minutes | Work Capacity & Grip Stamina |
Frequently Asked Questions
Can I use an adjustable dumbbell for swings?
It is highly discouraged. Adjustable dumbbells (like dial or pin-lock models) contain internal plastic mechanisms and small metal pins that can fail under the extreme G-force generated by swinging. Stick to fixed-weight, solid cast-iron neoprene dumbbells for safety.
How do I clean my neoprene dumbbell after sweaty swings?
Neoprene is porous and can harbor bacteria if left damp. After your workout, wipe the dumbbell heads and handle down with a microfiber cloth and a mild, alcohol-free antibacterial wipe. Avoid harsh bleach solutions, as they will dry out the polychloroprene and cause it to flake and peel over time.
What weight should a beginner start with?
Unlike traditional strength training where you might start very light, the swing requires enough momentum to teach the body the hip-hinge pattern. Generally, women should start with a 15 lb to 20 lb neoprene dumbbell, and men should start with a 25 lb to 35 lb dumbbell. If the weight is too light, you will inevitably use your arms to lift it, ruining the biomechanical intent of the exercise.
More gear to consider
All reviews
Best Storage for Dumbbell Workouts for Chest Without a Bench

Budget Racks for Good Back Workouts With Dumbbells 2026
Neoprene Dumbbell Workouts for Weight Loss: A Beginner's Home Guide
Iron vs Bumper Plates: 2026 Trends & Dumbbell Overhead March
Adjustable Dumbbell Setup for the Perfect Darebee Dumbbell Workout