
Target Incline Dumbbell Press Muscles With Loadable Dumbbell Sets
Maximize space and target incline dumbbell press muscles effectively. Discover layout designs and top loadable dumbbell handles for compact home gyms.

Space Optimization Meets Heavy Upper Chest Training
Designing a high-performance home gym in a constrained footprint is one of the most common challenges for modern lifters. When your programming requires heavy, progressive overload to target the incline dumbbell press muscles—primarily the clavicular head of the pectoralis major, the anterior deltoids, and the triceps brachii—traditional fixed-weight dumbbell racks are a massive spatial and financial liability. A full 5-to-50-pound set of rubber hex dumbbells requires a dedicated 12-square-foot footprint and can easily exceed $1,500 in 2026 pricing.
The ultimate space-saving solution? Loadable dumbbells with interchangeable plates. By utilizing Olympic or standard loadable dumbbell handles paired with a compact stack of fractional and standard bumper plates, you can replicate a massive dumbbell wall in less than 3 square feet. However, executing the incline dumbbell press with loadable handles introduces unique biomechanical and spatial considerations that most generic home gym guides completely ignore.
Biomechanics and the Incline Dumbbell Press Muscles
To optimize your layout, you must first understand the physical arc required to stimulate the target musculature. According to kinesiology data from ExRx.net, the incline dumbbell press heavily isolates the clavicular (upper) pectoralis major. Furthermore, a landmark study published in the National Center for Biotechnology Information (NCBI) demonstrated that a bench angle of 30 to 45 degrees yields the highest electromyographical (EMG) activation of the upper chest compared to flat or steep inclines.
Because the upper chest is a smaller muscle group than the mid-chest or lats, it requires precise micro-loading to progress. Loadable dumbbells allow you to add 1.25 lb or 2.5 lb fractional plates, enabling the progressive overload necessary for hypertrophy without the massive 5 lb or 10 lb jumps found in standard adjustable dial dumbbells.
Equipment Deep Dive: Top Loadable Dumbbell Handles
Not all loadable dumbbell handles are created equal, especially when factoring in sleeve length and collar security. Below is a comparison of the top loadable options for compact home gyms in 2026.
| Brand & Model | Sleeve Length | Max Load (Approx.) | Collar Type | Est. Price (Pair) |
|---|---|---|---|---|
| Rogue Loadable Dumbbell Handles | 6.75 inches | 110 lbs per DB | Spring / HG 2.0 Collar | $195.00 |
| Titan Fitness 20" Loadable Dumbbell | 7.0 inches | 105 lbs per DB | Spin-Lock / Spring | $129.99 |
| Yes4All 20" Olympic Spin-Lock | 7.5 inches | 80 lbs per DB | Star Spin-Lock | $65.00 |
The Micro-Loading Advantage
When targeting the incline dumbbell press muscles, lifters frequently stall at 35 lbs or 40 lbs per hand. With a loadable handle and a set of fractional change plates (e.g., 0.5 lb and 1 lb bumpers), you can bridge the gap between fixed weights, ensuring continuous mechanical tension and muscle fiber recruitment without needing to purchase an entire new set of fixed dumbbells.
Layout Design: Clearances and Spatial Geometry
Space optimization is not just about storing equipment; it is about ensuring you have the physical clearance to perform the movement safely. The incline dumbbell press requires a wide arc at the bottom of the movement to fully stretch the pectoral fibers.
The 84-Inch Clearance Rule
A standard adjustable weight bench is roughly 12 inches wide. The average male wingspan requires about 36 inches of clearance on either side to achieve a full stretch at the bottom of an incline press without the plates striking the floor or a wall. Total required clear width: 84 inches (7 feet).
Always position your bench so the 7-foot clearance zone is free of plate trees, power rack uprights, or walls. If your room is narrower, orient the bench longitudinally down the center of the room rather than horizontally against a wall.
Plate Storage Solutions for Tight Footprints
To keep your 84-inch clearance zone safe, your interchangeable plates must be stored efficiently. Avoid traditional A-frame plate trees, which have a wide triangular base that creates tripping hazards during dumbbell pickups.
- Wall-Mounted Plate Pegs: The gold standard for space optimization. Mounting a 2-peg or 3-peg wall bracket keeps your 2.5 lb, 5 lb, and 10 lb plates entirely off the floor, utilizing dead vertical space.
- Vertical Post Storage: If you cannot drill into walls (e.g., renting a garage gym), use a single vertical storage post bolted to a 2x2 foot plywood base, tucked tightly into a corner outside your clearance zone.
Critical Failure Mode: Collar Security on the Incline Arc
Here is a non-obvious, real-world engineering issue that plagues loadable dumbbells during incline presses: Gravity Vector Slippage.
When performing a flat press, gravity pulls the plates straight down into the inner shoulder of the dumbbell handle. However, when you set your adjustable bench to a 30 or 45-degree incline, the gravity vector shifts. At the bottom of the pressing arc, as your arms extend wide, gravity pulls the plates down the sleeve toward the collar.
Expert Warning: Cheap spin-lock collars (like those found on budget Amazon sets) rely on friction threads that frequently vibrate loose under the torque of heavy upper chest pressing. If a spin-lock collar backs out on a 45-degree incline, the plates will slide off the sleeve directly onto your face or clavicle. Always use high-tension spring collars or clamp-style collars (like Rogue HG 2.0s) when using loadable dumbbells for incline movements.
Step-by-Step: The Space-Optimized Incline Setup
To maximize safety and efficiency in a compact layout, follow this exact sequence when setting up for heavy incline dumbbell presses with loadable handles:
- Pre-Stage the Plates: Place your required interchangeable plates on the floor directly next to the base of the bench, grouped by weight. This prevents you from walking across your 84-inch clearance zone mid-set.
- Load and Lock: Slide the plates onto the sleeves. Secure them with spring collars, ensuring the collar is flush against the outermost plate. Give the handle a sharp tap on the floor to settle the plates before applying the collar.
- The Knee-Kick Pickup: Because loadable dumbbells are longer and more awkward than fixed hex dumbbells, do not attempt to curl them into position. Sit on the incline bench, rest the dumbbell heads on your thighs, and use a sequential "knee-kick" to drive the weights into the starting position at your shoulders.
- The Drop Zone: Upon completing the set targeting the incline dumbbell press muscles, do not drop the loadable dumbbells from the top of the arc. The extended sleeves can snap or bend the collars upon impact. Bring them down to your thighs in a controlled tuck, then lean forward to place them on the floor.
Final Thoughts on Compact Gym Engineering
Optimizing a home gym for heavy, hypertrophy-focused upper body training does not require sacrificing square footage to a massive dumbbell rack. By investing in high-quality loadable dumbbell handles, fractional bumper plates, and wall-mounted storage, you can target the incline dumbbell press muscles with elite-level precision. Understanding the spatial geometry of the pressing arc and the mechanical failure modes of sleeve collars ensures that your space-saving setup remains incredibly safe and effective for years to come.
More gear to consider
All reviews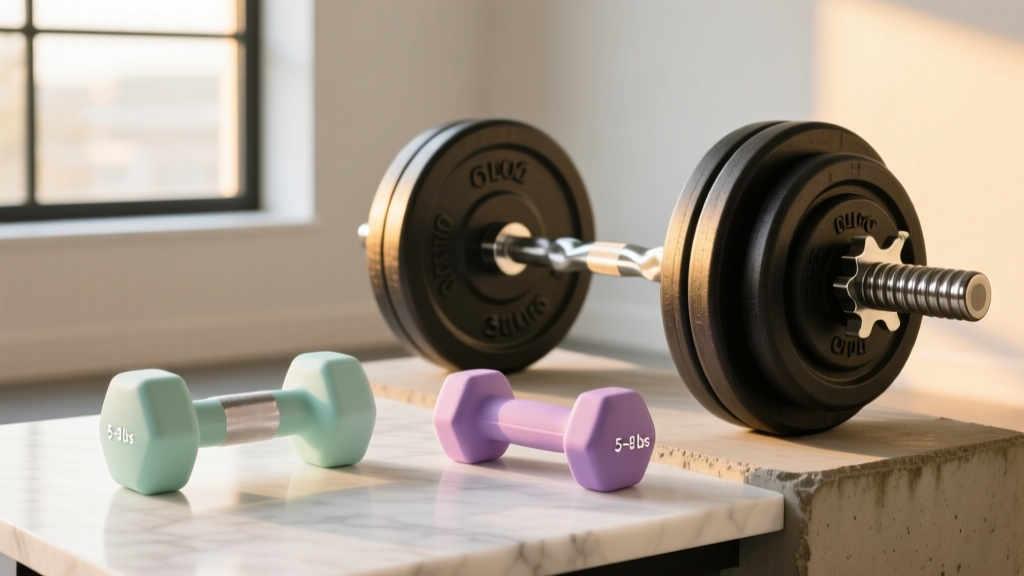
From Starter Dumbbell Weight for Women to Olympic Barbell Knurling

Choosing Olympic vs Standard Plates for Your Burpee Over Dumbbell WODs
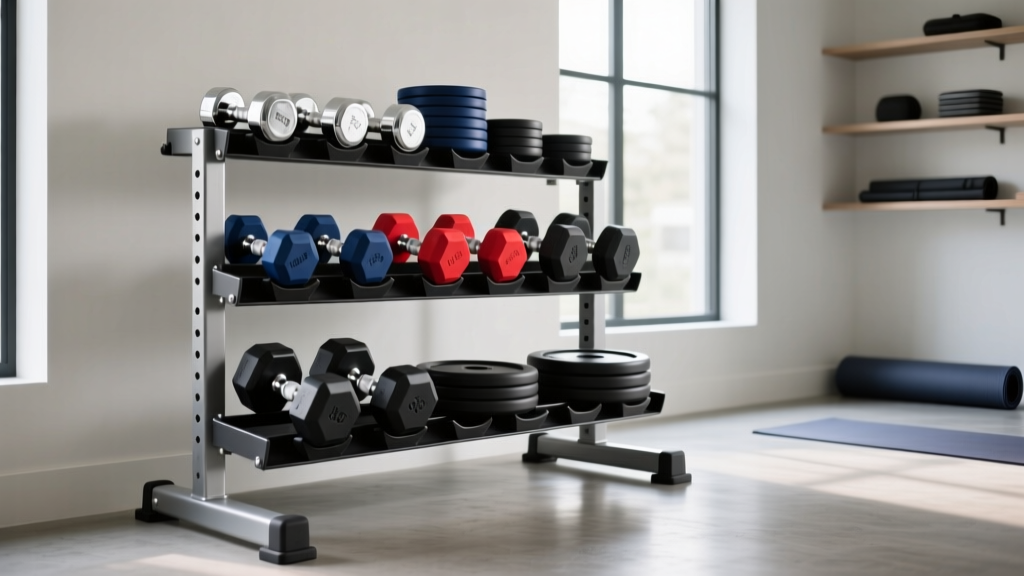
Dumbbell Rack Maintenance: Storage for Wrist Dumbbell Curls & More

Barbell Collar & Clamp Types for Rows and Dumbbell Lifts for Back

How to Get Bigger Biceps Without Dumbbells: Bumper vs Iron Plates
