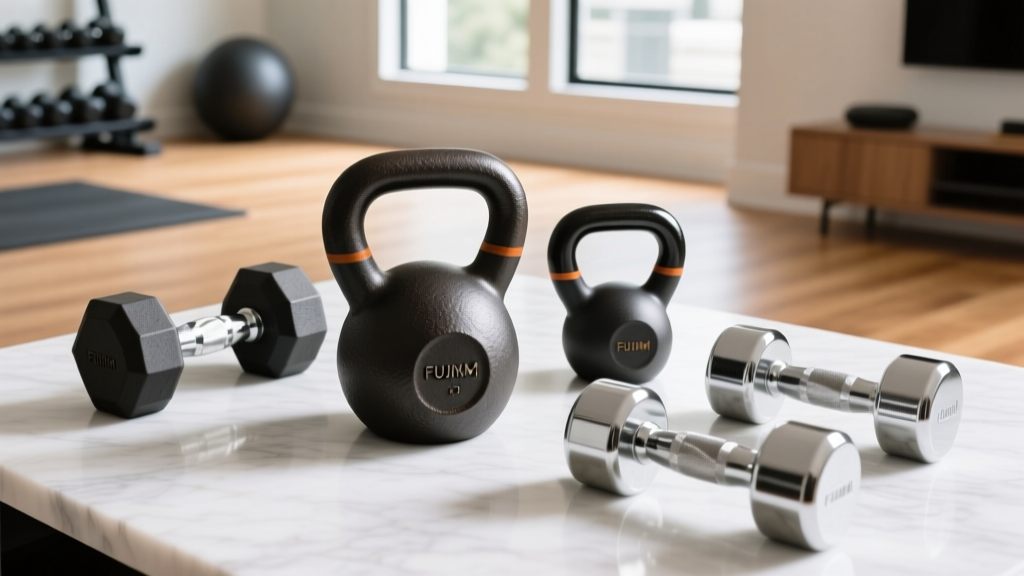
Gym Setup: Olympic Barbell Knurling & Core Exercises with Dumbbells
Master your 2026 home gym setup with our walkthrough on Olympic barbell weight, knurling profiles, and spatial planning for core exercises with dumbbells.

Building a functional, high-performance home gym in 2026 requires more than simply dropping a power rack into your garage. It demands strategic spatial planning, precise equipment selection, and a methodical installation process. Whether you are outfitting a dedicated basement facility or a two-car garage, your setup must seamlessly integrate heavy compound lifting zones with functional movement areas. This complete setup and installation walkthrough will guide you through selecting the perfect Olympic barbell based on weight and knurling, while also detailing how to configure your floor plan for dynamic core exercises with dumbbells.
Phase 1: The Barbell Station Setup and Selection
The anchor of any serious free weight facility is the barbell station. Before you bolt your rack to the floor, you must select an Olympic barbell that matches your biomechanics and training style. The market has stabilized in 2026, but the nuances of shaft diameter, tensile strength, and knurling remain critical differentiators.
Decoding Olympic Barbell Weight and Shaft Dimensions
When evaluating an Olympic barbell buying guide, weight and shaft dimensions are your primary filters. The standard men's Olympic bar weighs exactly 20kg (44 lbs) with a 28mm to 29mm shaft diameter. The women's Olympic standard is 15kg (33 lbs) with a 25mm shaft. However, the 'multi-purpose' category has dominated the home gym market, typically featuring a 28.5mm shaft that balances the grip comfort required for pressing with the whip needed for Olympic lifts.
Installation Callout: Bushing vs. BearingBefore mounting your bar on the rack's J-cups, understand the internal mechanics. Bronze bushings (found in the $200-$300 range) provide a slower, more controlled spin ideal for powerlifting and general strength. Needle bearings (found in $800+ weightlifting bars) allow rapid sleeve rotation for snatches and cleans. Installing a bearing bar on a rack without proper sleeve clearance can lead to premature wear.
Tensile strength, measured in PSI, dictates the bar's durability and 'whip'. A budget bar at 165,000 PSI will permanently bend if dropped with heavy loads. For a lifelong home gym setup, demand a minimum of 190,000 PSI. Premium models like the Eleiko Olympic Weightlifting Bar push past 215,000 PSI, justifying their $1,100+ price tag for competitive athletes.
Knurling Profiles: Matching Grip to Your Lift
Knurling is the machined pattern on the shaft that provides friction. According to extensive equipment testing by authorities like BarBend, the geometry of the knurl drastically impacts performance and hand health. Here is a breakdown of the three primary profiles you will encounter during your buying process:
| Knurl Type | Profile Geometry | Best Application | 2026 Market Example |
|---|---|---|---|
| Volcano | Concave rim with a flat, blunted peak | Multi-purpose, high-volume hypertrophy | Rogue Ohio Bar ($225-$295) |
| Mountain | Sharp, aggressive, pointed peaks | Heavy 1RM Powerlifting, Deadlifts | Kabuki Strength New Gen ($350+) |
| Hill | Shallow, rounded, smooth peaks | Beginners, high-rep endurance, budget bars | Generic Amazon Import ($120-$150) |
For 90% of home gym owners, the volcano knurl is the optimal choice. It provides immense grip security by creating a rim that your skin folds into, without the sharp peak that tears calluses during high-volume setup work. Additionally, decide if you need a center knurl. Powerlifters prefer a center knurl to grip the upper back during low-bar squats, while CrossFit athletes often omit it to prevent chest abrasion during cleans.
Phase 2: Spatial Planning for Core Exercises with Dumbbells
A common failure in home gym setups is treating the space outside the power rack as 'dead space'. To build a truly athletic physique, you must allocate a dedicated 6x8 foot rubber mat zone specifically designed for functional movement and core exercises with dumbbells. Unilateral dumbbell loading creates anti-rotational torque that barbells simply cannot replicate.
Configuring the Functional Mat Zone
According to core stability principles outlined by the National Strength and Conditioning Association (NSCA), anti-rotation and anti-extension movements are vital for spinal health and athletic power transfer. To facilitate this, your installation must include:
- Seamless Flooring: Lay down 4x6 foot, 3/4-inch thick vulcanized rubber horse stall mats. Use heavy-duty double-sided carpet tape on the seams to prevent shifting during dynamic movements.
- Adjustable Dumbbell Station: Space is at a premium. Instead of a full 5-50 lb dumbbell rack, install a compact tiered stand holding adjustable dumbbells (like the Nuobell 80lb or PowerBlock Pro series). This allows rapid weight changes for complex core circuits.
- Clearance Metrics: Ensure a minimum of 3 feet of clearance on all sides of the mat zone to allow for suitcase carries and rotational throws without striking the power rack uprights.
When programming this zone, prioritize movements like Renegade Rows (which challenge anti-rotational core stability while loading the lats), Weighted Dead Bugs (using light dumbbells to increase lever-arm resistance), and Dumbbell Pull-Throughs. Having the dumbbells physically staged adjacent to your barbell platform allows for seamless superset transitions during your training sessions.
Phase 3: Step-by-Step Installation Walkthrough
With your equipment selected, it is time to execute the physical installation. Improper assembly is a leading cause of equipment failure and injury. Follow this exact sequence to ensure a commercial-grade setup.
- Subfloor Preparation: Sweep and vacuum the concrete or wood subfloor. If installing over wood, locate the floor joists using a stud finder. If on concrete, ensure the surface is level within a 1/4-inch tolerance over a 10-foot span to prevent rack wobble.
- Rack Positioning and Anchoring: Position your power rack (e.g., Rep Fitness PR-4000 or Rogue R-3) leaving exactly 18 inches of clearance from the wall for plate storage and barbell sleeve clearance. Mark the anchor holes.
- Drilling and Securing: For concrete, use a hammer drill with a 1/2-inch masonry bit to drill 3-inch deep holes. Insert 1/2-inch wedge anchors and torque them to 60 ft-lbs using a torque wrench. For wood subfloors, use 3/8-inch x 4-inch structural lag screws driven directly into the floor joists.
- Mat Installation: Lay your rubber mats starting from the center of the drop zone outward. Cut the mats to fit around the rack uprights using a utility knife with a fresh blade and a straight-edge guide.
- J-Cup and Safety Strap Setup: Install your J-cups at the appropriate height for your squats and bench press. Attach UHMW plastic liners to the J-cups to protect your barbell's knurling and finish from metal-on-metal scraping during reracking.
"The longevity of your Olympic barbell is directly tied to your storage and racking habits. Dropping a loaded barbell onto safety straps is acceptable, but dropping an empty bar onto the knurling will cause micro-fractures in the steel over time. Always store the bar horizontally on lined J-cups or vertically in a designated barbell holder."
— Facility Setup Guidelines, ExRx.net Biomechanics Archives
Maintenance and Long-Term Care
Once your gym is fully installed, establish a monthly maintenance routine. The knurling on your Olympic barbell acts as a trap for dead skin, chalk, and ambient moisture. In 2026, with many home gyms lacking commercial-grade HVAC systems, humidity is the enemy of raw and zinc-finished steel.
Once a month, take a stiff nylon brush and scrub the knurling to remove embedded debris. Follow this by applying a light coat of 3-in-One oil or a specialized barbell防锈 (rust-prevention) spray, wiping off the excess with a microfiber cloth. For your dumbbell zone, inspect the adjustable mechanisms for chalk buildup, which can cause the weight-selection dials to jam mid-workout.
Final Thoughts on Your 2026 Setup
A successful home gym is a cohesive ecosystem. By taking the time to deeply understand Olympic barbell weight specifications and knurling profiles, you ensure that your primary lifting tool is a joy to use rather than a source of frustration. Furthermore, by intentionally designing and installing a dedicated spatial zone for core exercises with dumbbells, you bridge the gap between raw strength and functional athleticism. Follow this walkthrough, respect the installation tolerances, and your facility will serve you safely for decades.
More gear to consider
All reviews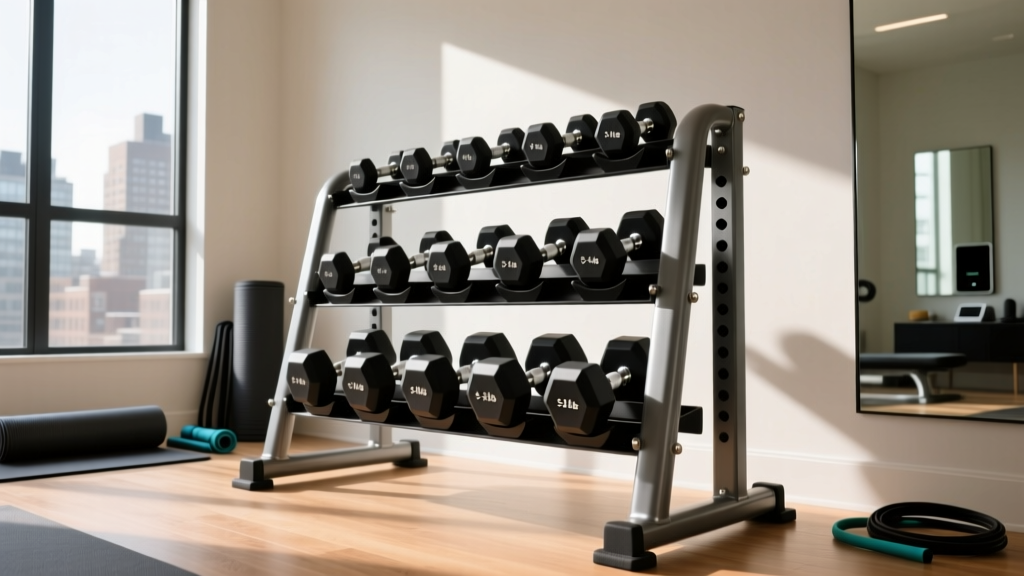
Top Dumbbell Racks 2026: Safe Storage When Using Dumbbells for Abs
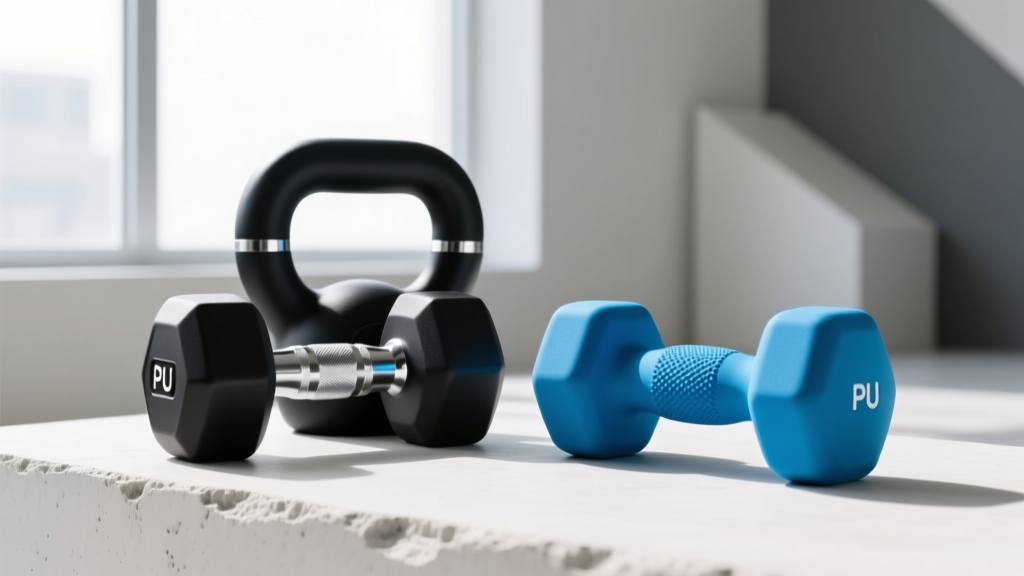
PU Dumbbell Set vs Neoprene: Home Gym Showdown 2026
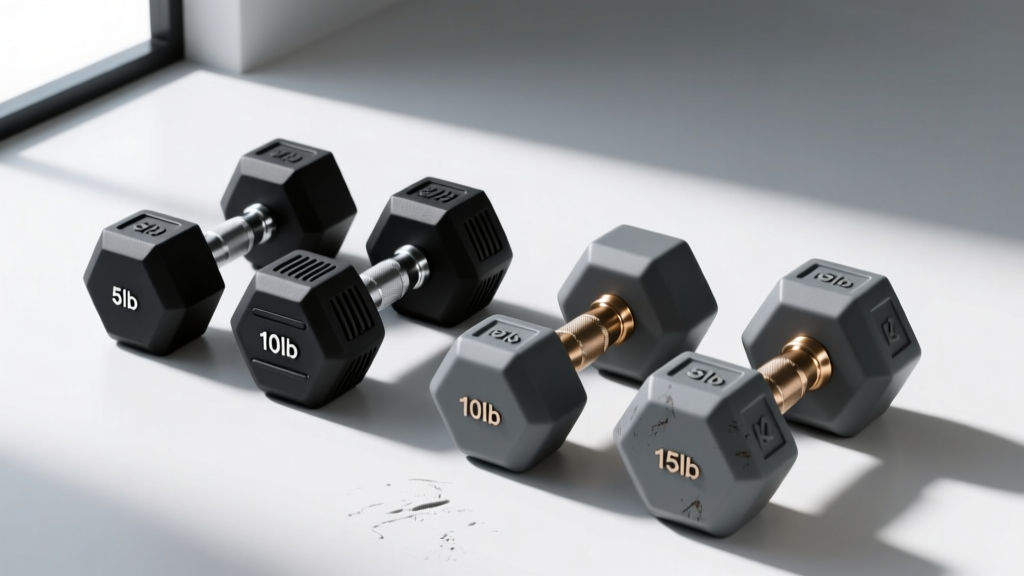
2026 Trends: Rubber Hex vs Urethane Dumbbell Chop Exercise
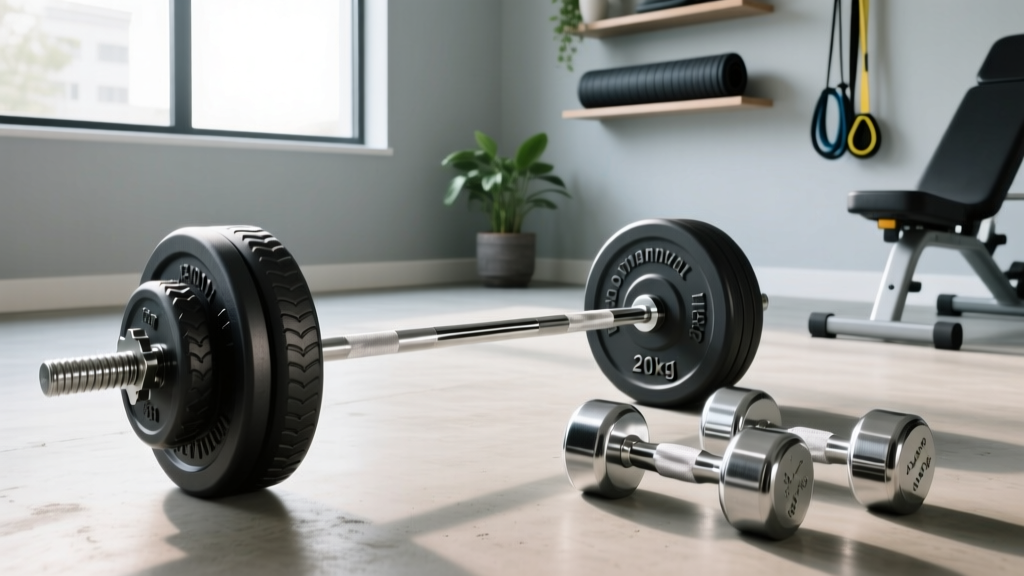
Olympic Barbell Knurling Guide & Incline Dumbbell Reverse Fly
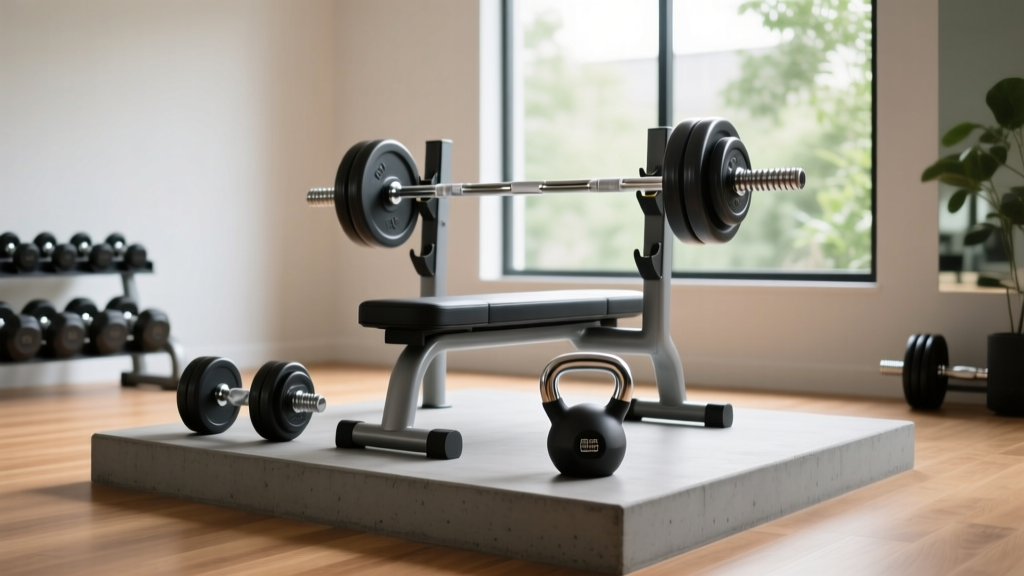
Free Weights Longevity: Is Dumbbell Bench Press Better Than Barbell? & Kettlebell Care