
EZ Curl Bar vs Straight Bar & Face Pulls at Home with Dumbbells
Compare EZ curl bar vs straight bar biomechanics, plus expert techniques for executing face pulls at home with dumbbells to build complete, injury-proof arms.

The Upper-Body Dilemma: Anterior Builders vs. Posterior Stabilizers
Building a complete, injury-resilient upper body in a home gym requires a strategic approach to both anterior pulling muscles and posterior stabilizers. In 2026, the debate over the most effective bicep builders remains heavily focused on the EZ curl bar vs straight bar comparison. While mastering your curl variations is essential for peak arm development, neglecting the rear deltoids and rotator cuff is a common failure mode that leads to severe postural imbalances and shoulder impingement.
This hands-on review breaks down the exact biomechanics of curl bars, features our top equipment picks for the year, and provides a masterclass on how to seamlessly integrate face pulls at home with dumbbells to bridge the posterior chain gap without needing a $3,000 cable crossover machine.
The Biomechanics: EZ Curl Bar vs Straight Bar Comparison
The human arm does not hang perfectly straight at the side; it features a natural outward angulation known as the cubital valgus or carrying angle. When you perform curls, this anatomical reality dictates how your wrists and elbows handle load.
💡 Expert Insight: The Supination TrapA standard straight bar forces your hands into full supination (palms facing directly upward). According to biomechanical analyses from ExRx.net, forcing this rigid wrist position while loading the elbow joint can create excessive torque on the medial epicondyle, frequently leading to golfer's elbow (medial epicondylitis) in lifters with a pronounced carrying angle.
Why the EZ Bar Often Wins for Home Gyms
The EZ curl bar features angled grips—typically set between 45 and 60 degrees. This allows for a semi-supinated grip, which aligns the wrist and elbow joints more naturally. You sacrifice a marginal amount of peak bicep brachii activation compared to a straight bar, but you gain a massive advantage in joint longevity and the ability to train heavier without connective tissue pain.
| Feature | Olympic Straight Bar | Olympic EZ Curl Bar |
|---|---|---|
| Grip Angle | 0° (Full Supination) | 45° - 60° (Semi-Supinated) |
| Joint Torque | High (Wrist & Medial Elbow) | Low (Ergonomic Alignment) |
| Primary Muscle Bias | Biceps Brachii (Short Head) | Brachialis & Brachioradialis |
| Standard Weight | 20 kg (44 lbs) | 9 kg - 15 kg (20 - 33 lbs) |
2026 Hands-On Review: Top Curl Bars for Home Lifters
After testing over a dozen models in our home gym lab, here are the top performers that balance knurling quality, tensile strength, and price.
1. Rogue Fitness Curl Bar (The Gold Standard)
Priced at $110.00, the Rogue Curl Bar remains the undisputed champion for serious home gyms. It features a 190,000 PSI tensile strength steel shaft and a 15KG (33lb) weight. The hard chrome finish resists corrosion, and the volcano knurling provides aggressive grip without tearing your calluses during heavy 8-rep max sets.
2. Titan Fitness EZ Curl Bar (The Budget Pick)
At $89.99, Titan’s offering is slightly lighter at 12KG and features a more passive knurl. It is an excellent entry-level bar, though the sleeve tolerances are looser, meaning your plates might rattle slightly during strict, slow-eccentric curls.
The Posterior Gap: Why You Must Train Rear Delts
Barbells are phenomenal for building the anterior chain (chest, front delts, biceps). However, research published by the National Center for Biotechnology Information (NCBI) highlights that muscular imbalances between the anterior and posterior shoulder girdle are a primary catalyst for rotator cuff pathology and shoulder impingement in resistance-trained individuals.
To bulletproof your shoulders, you need horizontal pulling with external rotation. The cable face pull is the gold standard. But what if your home gym lacks a functional trainer or cable stack? This is where mastering face pulls at home with dumbbells becomes a non-negotiable skill.
How to Execute Face Pulls at Home with Dumbbells
Unlike cables, which provide constant horizontal tension, dumbbells rely on gravity (vertical resistance). To mimic the horizontal vector of a cable face pull, we must alter your body angle using an adjustable bench.
The Chest-Supported Incline Method
This is the most biomechanically accurate way to perform face pulls at home with dumbbells, as it completely removes lower-back momentum and isolates the rear delts and rhomboids.
- Setup: Set an adjustable FID bench to a 30-degree or 45-degree incline.
- Weight Selection: Grab a pair of light adjustable dumbbells (e.g., Nuobell or PowerBlock set to 10-15 lbs). Leave your ego at the door; rear delts are small muscles.
- Positioning: Lie chest-down on the bench. Let your arms hang straight down with a neutral grip (palms facing each other).
- The Pull: Initiate the movement by pulling your elbows high and wide, aiming the dumbbells toward your ears (not your eyes).
- External Rotation: At the peak of the movement, externally rotate your shoulders so your knuckles point toward the ceiling. Your arms should form a 90-degree angle at the elbow.
- Eccentric: Take a full 3 seconds to lower the weight back to the starting position, feeling a deep stretch across the rear deltoids.
"The magic of the face pull isn't in the weight moved; it's in the terminal external rotation. If you aren't pausing for one second at the peak contraction with your knuckles facing the ceiling, you're just doing a high row."
The Bent-Over Alternative (No Bench Required)
If you only have a flat bench or no bench at all, you can perform bent-over dumbbell face pulls. Hinge at the hips until your torso is strictly parallel to the floor. Maintain a rigid spinal posture and execute the same high-elbow pull with terminal external rotation. The failure mode here is lower-back fatigue; if your hamstrings or erectors give out before your rear delts, switch to the incline method immediately.
Programming: Integrating Curls and Face Pulls
To build a balanced 2026 training split, pair your anterior barbell work with posterior dumbbell stabilization. Here is an expert-approved superset protocol designed for hypertrophy and joint health:
The Arm & Shoulder Bulletproof Superset
- A1. EZ Bar Close-Grip Curls: 3 sets x 8-10 reps (Focus on the brachialis; use a 2-second eccentric).
- A2. Incline Dumbbell Face Pulls: 3 sets x 15-20 reps (Focus on the burn; use a 1-second peak contraction pause).
- B1. Straight Bar Reverse Curls: 3 sets x 12 reps (Targets the brachioradialis and forearm extensors).
- B2. Dumbbell Prone Y-Raises: 3 sets x 12 reps (Targets the lower trapezius to complete the posterior matrix).
Final Verdict: Building the Complete Home Gym Arsenal
The EZ curl bar vs straight bar comparison ultimately comes down to joint preservation. For 90% of home lifters, a high-quality EZ bar like the Rogue Curl Bar will yield better long-term results by keeping elbow tendinopathy at bay. However, no arm routine is complete without addressing the posterior shoulder. By mastering the incline chest-supported technique for face pulls at home with dumbbells, you can achieve the same postural benefits and rear-delt hypertrophy as those using commercial cable machines, ensuring your physique is as functional and resilient as it is aesthetic.
More gear to consider
All reviews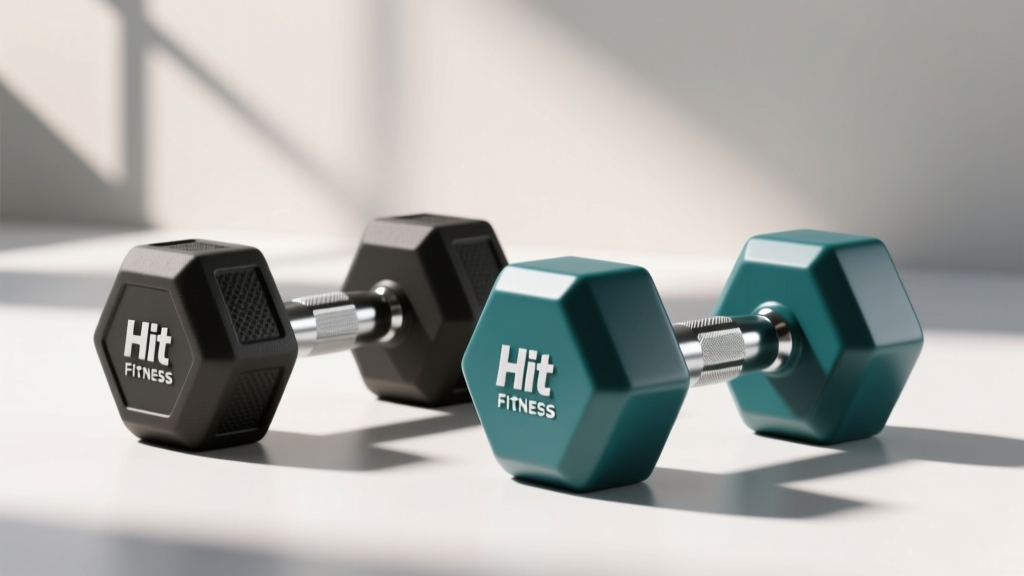
Hit Fitness Hex Dumbbells: Rubber vs Urethane Hands-On Review

EZ Curl Bar vs Straight Bar: Does a 12lb Dumbbell Win?
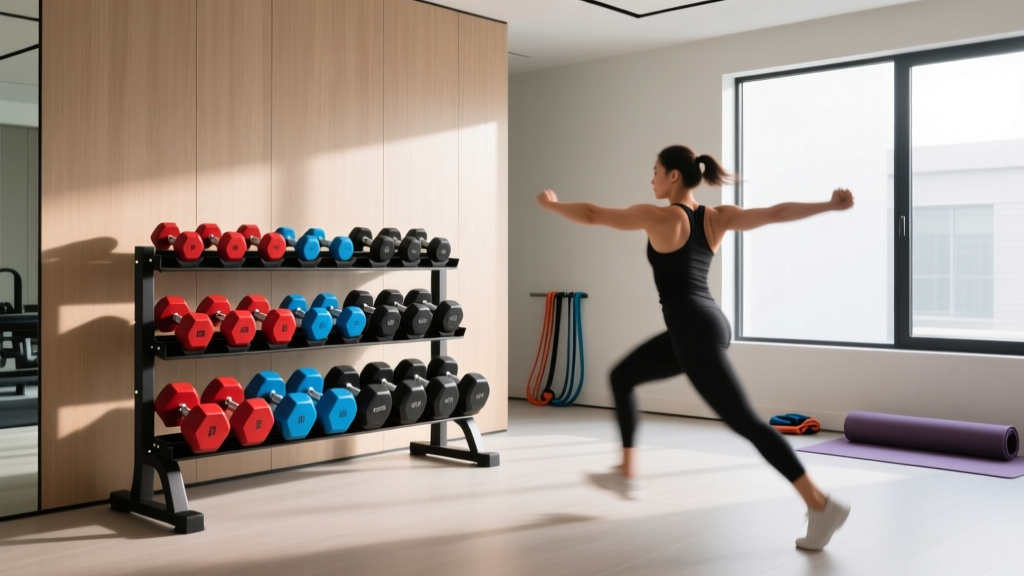
Dumbbell Racks: Clearing Space for Rear Delt Exercises with Dumbbells

Barbell Collar & Clamp Comparison: Setup for Dumbbell Strict Press

Bumper Plate vs Iron Plate: Gear for Pulls & Dumbbell Side Crunch
