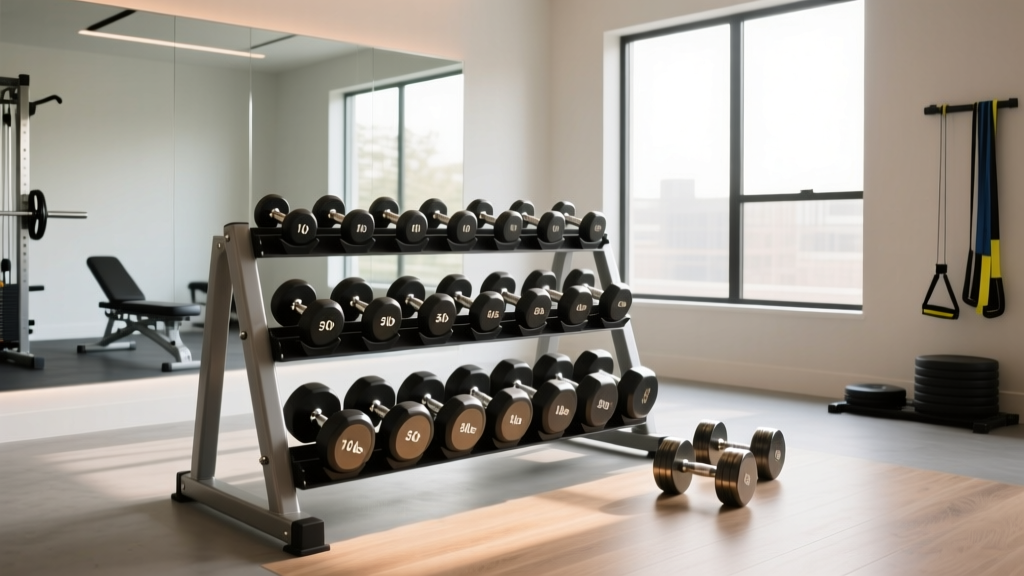
Dumbbell Rack Layouts for a Dumbbell Only Back and Bicep Workout
Optimize your home gym layout for a dumbbell only back and bicep workout. Compare rack footprints, weight clearances, and space-saving storage solutions.

The Biomechanical Link: Why Storage Dictates Workout Flow
Executing a high-intensity dumbbell only back and bicep workout in a home gym requires more than just a good routine; it demands a meticulously optimized physical environment. Back and bicep training is uniquely taxing on spatial logistics. Unlike leg days, where you might anchor yourself to a single squat rack, pull days involve rapid weight transitions. You might superset heavy 60-pound bent-over rows with 25-pound incline dumbbell curls, requiring immediate access to vastly different weight increments.
If your dumbbells are scattered across the floor or stored on a low-profile single-tier rack, you risk breaking your workout cadence and, worse, compromising your spinal integrity. According to ergonomic guidelines on manual material handling published by OSHA, repetitive bending and twisting under load drastically increases the shear force on lumbar discs. When you are fatigued from heavy pulling, bending to the floor to retrieve a lighter weight for a bicep finisher is a primary mechanism for lower back strain.
This guide breaks down the exact dumbbell rack and storage solutions required to maximize floor space, maintain workflow, and protect your body during a dedicated dumbbell only back and bicep workout in 2026.
Rack Footprint & Capacity Matrix (2026 Market Data)
Not all racks are created equal, and the 'best' option depends entirely on your room's dimensions. Below is a comparison of the top space-saving storage solutions currently dominating the home gym market, evaluated specifically for pull-day ergonomics.
| Rack Model | Type | Footprint (L x W) | Capacity | Approx. Price (2026) | Best Application |
|---|---|---|---|---|---|
| Rogue 3-Tier Dumbbell Rack | Freestanding A-Frame | 35' x 23' | 15 Pairs (5-50 lbs) | $395 | Dedicated gym rooms; heavy rowing supersets |
| Fringe Fitness Wall Mount | Wall-Saddle | 42' x 6' | 5 Pairs | $149 | Small apartments; maximizing floor pullover space |
| Rep Fitness 3-Tier Rack | Freestanding A-Frame | 36' x 24' | 15 Pairs | $299 | Budget-conscious buyers needing tiered access |
| BOWFLEX SelectTech Stand | Vertical Column | 22' x 26' | 1 Pair (Adjustable) | $129 | Minimalist spaces using adjustable dumbbells |
Wall-Mounted Saddle Racks: Maximizing Floor Clearance
When designing a layout for a dumbbell only back and bicep workout, floor clearance is paramount. Movements like dumbbell pullovers, renegade rows, and floor-based single-arm spider curls require you to lie flat or extend your limbs fully. A freestanding rack in the center or edge of a small room creates a 'dead zone' that restricts your range of motion.
The Spatial Advantage
A wall-mounted saddle rack, such as the Fringe Fitness 5-Pair Wall Mount, projects only 6 inches from the wall. By elevating your primary working weights (typically 20 lbs through 45 lbs for bicep isolation) to chest height, you completely eliminate the need to bend over to retrieve your tools. Furthermore, mounting the rack on the wall directly behind your adjustable bench creates a seamless 'pull zone.' You can perform chest-supported rows, simply sit up, and grab your curling weights without taking a single step.
Installation Warning: Never mount a dumbbell rack to standard drywall. Five pairs of 40-pound dumbbells exert 200 pounds of dead weight, plus dynamic loading forces when dropping weights into the saddles. You must use a stud finder to locate 16-inch-on-center wooden studs and secure the bracket using 3/8-inch x 3-inch structural lag screws.The 3-Tier A-Frame: Ergonomics for Heavy Supersets
If your space allows for a freestanding unit, a 3-tier A-frame rack is the gold standard for back training. Back muscles are large and require heavy loads (e.g., 50-70 lb dumbbells for rows), while biceps require moderate loads (e.g., 20-35 lb dumbbells). A 3-tier rack naturally segregates these weights by height.
- Bottom Tier (12' off ground): Reserve for heavy back movements (50+ lbs). The lower center of gravity prevents the rack from tipping when loading/unloading massive hex dumbbells.
- Middle Tier (24' off ground): Reserve for moderate weights used in upright rows, shrugs, and heavy hammer curls.
- Top Tier (36' off ground): Reserve for lighter isolation curls and warm-up sets, keeping them exactly at arm's reach when standing upright.
According to strength training ergonomics highlighted by the Mayo Clinic, maintaining a neutral spine during weight retrieval is critical for injury prevention. The top tier of a 35-inch high rack allows you to grab 25-pound dumbbells for preacher curls without any spinal flexion, preserving your lower back for the heavy bent-over rows that initiated your workout.
Layout Blueprint: The 8x8 Foot 'Pull-Day' Zone
Space optimization is not just about the rack; it is about the relationship between the rack, the bench, and the user. Men's Health fitness directors frequently emphasize the 'work triangle' in home gym design. For a dumbbell-focused back and bicep day, map out an 8x8 foot zone using the following blueprint:
- The Anchor (Wall 1): Mount your wall saddle rack or place your 3-tier A-frame against the longest uninterrupted wall.
- The Bench (Center): Position an adjustable FID (Flat/Incline/Decline) bench exactly 3 feet away from the rack, parallel to the wall. This 3-foot gap is the 'transition corridor'—wide enough to walk through with heavy dumbbells, but tight enough to maintain your workout flow.
- The Drop Zone (Floor): Place a 3/4-inch thick rubber horse stall mat directly adjacent to the bench. When finishing a grueling set of heavy single-arm rows, you must be able to safely drop the weights without damaging your subfloor or the dumbbell knurling.
Weight Selection: Curating the Rack for Hypertrophy
A common mistake in home gym space optimization is trying to display every dumbbell you own. If you are strictly running a dumbbell only back and bicep workout program, you do not need your 5 lb, 8 lb, and 10 lb neoprene-coated dumbbells taking up prime real estate on your main rack.
Curate your rack to hold only the 'hypertrophy range' for your upper body pulling muscles. For most intermediate lifters, this means stocking the rack exclusively with 15 lb to 50 lb dumbbells in 5-pound increments. Store the ultra-light rehab/prehab weights in a plastic bin under your bench or in a closet. This curation allows you to buy a smaller, more compact 5-pair or 10-pair rack, reclaiming up to 4 square feet of valuable floor space.
Common Storage Failure Modes and Edge Cases
Even the best layout can fail if you ignore the physical realities of fitness equipment. Watch out for these specific edge cases:
1. Urethane vs. Rubber Degradation
If your storage area lacks climate control (e.g., a garage gym), avoid cheap rubber-coated dumbbells. Rubber off-gasses heavily in summer heat and can become brittle and flake over time. Urethane dumbbells, while 30-40% more expensive upfront, are UV and temperature resistant, ensuring your storage rack doesn't become a mess of black rubber dust.
2. Saddle Width Mismatches
Many generic wall racks feature narrow 5-inch saddles. If you purchase modern, large-head hex dumbbells (like the Rogue Urethane Hex line), the heads may be too wide to sit securely in the saddle, causing them to rest on the handle. This bends the handle over time and creates a severe tipping hazard. Always measure the head-width of your heaviest dumbbell before ordering a wall-mounted rack.
3. The 'Tipping Torque' Effect
Freestanding A-frames are inherently tippy if loaded incorrectly. Always load your heavy back-day dumbbells on the bottom tier first. If you place 50-pound dumbbells on the top tier and leave the bottom tier empty, the center of gravity shifts dangerously high, creating a tipping torque that can collapse the rack onto your foot during a set.
FAQ: Space Optimization for Small Apartments
Q: Can I do a dumbbell only back and bicep workout if I only own adjustable dumbbells?
A: Absolutely. Adjustable dumbbells (like Bowflex 552s or Nuobells) eliminate the need for a multi-pair rack entirely. Invest in a single vertical pedestal stand (approx. 22' x 26' footprint) and place it in the corner of your room. This gives you 50+ pounds of progressive overload while occupying less than 4 square feet of floor space.
Q: How far should the rack be from a mirror?
A: Maintain at least 18 inches of clearance between the back of the dumbbell rack and a wall-mounted mirror. This allows you to walk behind the rack to retrieve weights from the opposite side and prevents heavy dumbbell heads from accidentally shattering the glass during a fatigued set of lateral raises or rows.
More gear to consider
All reviews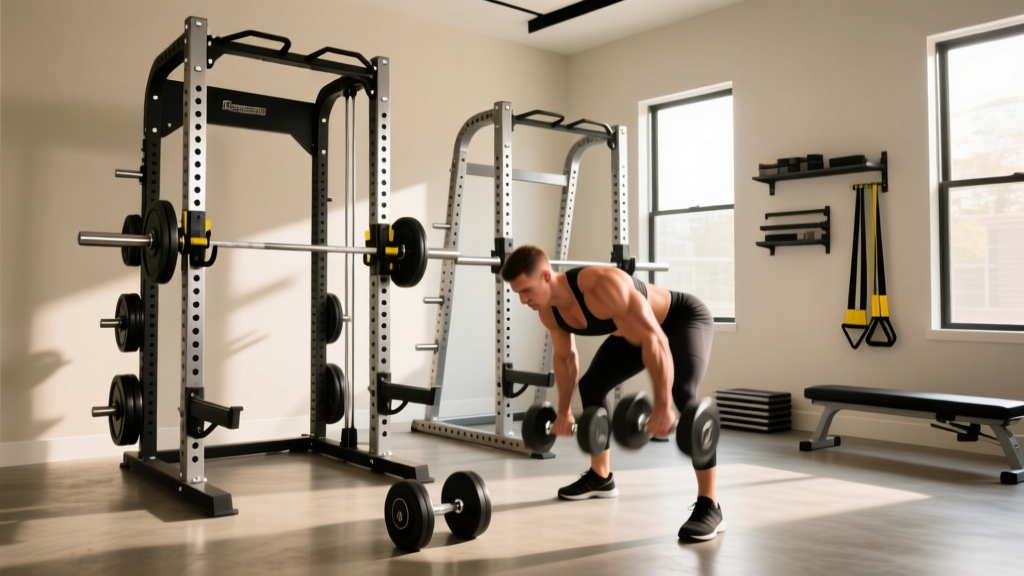
Power Rack vs Squat Rack: Mistakes & Bent Over Dumbbell Rows GIF

Iron vs Bumper Plates: Budget Guide & Dumbbell Renegade Row GIF Tips

Maximizing Glute Workouts With Dumbbells: 2026 Loadable Plate Trends

Power Rack vs Squat Stand: SA Dumbbell Bench Press Setups

2026 Dumbbell Rack Trends: Smart Storage & Dumbbell App Integration
