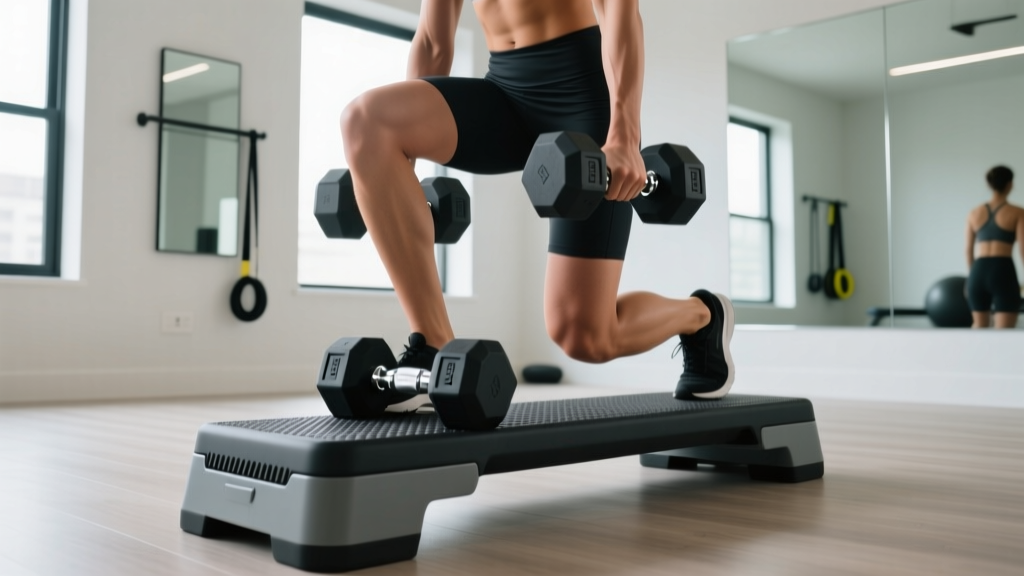
Dumbbell Halos & Barbell Collar Types: A Setup Walkthrough
Master your free weight station setup. We compare barbell collar types for safety and integrate mobility drills like dumbbell halos into your routine.

The Architecture of a Safe Free Weight Station
Setting up a dedicated free weight zone—whether in a commercial facility or a garage gym—requires more than simply bolting a power rack to the floor. A proper setup walkthrough demands a rigorous approach to spatial clearance, biomechanical preparation, and load security. In 2026, with home gym equipment tolerances becoming increasingly precise, understanding the micro-mechanics of your gear is non-negotiable for safety and performance.
This guide walks you through the complete setup and installation of your barbell and dumbbell stations. We begin by verifying your spatial envelope using dumbbell halos as a diagnostic tool, before transitioning into a deep-dive engineering comparison of barbell collar and clamp types to ensure your heavy loads remain secure.
Phase 1: Spatial Envelope Testing with Dumbbell Halos
Before you load 300 pounds onto your newly assembled squat rack, you must verify the spatial clearance of your lifting zone. Many lifters make the critical error of placing their rack too close to a wall or adjacent equipment, restricting overhead and rotational movements.
To test this, we use dumbbell halos. This shoulder mobility drill involves holding a single dumbbell by the heads and circling it closely around your neck and head. It is the ultimate spatial diagnostic tool for your new setup.
How to Execute the Spatial Test
- Select the Right Weight: Choose a 30 lb to 40 lb hex or urethane dumbbell. This provides enough physical bulk to accurately simulate the clearance needed for larger movements like snatches or overhead presses.
- Perform the Halo: Stand in the exact center of your rack or dumbbell zone. Slowly circle the dumbbell around your head, keeping your biceps flush against your ears.
- Check the Margins: If the dumbbell grazes the uprights of your power rack, the spotter arms, or a nearby wall, your station footprint is too tight. You need a minimum of 18 inches of clearance on all sides of your primary lifting axis to safely perform rotational and overhead movements.
- Biomechanical Prep: Beyond spatial testing, performing 3 sets of 10 dumbbell halos primes the glenohumeral joint and warms up the rotator cuff, preparing your shoulders for the heavy barbell loading to come in Phase 2.
Phase 2: Barbell Assembly and the Critical Role of Collars
Once your spatial envelope is verified and your shoulders are prepped, it is time to assemble the barbell station. The most frequently overlooked safety component in this phase is the barbell collar. A shifting plate during a heavy back squat or a dynamic clean doesn't just ruin the lift; it alters the bar's center of gravity mid-movement, leading to catastrophic torque on the lifter's spine.
According to BarBend's comprehensive barbell safety testing, the clamping force and material composition of a collar dictate its reliability under high-vibration drops. Let us break down the four primary collar types available on the market today.
Deep Dive: Barbell Collar and Clamp Types Comparison
Not all collars are created equal. The inner diameter of a standard Olympic sleeve is 50mm, but manufacturing tolerances can vary from 49.8mm on budget bars to 50.2mm on premium competition bars. Your collar must account for these variances.
| Collar Type | Material & Mechanism | Avg. Price (2026) | Clamping Force | Best Use Case | Primary Failure Mode |
|---|---|---|---|---|---|
| Spring Clips | Chrome-plated steel wire | $12 - $18 / pair | Low (~40 lbs) | Light accessory work, lunges | Metal fatigue, slipping on chalky sleeves |
| Cam-Lever Clamps | Glass-filled nylon (TPU) | $25 - $35 / pair | Medium (~150 lbs) | General powerlifting, home gyms | Plastic housing cracks in cold environments |
| Machined Aluminum | 6061-T6 Aluminum + UHMW lining | $50 - $70 / pair | High (~250+ lbs) | Heavy squats, deadlifts, commercial use | Stripping the set-screw threads over time |
| Bearing Collars | Steel/Aluminum + Needle bearings | $110 - $140 / pair | High (Locking pin) | Olympic weightlifting (Cleans/Snatches) | Bearing seizure if dropped in chalk dust |
1. Spring Clips: The Outdated Standard
Standard spring clips rely on the tension of bent steel wire. While they are cheap and fast to apply, they are fundamentally flawed for heavy loading. The wire loses tension after approximately 500 to 800 applications due to metal fatigue. Furthermore, they offer zero lateral stability; if a bumper plate shifts during a deadlift, a spring clip will slide right off the sleeve.
2. Cam-Lever Clamps (e.g., Lock-Jaw Pro)
These utilize a glass-filled nylon body and a cam-lever mechanism. When you snap the lever shut, it pulls a TPU pad tight against the barbell sleeve. They are the undisputed workhorse of the modern home gym. However, if your garage gym drops below freezing in the winter, the nylon can become brittle. Always store them indoors if you live in extreme climates.
3. Machined Aluminum Collars (e.g., Rogue Aluminum Collars)
Premium aluminum collars, such as those detailed in the Rogue Fitness engineering specs, use a 6061-T6 aircraft aluminum body. The critical feature here is the inner lining made of UHMW (Ultra-High Molecular Weight) polyethylene. This plastic is softer than the barbell's chrome or zinc coating, ensuring a vice-like grip without scratching your expensive barbell sleeves. They secure via a heavy-duty hex screw or a lever-actuated clamp.
4. Bearing Collars (e.g., OSO Pro)
For Olympic weightlifters, rotational torque is a massive issue. When you catch a heavy snatch, the barbell sleeve spins violently. Standard collars spin with the sleeve, which can cause them to unscrew or slide off. Bearing collars contain internal needle bearings (often 32 or more) that allow the barbell sleeve to rotate at up to 3000 RPM while the outer collar body remains completely stationary and locked in place.
Phase 3: Step-by-Step Installation and Load Testing
With your collars selected, follow this exact installation protocol to ensure maximum safety during your first heavy session.
⚠️ WARNING: The Chalk and Wear FactorBarbell sleeves accumulate chalk, sweat, and microscopic rust over time. This creates a 'slip plane' that reduces collar friction by up to 40%. Before installing collars, always wipe the outer 3 inches of the barbell sleeve with a damp microfiber cloth and dry it completely.
- Load the Plates Flush: Slide your bumper or iron plates onto the sleeve. Ensure the innermost plate is pushed completely flush against the barbell's shoulder (the lip where the sleeve meets the shaft).
- Eliminate the Gap: Push all subsequent plates tightly together. Any gap between plates will cause a 'clack' effect during drops, generating kinetic energy that pushes plates outward against the collar.
- Seat the Collar: Slide the collar onto the sleeve. For aluminum and clamp styles, push it until it makes physical contact with the outermost plate. Do not leave a gap between the plate and the collar.
- Apply Clamping Force:
- For Cam-Lever: Pull the lever past the 90-degree center point until it snaps flat against the collar body.
- For Aluminum Set-Screw: Tighten the hex bolt until you feel the UHMW lining compress against the steel sleeve. Give it one additional quarter-turn, but do not overtighten, or you will strip the aluminum threads.
- The Drop Test: Load the bar to 135 lbs (one 45 lb bumper per side). Stand back and drop the bar from shoulder height onto your crash pads or rubber flooring. Inspect the collars. If there is any lateral movement or slippage, your sleeve is either too dirty, or the collar's clamping mechanism needs replacement.
Phase 4: Finalizing Your Station Storage
A complete setup walkthrough isn't finished until you address gear storage. Leaving collars on the barbell 24/7 degrades their clamping mechanisms—specifically, it keeps the spring wire or TPU pads under constant compression, leading to premature deformation.
Install a dedicated collar hanger on the side of your power rack or wall. Store your dumbbells on a tiered rack angled at 15 degrees to prevent wrist strain when picking them up for your next warm-up set of dumbbell halos. By integrating mobility diagnostics with rigorous hardware security protocols, your free weight station will remain safe, efficient, and ready for the heavy loads of 2026 and beyond.
More gear to consider
All reviews
Kettlebell Guide: Cast Iron vs Competition & One-Arm Dumbbell Rows
Olympic Barbell Weight & Knurling Guide: Plus Dumbbell Organizer Setups

Rubber vs Urethane Dumbbells: Maintenance & Dumbbell Set Rack Care
Loadable Dumbbells: The 2026 Lat Pulldown Dumbbell Alternative
Best Loadable Dumbbells for Lat Focused One Arm Dumbbell Rows 2026