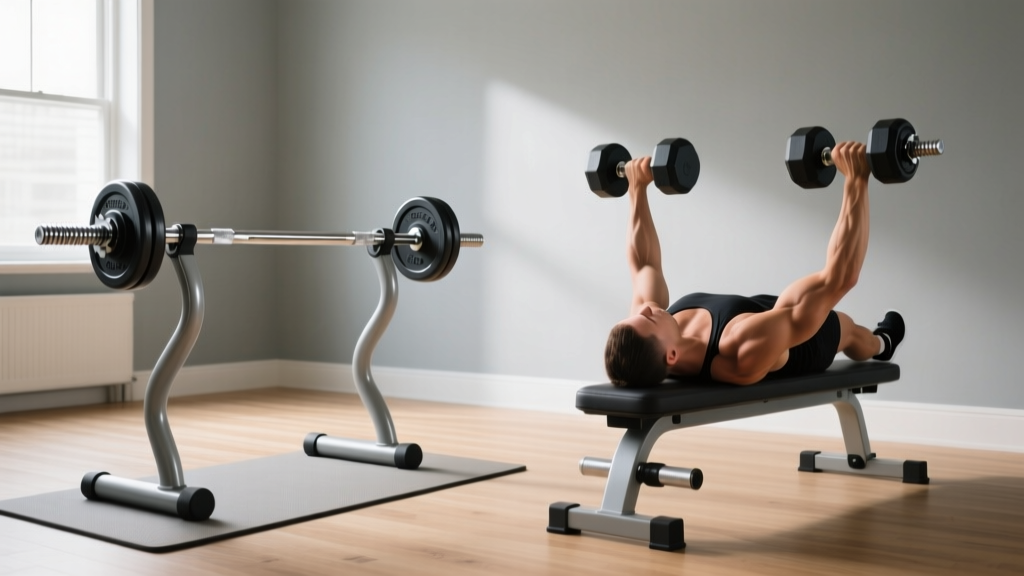
Dumbbell Exercises for Arms: Rack Storage & Maintenance Guide
Optimize your space for dumbbell exercises for arms. Learn rack maintenance, storage solutions, and longevity tips to protect your fitness gear.

The Hidden Link Between Equipment Care and Arm Isolation Movements
When you are focused on intense dumbbell exercises for arms—such as heavy hammer curls, lying triceps extensions, and high-rep concentration curls—the last thing you want is a cluttered, unstable, or degrading dumbbell rack. Arm isolation training is uniquely demanding on equipment storage. Unlike compound movements where you might use a single heavy pair of dumbbells, arm workouts frequently involve drop sets, supersets, and rapid weight changes across 5 to 10 different weight increments.
This high-frequency handling leads to specific wear-and-tear patterns: sweat accumulation on knurled handles, careless dropping of weights onto rack tiers due to localized muscle failure, and structural stress on the rack's welds. Proper storage and maintenance are not just about aesthetics; they are critical for safety and ensuring your free weights last for decades. In this guide, we break down the exact maintenance protocols, rack selection criteria, and organizational strategies required to support a high-volume arm training environment.
Evaluating Rack Types for High-Fatigue Arm Training
Not all dumbbell racks are built to handle the specific abuse of an arm day. When performing lying triceps extensions or heavy bicep curls, users often experience grip failure and may 'guide' the dumbbells back to the rack with less control than they would with heavier full-body movements. Choosing the right rack footprint and weight capacity is your first line of defense against equipment failure.
| Rack Model | Type | Weight Capacity | Footprint | Estimated Cost | Best For |
|---|---|---|---|---|---|
| Rogue 3-Tier Dumbbell Rack | Horizontal 3-Tier | 1,200 lbs | 47' x 28' | $495 - $550 | Heavy drop sets, full 5-50lb sets |
| Rep Fitness A-Frame Rack | Vertical A-Frame | 500 lbs | 26' x 24' | $149 - $179 | Small home gyms, light-to-medium arm work |
| Bells of Steel 3-Tier Rack | Horizontal 3-Tier | 800 lbs | 43' x 26' | $299 - $349 | Mid-range budgets, moderate volume |
⚠️ The 'Micro-Drop' Danger Zone on A-Frames
A-Frame racks are excellent space-savers, but they suffer from a specific failure mode during arm training. Users finishing a grueling set of 35-pound hammer curls often drop the dumbbells onto the top tier from a height of 12-18 inches. Over 6 to 12 months, this repeated impact causes micro-fractures in the upper weld joints. If you frequently train to failure on arm exercises, a horizontal 3-tier rack with a reinforced lower cradle is highly recommended to absorb impact safely.
Step-by-Step Rack & Dumbbell Maintenance Protocol
To maintain a safe environment for your arm workouts, implement this monthly maintenance checklist. Sweat is highly corrosive, and the salt left behind after a high-rep triceps kickback session can quickly degrade both the dumbbell knurling and the rack's powder coating.
- Weekly Sweat Neutralization: Wipe down the top two tiers of your rack and all frequently used dumbbell handles (typically 15 lbs to 35 lbs for arm work) with a microfiber cloth dampened with a 10:1 water-to-mild-dish-soap solution. Avoid harsh chemical degreasers, which can strip the protective zinc or chrome plating off the handles.
- Monthly Bolt Torque Check: Vibration from racking weights loosens structural hardware. Use a torque wrench to check all rack bolts. For most commercial-grade racks (like Rogue or Eleiko), the manufacturer specifies a torque setting between 40 and 50 ft-lbs for structural frame bolts. Do not overtighten, as this can strip the threads and compromise the rack's integrity.
- Quarterly Weld Inspection: Use a bright LED flashlight to inspect the weld seams, particularly where the tier brackets meet the vertical uprights. Look for 'rust blooming'—tiny lines of orange dust emerging from a seam. This is the earliest indicator of a micro-crack in the weld. If spotted, stop using the rack and contact the manufacturer for warranty replacement.
- Bi-Annual Knurling Deep Clean: Arm exercises require a secure grip. When chalk and dead skin build up in the knurling, the grip becomes slick. Use a stiff nylon brush (never brass or steel, which will damage the knurl peaks) and a drop of Rogue-approved nylon brush cleaner or Simple Green Pro HD to scrub the handles, then wipe completely dry to prevent flash rusting.
Material-Specific Care: Urethane vs. Rubber vs. Cast Iron
The dumbbells you store on your rack require different care depending on their coating. When performing exercises like skull crushers, the dumbbells are often resting on your lap or near your face before the movement begins; degraded materials can off-gas unpleasant odors or leave residue on your skin and clothing.
- Urethane (Premium Choice): Urethane is highly resistant to sweat and impact, making it ideal for heavy arm training. However, it is vulnerable to UV degradation and harsh solvents. Never clean urethane dumbbells with bleach or alcohol-based wipes, as this dries out the polymer, leading to cracking and fading. A simple damp cloth is all that is needed.
- Virgin Rubber (Budget Choice): Rubber hex dumbbells are notorious for off-gassing a strong 'tire fire' odor when new and can become sticky over time if exposed to direct sunlight or high heat in a garage gym. To maintain them, wipe them down with a 50/50 mix of water and white vinegar once a month to neutralize odors and break down surface oils.
- Chrome/Cast Iron (Traditional): Uncoated iron or chrome-plated dumbbells offer the best knurling for heavy bicep curls but are highly susceptible to oxidation. Store these on the lowest tier of your rack (away from humidity that rises in some rooms) and apply a very light coat of 3-IN-ONE oil or mineral oil to the heads once every three months to create a moisture barrier.
Spatial Organization for Efficient Arm Supersets
How you arrange your dumbbells on the rack directly impacts the flow and safety of your arm workouts. A disorganized rack forces you to search for weights while your muscles are fatigued, increasing the risk of dropping a weight on your foot or straining a lower back while bending over.
💡 The 'Drop-Set Cluster' Strategy
For arm days, reorganize your rack to prioritize 'drop-set clusters'. Instead of strictly organizing by 5-pound increments across the entire rack, group the weights most commonly used for arm isolation (e.g., 20, 25, 30, and 35 lbs) tightly together on the middle tier at chest height. This allows you to perform mechanical drop sets on bicep curls without taking more than a half-step, keeping your heart rate up and minimizing the time you spend holding heavy weights while fatigued.
Frequently Asked Questions
Can I store adjustable dumbbells on a standard 3-tier rack?
It is generally not recommended. Adjustable dumbbells (like Bowflex SelectTech 552 or Nuobell 80) have delicate internal selector mechanisms and plastic cradles. Standard 3-tier racks are designed for solid, one-piece cast iron or urethane dumbbells. Dropping an adjustable dumbbell onto a standard steel rack tier can shatter the plastic casing or misalign the weight plates, rendering the adjustment dial useless. Always use the manufacturer-provided base tray for adjustable models.
How do I prevent my rubber dumbbells from marking up my rack?
Rubber dumbbells, especially cheaper imported models, can leave black scuff marks on powder-coated racks due to friction during racking. To prevent this, apply a strip of high-density EVA foam tape or UHMW (Ultra-High-Molecular-Weight) polyethylene tape to the contact edges of the rack tiers. This not only prevents scuffing but also significantly dampens the acoustic noise of racking weights, which is a major benefit in shared home spaces.
What is the safest way to unrack heavy dumbbells for seated shoulder and arm work?
While this guide focuses on arm isolation, if your routine includes heavy seated movements, never bend over to pick up heavy dumbbells from the bottom tier. Always use the 'knee-kick' method: grab the dumbbells from the middle or top tier, sit on the bench, rest the dumbbells on your thighs, and use your legs to kick them up to your shoulders as you lean back. This protects your lumbar spine from shear forces.
More gear to consider
All reviews
Racking & Maintaining the Best Chest Workout Dumbbells

EZ Curl Bar vs Straight Bar & Lower Pec Dumbbell Exercises Trends

Space-Saving Loadable Dumbbells: Choosing the Right Dumbbell Spring

Dumbbell Squats vs Barbell: 2026 Adjustable Dumbbell Review
Rubber Hex vs Urethane: Best Dumbbells for a Dumbbell Quad Workout