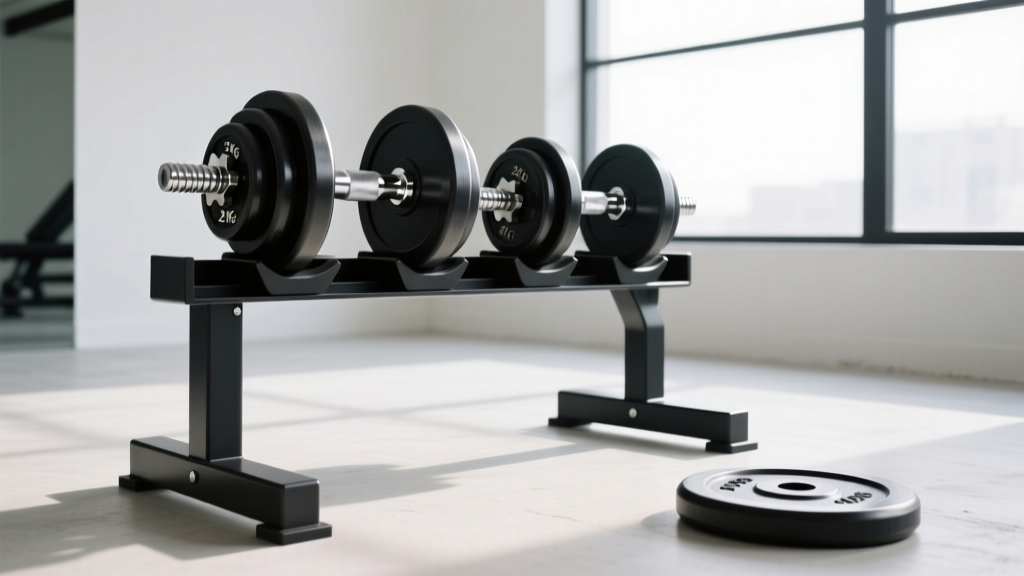
Performing Bridges with Dumbbell: Loadable Plate Budget Analysis
Discover why loadable dumbbell handles with interchangeable plates are the most cost-effective, durable choice for heavy glute bridges in 2026.

The Progression Plateau: Why Standard Dumbbells Fail the Hip Hinge
If you are seriously training your posterior chain, you already know that progressing on glute bridges with dumbbell resistance eventually hits a massive financial and logistical wall. According to Bret Contreras' biomechanical breakdown of hip extension movements, the glute bridge offers a peak contraction at the top of the movement that demands heavy, progressive overload to maximize hypertrophy. But how do you load that movement safely and affordably?
Most home gym owners start with fixed hex dumbbells or adjustable dial models. Here is the harsh reality of the 2026 fitness equipment market: fixed rubber hex dumbbells now average $2.50 to $3.50 per pound. A pair of 100-pound fixed dumbbells will cost you upwards of $600, taking up massive floor space for a single weight increment. On the other hand, popular dial-adjustable dumbbells (like the Bowflex 552 or Nuobell) max out between 50 and 80 pounds. Worse, resting the hard plastic casing of a dial dumbbell directly on your ASIS (pelvic bone) during heavy bridges creates intense point-load pressure, frequently leading to cracked casings and broken internal mechanisms.
The ultimate, budget-friendly solution for heavy hip thrusts and bridges? Olympic loadable dumbbell handles with interchangeable plates.
Expert Insight: When performing heavy bridges with dumbbell implements, the weight rests directly on the lap. Loadable handles allow you to use crumb rubber bumper plates, which conform to the body and eliminate the agonizing bone-bruising associated with iron hex dumbbells.2026 Market Breakdown: Loadable Handles vs. Fixed Dumbbells
To understand the true value of loadable dumbbells, we have to look at the cost-per-pound and the longevity of the equipment. Below is a comparative analysis of the top loadable handles on the market this year, benchmarked against traditional fixed dumbbell pricing.
| Equipment Type | Model / Brand | Approx. Cost (Pair) | Sleeve Length | Max Load Capacity | Hip Comfort Rating |
|---|---|---|---|---|---|
| Budget Loadable | Yes4All Olympic Handle | $55.00 | 12 inches | 150 lbs | High (with bumpers) |
| Mid-Tier Loadable | Titan Fitness Loadable DB | $99.99 | 15 inches | 250+ lbs | High (with bumpers) |
| Premium Loadable | Rogue Fitness Loadable DB | $145.00 | 17.5 inches | 300+ lbs | High (with bumpers) |
| Fixed Rubber Hex | Generic Commercial Hex | $600.00+ | N/A | 100 lbs (static) | Low (Iron core) |
| Adjustable Dial | Bowflex SelectTech 552 | $349.00 | N/A | 52.5 lbs | Poor (Plastic shell) |
Note: Prices reflect average 2026 retail MSRP before shipping and taxes.
As the data illustrates, investing in a mid-tier option like the Titan Fitness loadable handles yields a vastly superior return on investment. For under $100, you secure a pair of handles that will never break, never require warranty replacements for stripped gears, and can hold virtually any amount of weight you can physically lift.
The Hidden Variable: Plate Selection for Pelvic Comfort
Buying the handles is only step one. The true 'budget breakdown' must account for the interchangeable plates. If your primary goal is executing heavy glute bridges, you must buy crumb rubber bumper plates, not cast iron.
A study published in the National Center for Biotechnology Information (NCBI) highlights the massive EMG activation of the gluteus maximus during loaded hip extension. To sustain this activation without pain, the load must be tolerable. Cast iron plates have sharp edges and a narrow profile that will dig mercilessly into your hip flexors and pelvis during a heavy bridge descent.
Crumb Rubber vs. Virgin Rubber Bumpers
- Crumb Rubber (Recycled): These are softer, more forgiving, and significantly cheaper (averaging $1.20 to $1.50 per pound in 2026). They act as a natural cushion against the pelvic bone during bridges. The downside? They are thicker, meaning you can fit fewer plates on a 12-inch sleeve.
- Virgin Rubber (Competition): Denser, thinner, and more durable, but much more expensive ($2.50+ per pound) and harder against the hips. Not recommended for direct lap-loading without a thick foam pad.
The Budget Strategy: Purchase a pair of 15-inch sleeve handles (like Titan Fitness) and load them with 10lb and 25lb crumb rubber bumpers. This combination provides enough surface area to distribute weight comfortably across the lap while keeping your total equipment spend under $350.
Collar Failure Modes: A Critical Safety Warning
When analyzing the budget of a loadable dumbbell setup, many lifters make the fatal mistake of cheaping out on the collars. Standard spring collars cost about $10 a pair. However, ExRx.net's dumbbell glute bridge guide demonstrates the extreme angles the torso and lap go through during the movement.
As you lower your hips toward the floor during a bridge, the dumbbell resting on your lap tilts. This creates severe sheer force on the dumbbell sleeve. Spring collars routinely slip under this angled pressure, causing plates to slide outward. This shifts the center of gravity mid-rep, potentially tearing a hip flexor or causing the weight to crash onto the floor.
Never use spring collars for floor-based hip hinges. The tilt of the femur during the eccentric phase of a bridge will compromise the spring tension.
The Solution: Budget an extra $25 to $35 for a pair of clamp-style or Lockjaw Olympic dumbbell collars. These use a hard plastic housing with a heavy-duty rubber O-ring that grips the sleeve securely, completely eliminating plate shift regardless of the angle of your hips.
Step-by-Step: Setting Up the Heavy Loadable Bridge
Maximizing the value of your loadable dumbbell setup requires proper technique. Because loadable handles have longer sleeves than fixed dumbbells, the setup requires slight modifications to ensure safety and optimal muscle recruitment.
- Plate Sequencing: Load the largest diameter bumper plates closest to the handle collar. If using fractional iron plates (e.g., 2.5lb or 5lb) to micro-load your bridge progression, place them on the outside of the bumpers, secured tightly by the clamp collar.
- The Roll-Over Technique: Never attempt to clean a heavy loadable dumbbell directly onto your lap. Sit on the floor, place the dumbbell between your legs, and roll it up your thighs using your forearms to guide the bumper plates safely onto the pelvic crease.
- Grip and Sleeve Clearance: Ensure the knurling on the handle aligns with your palm. Because loadable sleeves extend past your knees, ensure your feet are placed wide enough so the bumper plates do not scrape against your inner thighs during the concentric (upward) phase.
- The Posterior Tilt: As noted by leading biomechanics experts, maintaining a posterior pelvic tilt at the top of the bridge prevents lumbar hyperextension. The wide profile of crumb bumpers actually helps cue this tilt by providing tactile feedback against the lower abdomen.
Final Verdict: The Ultimate Value Proposition
If your training revolves around heavy posterior chain work, the math overwhelmingly favors the loadable dumbbell and interchangeable plate system. While the upfront cost of purchasing handles, bumpers, and secure collars might hover around $350 to $450, this setup effectively replaces a $600+ fixed dumbbell rack and eliminates the planned obsolescence of plastic adjustable models.
Furthermore, the interchangeable plates you buy for your bridges can be seamlessly transitioned to an Olympic barbell for deadlifts, squats, and hip thrusts as your strength outgrows the dumbbell implement. In the realm of home gym budget breakdowns, the loadable dumbbell isn't just a tool for performing bridges with dumbbell resistance; it is the most versatile, future-proof investment you can make in 2026.
More gear to consider
All reviews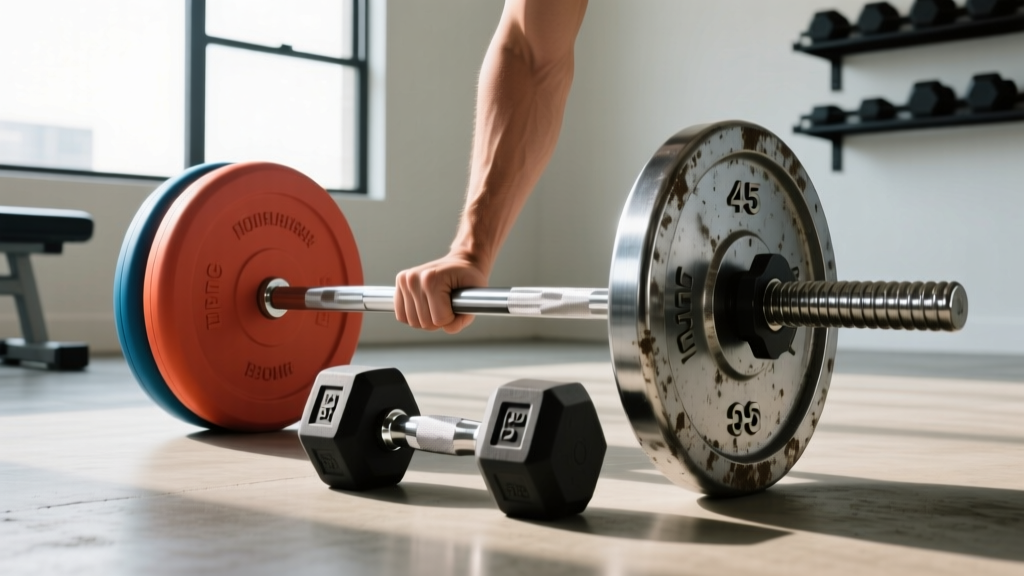
Bumper vs Iron Plates: Care for an Upper Pec Dumbbell Workout
Power Rack vs Squat Stand: Dumbbell Hammer Curl to Press Guide

EZ Bar vs Straight Bar: Curls and the Dumbbell Low Fly

Optimizing Gym Layouts: Storage for a Dumbbell Calf Workout
Power Rack vs Squat Rack vs Stand: Dumbbell External Rotation Setups
