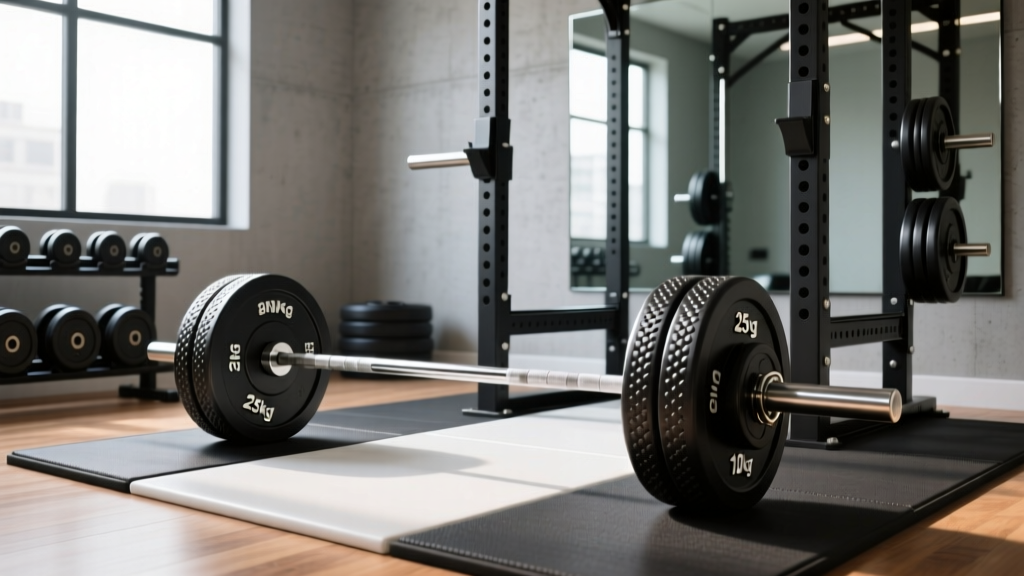
Beyond the Dumbbell Picture: Olympic Barbell Setup & Knurling Guide
Transition from a basic dumbbell picture layout to a full Olympic barbell station. Expert guide on bar weight, knurling, and rack installation.

When most home gym owners first sketch out their fitness space, they usually start with a basic dumbbell picture in mind—a simple adjustable dumbbell set tucked into a corner alongside a flat bench. While dumbbells are fantastic for hypertrophy and unilateral work, the inevitable ceiling of progressive overload eventually forces a critical upgrade: the Olympic barbell. Transitioning from a mental dumbbell picture to a fully realized, safe, and optimized Olympic barbell station requires precise planning, an understanding of metallurgy, and a meticulous installation walkthrough.
In this 2026 setup guide, we bypass the generic advice and dive deep into the exact specifications of Olympic barbell weight, knurling geometries, and the step-by-step physical installation of your barbell and power rack zone.
Decoding Olympic Barbell Weight and Dimensions
Before you unbox a barbell and load it onto your newly assembled rack, you must understand the dimensional standards that dictate how the bar interacts with your body and your equipment. The International Weightlifting Federation (IWF) and International Powerlifting Federation (IPF) set the baselines, but commercial manufacturers offer nuanced variations.
Quick Spec Reference: The 20kg Standard
- Total Length: 2200mm (86.6 inches)
- Shaft Diameter: 28mm (Olympic lifting) to 29mm (Powerlifting)
- Sleeve Length: 415mm (16.3 inches) to accommodate multiple bumper plates
- Tensile Strength: Minimum 190,000 PSI (Pounds per Square Inch) to prevent permanent deformation
For a multi-purpose home gym in 2026, a 28.5mm shaft diameter is the undisputed sweet spot. It provides enough whip for dynamic Olympic movements like the clean and jerk, while remaining rigid enough for heavy back squats and bench presses. Furthermore, always verify the tensile strength (not just yield strength) before purchasing. Bars rated below 190k PSI will permanently bend if you drop them from overhead or fail a heavy deadlift.
The Knurling Matrix: Finding Your Grip
Knurling is the cross-hatched pattern machined into the steel shaft. It is the single most subjective and critical factor in barbell selection. The depth and geometry of the knurl dictate how the bar feels in your hands, especially when chalk and sweat are introduced.
| Knurl Geometry | Characteristics | Best For | 2026 Benchmark Model |
|---|---|---|---|
| Volcano | Deep grooves with four sharp points per diamond. Aggressive but not skin-tearing. | Powerlifting, Heavy Hypertrophy | Rogue Ohio Bar ($345) |
| Mountain | Peaks are machined flat. Broad surface area for grip without sharpness. | General Fitness, High-Rep WODs | American Barbell Cali Bar ($395) |
| Hill | Shallow, rounded grooves. Very mild, almost smooth to the touch. | Olympic Weightlifting, Bare Hands | Eleiko Öppet Barbell ($1,150+) |
Center Knurling: To Have or Not to Have?
If your setup includes heavy back squats and front squats, a center knurl is vital to prevent the bar from sliding down your back. However, if you plan to do high-rep cleans or deadlifts, an aggressive center knurl will tear up your shins and collarbones. Look for a passive center knurl—a slightly muted version of the main knurl pattern that offers traction for squats but won't lacerate your skin during dynamic pulls.
From Dumbbell Picture to Rack Installation: The Walkthrough
Upgrading from a simple dumbbell corner to an Olympic barbell station requires structural forethought. A standard power rack and barbell footprint demand specific clearances to ensure safety and functionality.
Step 1: Space Planning and Flooring
Erase the compact dumbbell picture from your mind; an Olympic setup requires a minimum footprint of 8 feet wide by 8 feet deep. You need 4 feet of clearance on both sides of the barbell to load and unload plates safely.
- Subfloor Protection: Lay down a vapor barrier if installing over concrete.
- Impact Matting: Use 3/4-inch thick vulcanized rubber horse stall mats (typically $50–$80 per 4x6 sheet). Do not use cheap interlocking foam tiles; they will compress under the 600+ lb static load of a loaded barbell and rack, causing dangerous instability.
Step 2: Rack Placement and Height Clearance
Most standard power racks and squat stands feature a pull-up bar at the top. The standard ceiling height in modern homes is 96 inches (8 feet). If your rack is 86 inches tall, you have only 10 inches of clearance. If you plan to do pull-ups, you need at least 12 to 15 inches above the bar to clear your head. Pro Tip: If you have standard 8-foot ceilings, opt for a short 82-inch rack or a flat-foot squat stand setup.
Step 3: Anchoring and Stabilization
While bolt-down racks are the gold standard, many 2026 home gyms utilize flat-foot racks to avoid drilling into concrete or garage slabs. If using a flat-foot rack, you must configure it with rear weight storage horns. Loading the back uprights with heavy bumper plates acts as a counterbalance, preventing the rack from tipping forward during aggressive re-racking or kipping pull-ups.
Expert Warning: Never store your Olympic barbell vertically in a bar tree if the bar has a welded shaft-to-sleeve connection (common in budget sub-$200 bars). The sheer gravitational force over time can compromise the weld. Always store premium bars horizontally on a gun rack or wall-mounted cradles to preserve the bushings and bearings.
Barbell Maintenance Setup
Your installation isn't complete without a dedicated maintenance station. Chalk and dead skin accumulate in the knurling valleys, turning your barbell into a rust magnet and dulling the grip. Dedicate a small magnetic tray to your rack upright containing:
- Nylon Stiff-Bristle Brush: Used daily to scrub out chalk and skin cells. Never use a wire brush on zinc or cerakote finishes, as it will strip the protective layer.
- 3-in-One Oil or Mineral Oil: Apply a light coat to the shaft once a month. Wipe it down with a microfiber cloth to leave a microscopic rust-inhibiting barrier without making the bar slippery.
- Guide Rod & Linear Bearing Lubricant: If using a Smith machine or specialized landmine attachment in your rack, keep PTFE-based lubricant on hand for the guide rods.
Frequently Asked Questions
Can I use an Olympic barbell on a standard flat bench?
Technically yes, but it is highly discouraged. Standard flat benches are usually 12 inches high, whereas Olympic benches are 16-18 inches to allow for proper shoulder clearance and leg drive. Using an Olympic bar on a low bench severely limits your range of motion and increases the risk of rotator cuff impingement.
Do I need needle bearings for my home gym barbell?
For 95% of home gym users, high-quality bronze or composite bushings are superior. Bearings are designed for the extreme rotational velocity of elite Olympic weightlifters dropping from overhead. For general strength, powerlifting, and CrossFit-style workouts, bushings provide a more stable, less 'whippy' feel and require significantly less maintenance over a 10-year lifespan.
Moving beyond the initial dumbbell picture phase into a fully equipped Olympic barbell station is a milestone in any lifter's journey. By prioritizing tensile strength, selecting the right knurl geometry for your specific training style, and executing a precise physical installation, your home gym will be primed for years of heavy, safe, and progressive lifting.
More gear to consider
All reviews
EZ Bar vs Straight Bar: Value & Back Workouts with Dumbbells

Cast Iron vs Competition Kettlebells vs Tone Fitness Dumbbells

Space Layouts & Spider Curls Dumbbells: Rubber Hex vs Urethane
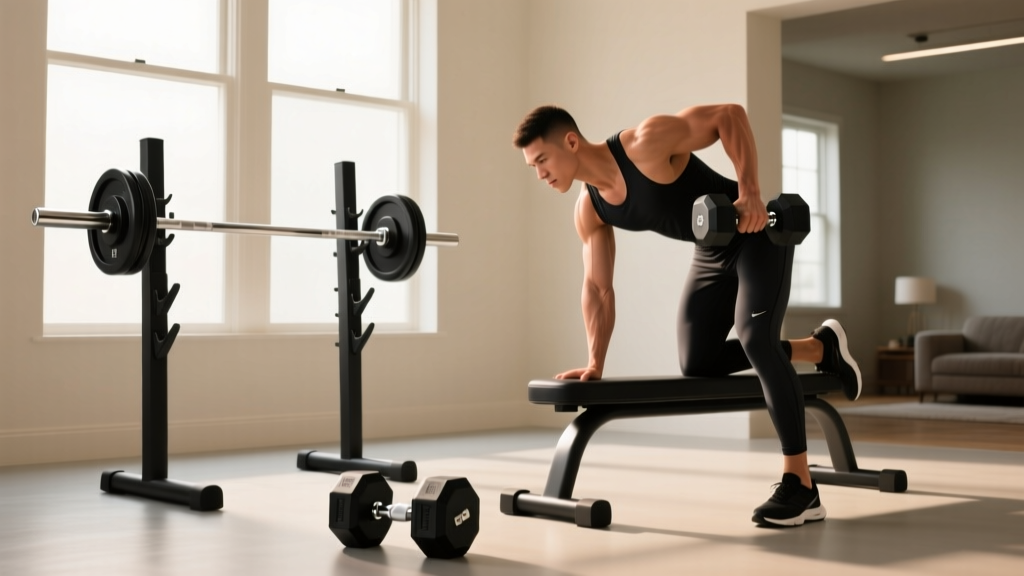
2026 Trends: EZ vs Straight Bar & One Arm Dumbbell Row Without Bench
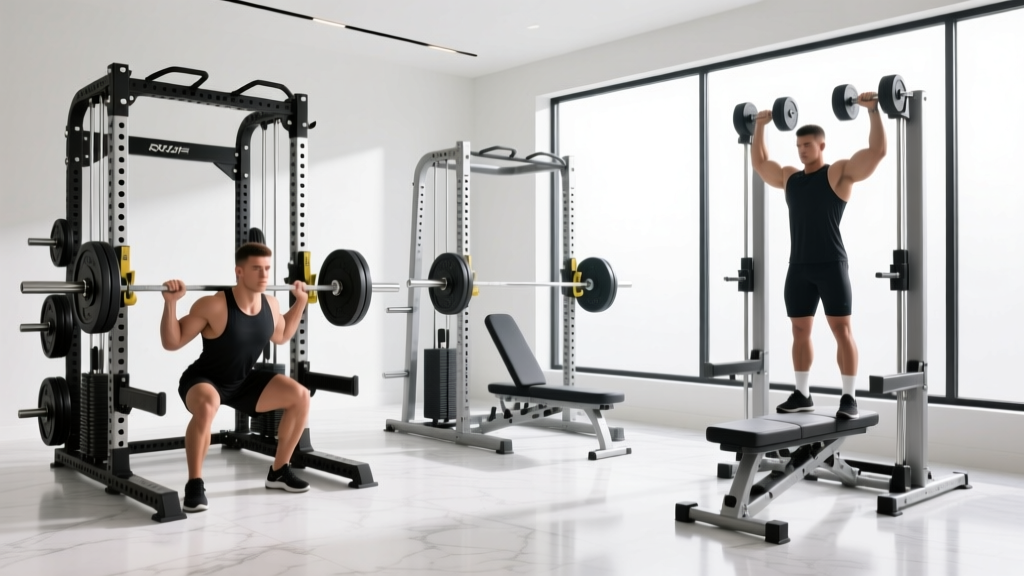
Power Rack vs Squat Rack vs Stand: Dumbbell Triceps & Heavy Lifts
