Barbell Buying Guide: Weight, Knurling & Dumbbell Leg Workout Plans
Master our Olympic barbell buying guide on weight and knurling to safely upgrade your dumbbell leg workout plan with heavy, effective barbell squats.

Outgrowing the Dumbbell Leg Workout Plan: Why You Need an Olympic Barbell
If you have been consistently following a dumbbell leg workout plan for the past six to twelve months, you have likely hit a frustrating plateau. Dumbbells are fantastic for building unilateral stability and addressing muscle imbalances, but they inherently limit your progressive overload. Holding a pair of 100-pound dumbbells for Romanian Deadlifts or Goblet Squats taxes your grip and upper back long before your glutes and hamstrings reach true muscular failure.
According to research published by the National Center for Biotechnology Information, maximizing hypertrophy and strength requires systematic increases in training volume and mechanical tension. To achieve this for your lower body, transitioning to an Olympic barbell is non-negotiable. However, buying your first barbell is intimidating. This step-by-step Olympic barbell buying guide breaks down weight tolerances, knurling patterns, and steel quality so you can make an informed purchase in 2026 and safely upgrade your leg days.
Step 1: Decoding Olympic Barbell Weight and Dimensions
Not all barbells weigh 45 pounds. Understanding the exact weight and shaft diameter is crucial when calculating your working sets and transitioning from dumbbell math to barbell math.
The Standard Weight Classes
- Men's Olympic Bar (20kg / 44 lbs): The standard for most commercial and home gyms. It features a 28mm to 29mm shaft diameter and a total length of 2,200mm (86.6 inches).
- Women's Olympic Bar (15kg / 33 lbs): Features a thinner 25mm shaft, making it easier to grip for smaller hands, and a slightly shorter overall length of 2,010mm (79.1 inches).
- Multi-Purpose / Curl Bars (15kg - 35 lbs): Often shorter with specialized grips, but generally not recommended for heavy compound leg movements like back squats due to sleeve length limitations.
Beginner Tip: When adapting your dumbbell leg workout plan to the barbell, remember to account for the bar's weight. If you were performing dumbbell lunges with two 35-pound dumbbells (70 lbs total), your starting barbell back squat will just be the empty 44-pound bar until your form is dialed in.
Step 2: The Knurling Matrix (Grip is Everything)
Knurling is the cross-hatched pattern machined into the steel shaft. It dictates how securely the bar rests on your back during squats and in your hands during deadlifts. In 2026, manufacturers categorize knurling into three distinct geometric profiles:
1. Hill Knurl (Smooth / Passive)
The peaks of the knurl are rounded off. This is common on cheap, entry-level bars or dedicated pressing bars. Verdict: Avoid for leg days. A bar with hill knurling will slide down your back during heavy front squats or high-bar back squats.
2. Mountain Knurl (Sharp / Aggressive)
The peaks are flat and sharp, resembling a jagged mountain range. Rogue Fitness and other premium brands use variations of this for dedicated powerlifting bars. Verdict: Excellent for heavy deadlifts, but can tear up your hands during high-rep cleans or front squats if you lack calluses.
3. Volcano Knurl (The Goldilocks Zone)
The peaks are sharp but feature a small crater or 'dip' at the very top. This provides maximum surface area for grip without piercing the skin. Verdict: The absolute best choice for a multi-purpose bar that will handle both heavy squats and dynamic movements.
What About the Center Knurl?
If you plan on doing back squats, a passive center knurl is highly recommended. It acts as a tactile guide to help you center the bar on your traps and prevents it from sliding laterally. However, avoid aggressive center knurling if you also plan to do barbell front squats or cleans, as it will scrape your collarbone and neck.
Step 3: Finishes and How They Affect Knurl Bite
The coating applied to the barbell shaft drastically alters how the knurl feels. When shopping, cross-reference the knurl type with the finish:
- Cerakote (Thinest): A ceramic-polymer coating that is incredibly rust-resistant. Because it is applied in a microscopic layer, it preserves 100% of the knurl's sharpness. Highly recommended for home garages in 2026.
- Black Zinc / Black Oxide (Thin): Offers a great, raw knurl feel but requires occasional oiling to prevent oxidation and rust.
- Hard Chrome (Thickest): Extremely durable and rust-proof, but the thick plating fills in the valleys of the knurl, making a 'volcano' knurl feel more like a 'hill' knurl over time.
Step 4: Bushings vs. Bearings and Tensile Strength
When upgrading from a dumbbell leg workout plan, your primary movements will be slow, heavy, and axial (Squats, RDLs, Hip Thrusts). You do not need expensive needle bearings.
Rotation Systems
Composite or Bronze Bushings are ideal for powerlifting and general strength. They provide a slow, controlled spin that prevents the bar from feeling 'twitchy' or unstable when unracking a heavy 300-pound back squat. Needle bearings are designed for the rapid rotational forces of Olympic weightlifting (snatches and cleans) and are an unnecessary expense for pure leg hypertrophy.
Tensile Strength (PSI)
Tensile strength measures the maximum stress the steel can withstand before permanently bending or snapping.
⚠️ The 190k PSI Rule
Never buy a barbell with a tensile strength below 190,000 PSI. Budget Amazon bars often sit around 130k - 160k PSI. If you load 400 pounds onto a 150k PSI bar for RDLs, the bar will permanently bend (yield) and will never roll straight again. Look for 190k to 215k PSI for a lifetime investment.
Step 5: Adapting Your Dumbbell Leg Workout Plan to the Barbell
Now that you know how to select the right equipment, how do you map your existing dumbbell routine to the barbell? According to biomechanics experts at Stronger By Science, barbell training allows for superior axial loading and systemic fatigue management compared to heavy dumbbells.
| Dumbbell Movement | Barbell Upgrade | Why the Upgrade Works |
|---|---|---|
| Goblet Squat | High-Bar Back Squat | Removes upper-back and core bottlenecks; allows true quad failure. |
| Dumbbell RDL | Barbell RDL | Grip fatigue is eliminated; you can load the hamstrings heavily with straps. |
| DB Bulgarian Split Squat | Barbell Hip Thrust | Shifts focus from balance/stability to pure glute max mechanical tension. |
| Dumbbell Walking Lunge | Front Squat or Safety Bar Squat | Massive overload for the quads and thoracic erectors without grip limits. |
Programming the Transition
When you first introduce the barbell to your leg days, drop your perceived exertion (RPE) by 2 to 3 points. The central nervous system (CNS) fatigue generated by a 225-pound barbell back squat is significantly higher than holding two 50-pound dumbbells for lunges. Spend the first 4 to 6 weeks focusing strictly on bar path, bracing mechanics, and depth. Once your form is automated, apply the same progressive overload principles you used with dumbbells: add 5 pounds to the bar each week, or add one additional rep per set.
Final Verdict: What to Buy in 2026
If you are upgrading from a dumbbell leg workout plan and need a single, reliable barbell to handle squats, deadlifts, and occasional presses, look for a Multi-Purpose Bar with a Volcano Knurl, Cerakote Finish, Composite Bushings, and 190k+ PSI Tensile Strength. Expect to invest between $250 and $325 for a premium, lifetime-warrantied bar from reputable manufacturers like Rogue, Rep Fitness, or American Barbell. Avoid the $99 big-box store specials; your safety and your gains depend on the steel you lift.
More gear to consider
All reviews
Standard vs Olympic Plates for Beginner Dumbbell Workouts

Bumper vs Iron Plates & the Ideal Dumbbell Weight for a Woman
Organizing Your Dumbbell Curl Weight Collection: Storage & Layout
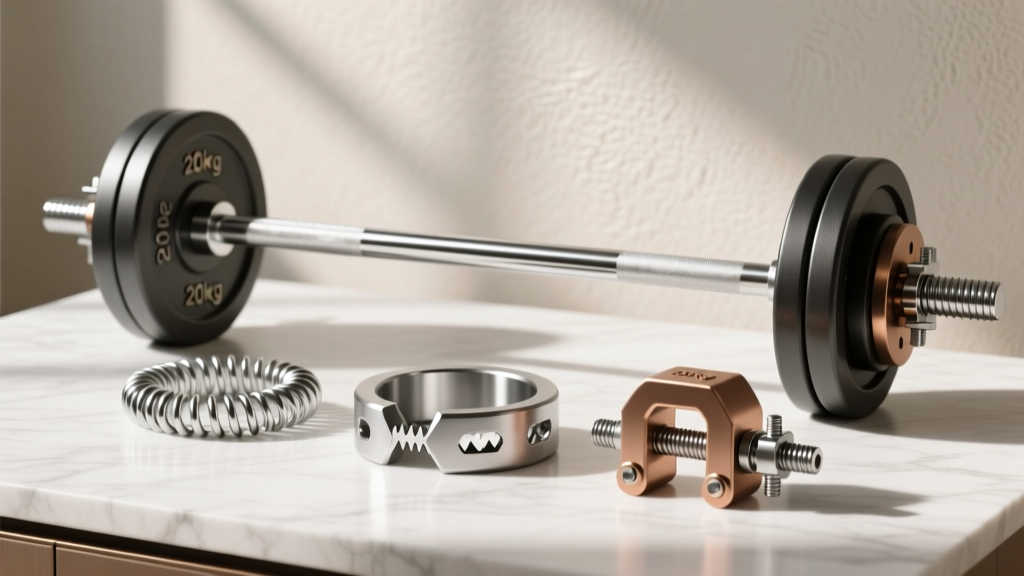
Beyond Dumbbell Exercises for Fat Loss: Barbell Collars Compared
Adjustable Dumbbells in Gym: 2026 Comparison & Troubleshooting