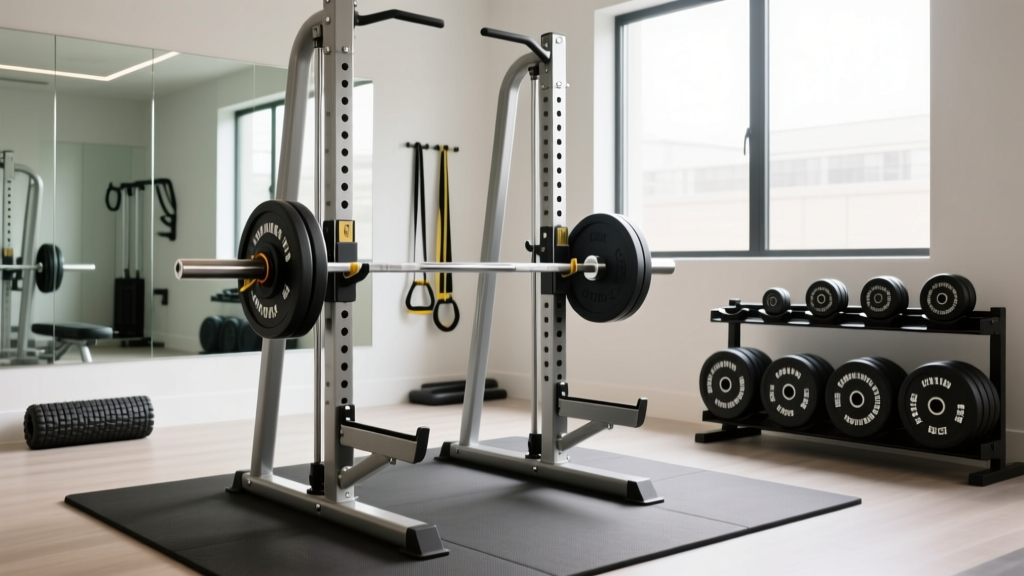
Barbell Collars for a Complete Back Workout with Dumbbells
Learn how to choose and use barbell collars to secure your weights for a safe, complete back workout with dumbbells and loadable handles.

Why Collars Are the Unsung Heroes of Back Training
When most beginners design a complete back workout with dumbbells, they focus entirely on the exercises: single-arm rows, dumbbell pullovers, and reverse flyes. However, as you progress, you will likely introduce Olympic barbells for heavy Pendlay rows or utilize loadable dumbbell handles to save space in your home gym. This is where a critical, often overlooked piece of safety equipment comes into play: the barbell collar.
During pulling movements like bent-over rows, the barbell or dumbbell handle undergoes rapid acceleration and deceleration. If your weight plates are not secured, rotational inertia causes the plates to shift outward. This alters the center of mass mid-rep, placing asymmetric torque on your wrists, elbows, and lower back. In this beginner-friendly, step-by-step guide, we will compare the primary barbell collar and clamp types available in 2026 and show you exactly how to secure your equipment for a safe, effective back session.
Beginner Insight: Never assume the knurling or sleeve friction will hold your plates. According to biomechanics analyses featured in BarBend's comprehensive collar guide, a plate shift of just one inch on a 45-pound bumper plate can increase rotational torque on your wrist by over 15% during a heavy row.Step 1: Understand Your Equipment (Barbells vs. Loadable Dumbbells)
Before buying collars, you must identify your sleeve diameter. Standard Olympic barbells and high-quality loadable dumbbell handles (like the CAP Barbell 15-inch solid steel handles) feature 50mm (2-inch) sleeves. Cheaper, standard dumbbell handles use 25mm (1-inch) sleeves. The collars discussed below are primarily for 50mm Olympic sleeves, which are the gold standard for serious home gyms in 2026.
Step 2: Compare Collar and Clamp Types
Not all collars are created equal. The market is dominated by three distinct mechanisms: spring clips, plastic/metal hybrid clamps, and machined aluminum competition collars. Below is a comparison matrix to help you choose the right tool for your back day.
| Collar Type | Top 2026 Model Example | Avg. Price | Grip Mechanism | Best For | Durability Rating |
|---|---|---|---|---|---|
| Spring Clip | Rogue Spring Collars | $15.00 / pair | Steel coil tension | Quick changes, light dumbbell rows | Medium (Springs fatigue) |
| Hybrid Clamp | Lock-Jawz Pro 2.0 | $35.00 / pair | Nylon teeth & lever lock | Heavy barbell rows, CrossFit | High (Teeth can strip eventually) |
| Competition Aluminum | Rogue Aluminum Collars | $55.00 / pair | Machined friction & snap ring | Heavy Pendlay rows, dropping weights | Exceptional (Lifetime use) |
| Spin-Lock (Standard) | CAP Barbell Spin-Lock | $12.00 / pair | Threaded steel nut | 1-inch standard dumbbell handles | High (Threads can cross) |
Step 3: Step-by-Step Locking Technique for Heavy Rows
Once you have selected your collars (we highly recommend the Lock-Jawz Pro 2.0 or Rogue Aluminum Collars for heavy pulling), follow this exact step-by-step procedure to secure your barbell or loadable dumbbell handles before your set.
1. The Sleeve Prep and Plate Load
Wipe down the barbell sleeves with a microfiber cloth to remove chalk and sweat residue. Chalk buildup reduces the friction coefficient between the collar and the steel sleeve. Load your plates tightly together, ensuring no gaps exist between the bumpers or cast iron plates.
2. Leave the 'Safety Gap'
Do not push the plates entirely flush against the end of the sleeve. Leave exactly 1 to 1.5 inches of bare sleeve exposed at the very end. This gap allows the inner lip of an aluminum or clamp collar to bite directly onto the steel sleeve, rather than just pinning the outer plate.
3. Apply and Lock the Collar
- For Spring Collars: Squeeze the handles, slide the collar flush against the outermost plate, and release. Ensure the inner wire ring is sitting flat against the plate, not angled.
- For Clamp Collars (e.g., Lock-Jawz): Place the clamp over the sleeve and plates. Pull the strap tight until the nylon teeth engage, then press the lever down until you hear a definitive 'click'. The lever should sit flush with the clamp body.
- For Aluminum Collars: Slide the collar onto the sleeve, push it tight against the plates, and snap the locking lever shut. The internal rubber lining will compress, creating a vacuum-like friction seal.
4. The 'Shake Test'
Before lifting, grip the barbell or dumbbell handle and give it a sharp, horizontal shake. If you hear the plates clinking or feel them slide, the collar is not seated correctly. Re-adjust and lock again.
Step 4: Special Considerations for Dumbbell Back Workouts
If your complete back workout with dumbbells relies on loadable dumbbell handles rather than fixed-weight hex dumbbells, collar selection is even more critical. Dumbbell handles are shorter and subjected to extreme rotational forces during single-arm rows.
Warning: Never use standard spring collars on loadable dumbbell handles for heavy single-arm rows. The short sleeve length means the spring collar cannot achieve enough surface area contact to prevent the plates from spinning and sliding off mid-rep. Always use threaded spin-lock nuts or specialized compact clamps for dumbbell handles.Managing Asymmetric Fatigue
During unilateral back exercises, you will frequently need to change weights between your left and right sides. Clamp-style collars with quick-release levers (like the Rogue quick-release models) save time and preserve your grip strength for the actual working sets, unlike spin-lock nuts which require two-handed twisting to remove.
Common Failure Modes and Troubleshooting
Even the best equipment fails if not maintained. Here are the most common edge cases and failure modes to watch out for in 2026:
- Nylon Tooth Stripping (Clamp Collars): Over time, the plastic teeth on hybrid clamps can wear down, especially if you frequently adjust them on scratched or rusty barbell sleeves. Fix: Inspect the teeth every 6 months. If they look rounded, replace the strap or the entire collar.
- Spring Fatigue (Spring Collars): Leaving spring collars in the 'open' position when stored on the rack stretches the steel coil, permanently reducing their clamping force. Fix: Always store spring collars in the closed position.
- Aluminum Galling: Machined aluminum collars can scratch the chrome or zinc coating on your barbell sleeves if dirt gets trapped between the collar and the bar. Fix: Wipe the inside of the aluminum collar with a damp cloth weekly.
Final Thoughts on Securing Your Back Day
Building a massive, resilient back requires heavy loads and strict form. Whether you are executing a complete back workout with dumbbells, transitioning to barbell rows, or utilizing loadable handles, the integrity of your equipment dictates the safety of your joints. Investing $35 to $55 in a high-quality pair of clamp or aluminum collars is a non-negotiable step for any serious lifter. Secure your sleeves, respect the physics of the lift, and focus entirely on the mind-muscle connection during your next pulling session.
More gear to consider
All reviews
Standard vs Olympic Plates for a Dumbbell Hip Thrust Floor Setup
Power Rack vs Squat Rack vs Stand for Dumbbell 45 Hyperextension

Bumper vs Iron Plates: Rack Setup & Chest Rows Dumbbell Guide
Loadable Goblet Squat Dumbbells: 2026 Value Breakdown

Deadlift With Dumbbells vs Barbell: Beginner Home Guide