
Barbell Collar Comparison: Safe Setup for Heavy Lifts and Dumbbell Exercises
Master your gym setup with our barbell collar comparison. Learn installation walkthroughs, clamp failure modes, and space tips for dumbbell exercises.

The Critical First Step: Securing Your Barbell Station
When building a comprehensive home or commercial gym, the focus often lands on the rack, the bar, and the plates. Yet, the humble barbell collar is the most vital safety component in your entire setup. A failed collar during a heavy back squat or a dynamic clean doesn't just ruin a set; it alters the bar's moment of inertia mid-lift, leading to catastrophic loss of balance. Furthermore, a well-organized barbell station dictates the flow of your entire workout space, ensuring you have the necessary clearance and safety margins when transitioning from heavy barbell work to high-movement dumbbell exercises.
In this 2026 setup and installation walkthrough, we will dissect the mechanics of barbell collars, compare the leading clamp types on the market, and provide a step-by-step installation protocol to guarantee your sleeves are locked and loaded.
⚠️ SAFETY CALLOUT: Never rely on the lip of the barbell sleeve to hold plates in place during dynamic movements. According to USA Weightlifting technical rules, collars are mandatory in competition to prevent plate shift, which can cause uneven weight distribution and severe joint torque during Olympic lifts.Complete Installation Walkthrough: Loading and Seating Collars
Proper installation is just as important as the hardware itself. Even a $150 competition collar will fail if seated incorrectly. Follow this exact sequence for your barbell setup:
- Sleeve Preparation: Wipe down the barbell sleeves with a microfiber cloth and a light application of 3-in-One oil or barbell cleaner. Built-up chalk and rust decrease the friction coefficient, causing clamp-style collars to slide under heavy bar whip.
- Plate Seating: Load your plates flush against the inner sleeve shoulder. For bumper plates, ensure the rubber hubs are fully seated. Leave exactly 1.5 to 2 inches of clearance at the end of the sleeve to allow the collar's gripping surface to make full contact with the steel.
- Collar Alignment: Slide the collar onto the sleeve. Crucial Step: Position the locking mechanism (lever or screw) parallel to the floor or slightly facing upward. If the lever points straight down, gravity and bar vibration can slowly coax the locking mechanism open over a 45-minute heavy session.
- Engagement and Tensioning: Snap the lever shut or tighten the screw. Give the collar a firm lateral push toward the plates. You should feel zero millimeters of play. If the collar shifts when pushed by hand, it will shift when dropped from overhead.
Barbell Collar and Clamp Types: A Deep-Dive Comparison
The market in 2026 is saturated with collar variations, but they generally fall into four distinct mechanical categories. Based on extensive load testing and BarBend's extensive barbell collar testing, here is how they break down for real-world application.
1. Spring Collars (The Budget Standard)
Made from heavy-gauge steel wire, spring clips rely on tensile tension. While they cost between $8 and $15 a pair and install in under two seconds, they are notorious for failing during high-velocity drops. The metal fatigues over time, losing its outward grip force. Verdict: Acceptable only for light bench pressing or strict isolation work. Never use them for Olympic lifts or heavy squats.
2. Clamp-Style Collars (The Home Gym Workhorse)
Clamp collars, like the widely used Rogue HG 2.0 Collars (retailing around $35), utilize a plastic or aluminum body with a rubberized inner lining and a cam-lever locking mechanism. They provide excellent lateral grip force (roughly 80-100 lbs of clamping pressure) and are highly durable. Edge Case: The plastic bodies can crack if dropped directly onto concrete from overhead, so use them primarily on rubber-matted platforms.
3. Lock-Jaw and Pro-Loc Collars (The Heavy-Duty Choice)
Lock-Jaw collars ($45-$55) use a dual-ratcheting nylon system that physically bites into the steel sleeve. They are virtually indestructible and provide the highest lateral grip force of any non-competition collar. However, their bulkier profile can interfere with the grip width of lifters with extremely wide snatch grips. Verdict: The ultimate choice for powerlifters and strongman athletes moving massive static loads.
4. Competition Calibrated Collars (The Elite Standard)
Forged from solid steel and weighing exactly 2.5kg each, competition collars (like the Eleiko Olympic Competition Collars, priced at $130+) use a precision-machined screw or heavy-duty lever system. They are designed to withstand thousands of overhead drops on competition platforms without losing calibration. Verdict: Mandatory for serious Olympic weightlifters and commercial gym owners who need zero-maintenance longevity.
Collar Comparison Matrix
| Collar Type | Avg. Price (Pair) | Grip Force | Setup Time | Best Application |
|---|---|---|---|---|
| Spring Clips | $10 | Low (15 lbs) | 2 Seconds | Light Isolation / Bench |
| Clamp-Style (e.g., Rogue HG) | $35 | High (90 lbs) | 5 Seconds | General Powerlifting / CrossFit |
| Lock-Jaw / Ratchet | $50 | Extreme (150+ lbs) | 10 Seconds | Heavy Squats / Strongman |
| Competition Calibrated | $130+ | Maximum (Steel-on-Steel) | 15 Seconds | Olympic Weightlifting |
Failure Modes and Edge Cases in Collar Installation
Understanding how collars fail is the hallmark of an experienced lifter. The most common failure mode is plate shift due to bar whip. When a 29mm Olympic bar whips during a heavy deadlift lockout or a jerk dip, the kinetic energy travels to the sleeves. If you are using urethane plates (which have a slightly wider, softer hub than cast iron) with a standard clamp collar, the rubberized lining of the collar can compress, allowing a 1-2mm lateral shift. Over a set of 10 reps, this compounds into a noticeable imbalance.
"If you hear a 'clack' sound at the top of your lift, your plates are shifting. That sound is kinetic energy escaping your lift path. Tighten your collars, or upgrade to a ratcheting system that bites into the steel sleeve."
Optimizing Your Gym Footprint for Dumbbell Exercises
A secure barbell setup is only half the battle; the spatial arrangement of your gym dictates your workout efficiency. When configuring your power rack or squat stand, you must account for the transition zones required for dumbbell exercises.
After securing your barbell with the appropriate collars, ensure you have a minimum of 4 feet of clearance on either side of the barbell sleeves. This perimeter is critical for exercises like dumbbell lunges, goblet squats, and dumbbell floor presses. If your weight storage tree or plate racks are positioned too close to the ends of the barbell, you risk tripping hazards or damaging the collars when racking the bar blindly.
Space-Saving Storage Integration
- Vertical Dumbbell Racks: Place these behind the camera-angle of your squat rack, keeping the lateral drop zones clear for heavy barbell bail-outs.
- Plate Trees vs. Wall Storage: If your room is narrow, abandon freestanding plate trees. Use wall-mounted plate pegs to keep the floor entirely clear, allowing you to drop to the floor for renegade rows or dumbbell pull-overs immediately after your barbell sets.
Expert Verdict: Which Collar Belongs in Your Setup?
For 90% of home gym owners in 2026, the Clamp-Style Collar (like the Rogue HG 2.0 or Harbinger Bio-Fit) offers the perfect intersection of price, safety, and ease of use. They install quickly, grip tightly enough for 95% of lifts, and won't break the bank. However, if your programming is heavily skewed toward Olympic weightlifting (snatches, cleans, and jerks), bypass the clamps and invest directly in Competition Calibrated Collars. The precision steel-on-steel grip is non-negotiable when the bar is traveling at high velocities overhead.
Ultimately, treating your collar installation with the same respect as your lifting mechanics will extend the life of your equipment, protect your joints, and keep your gym floor optimized for every movement in your arsenal.
More gear to consider
All reviews
Beyond Ab Workouts with Dumbbells: Cast Iron vs Competition Kettlebell Guide

Kettlebell Guide & Incline Dumbbell Bench Press Angle Trends 2026

Dumbbell Lunge Form Guide & Best Adjustable Dumbbells 2026
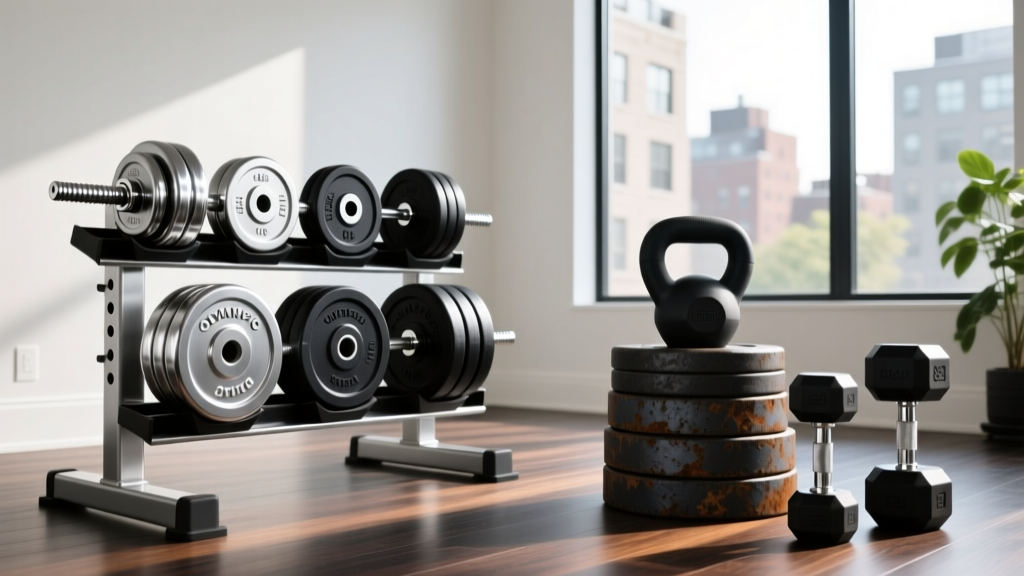
Olympic vs Standard Plates: Heavy Lifts & Biceps Using Dumbbells

Olympic vs Standard Plates: Setup & Gorilla Row with Dumbbells
