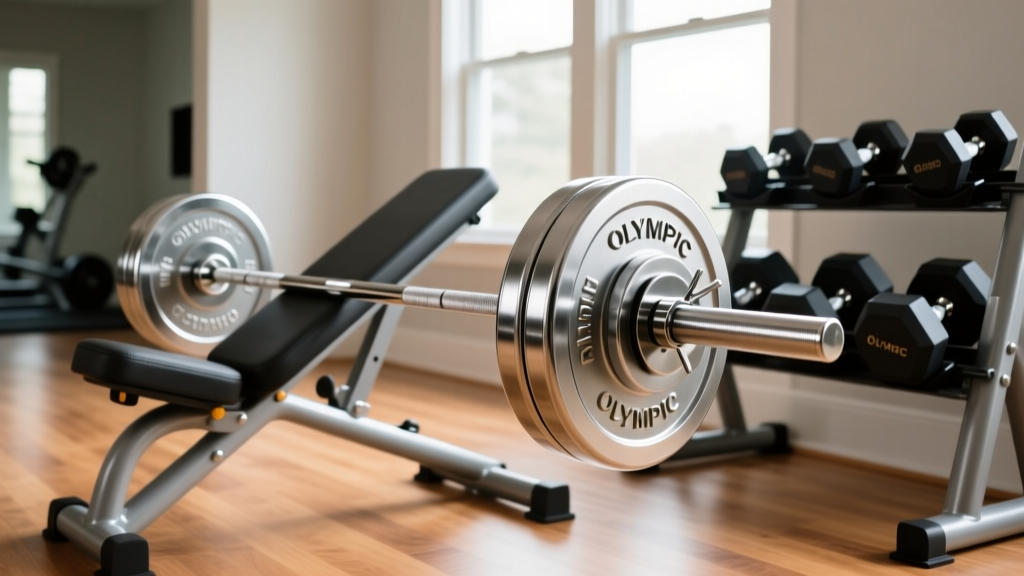
Adjustable Dumbbell Setup for a Dumbbell Chest and Shoulder Workout
Compare top adjustable dumbbells and follow our setup walkthrough to build the ultimate station for your dumbbell chest and shoulder workout.

The 2026 Adjustable Dumbbell Comparison Matrix
Before you can execute a flawless workout, you need the right tools. The adjustable dumbbell market has matured significantly, with 2026 models offering improved durability, smarter weight distribution, and better grip ergonomics. When selecting a set for upper body training, the physical length of the dumbbell at lower weights is a critical, often overlooked metric. Bulky ends can interfere with your range of motion during pressing movements.
| Model | Max Weight (Each) | 2026 Pricing | Adjustment Mechanism | Max Length |
|---|---|---|---|---|
| Nuobell 80lb | 80 lbs | $749 / pair | Twist Handle | 17.5 inches |
| Bowflex SelectTech 1090i | 90 lbs | $649 / each | Dial System | 17.5 inches |
| PowerBlock Elite EXP | 50-90 lbs (Expandable) | $399 / pair (Base) | Pin Selector | 12.0 inches (Base) |
For a dedicated upper-body routine, the PowerBlock Elite EXP offers the most compact footprint at lower weights, preventing the dumbbells from clashing together at the bottom of a flye or press. However, the Nuobell 80lb provides a traditional round handle feel that many lifters prefer for pressing mechanics. According to equipment testing data from Garage Gym Reviews, the Nuobell's twist mechanism remains the fastest on the market, taking under 1.5 seconds to change weights mid-set.
Pre-Installation Inspection and Unboxing
Adjustable dumbbells are precision instruments masquerading as blunt force objects. Shipping damage is the leading cause of early mechanism failure. Follow this strict unboxing protocol:
- Inspect the Outer Carton: Look for crushed corners or puncture marks. A dropped box can misalign the internal selector pins before you even open it.
- Remove Packaging Inserts Carefully: Do not pull the dumbbells out by the handles. Lift them from the base tray to avoid engaging the locking mechanism while the plates are bound by zip ties or styrofoam.
- The 'Zero' Check: Ensure the selector dials or twist handles are set to the lowest weight (or zero) before attempting to lift them out of the cradle.
Space Mapping for Your Dumbbell Chest and Shoulder Workout
When configuring your home gym for a dedicated dumbbell chest and shoulder workout, spatial awareness and equipment footprint are just as critical as the weight increments. The biomechanics of pressing and raising movements require specific clearances to ensure safety and full range of motion. The National Strength and Conditioning Association (NSCA) emphasizes that inadequate spatial clearance is a primary factor in compromised joint mechanics and accidental equipment drops in home environments.
Overhead and Lateral Clearance Requirements
- Overhead Clearance (Shoulder Press): Measure from the top of your adjustable FID (Flat/Incline/Decline) bench seat pad to the ceiling. You need a minimum of 42 inches of clear vertical space above the seated position to fully lock out a 90-degree overhead press without striking light fixtures or rafters.
- Lateral Clearance (Chest Flyes & Lateral Raises): When lying flat or seated on an incline, your arms will extend outward. You must have at least 28 inches of clear floor space on both the left and right sides of the bench. If your dumbbell rack is positioned too close, you risk striking the rack frame during the eccentric (lowering) phase of a lateral raise or incline flye.
- Rack Placement: Position your dumbbell storage tray directly behind the head of the bench or off to the side at a 45-degree angle. Never place the tray directly beside the bench where your elbows will naturally drop during a chest press.
Assembling the Base Station and Rack Integration
The base station (tray) is the anchor of your adjustable dumbbell system. If the tray is not perfectly level, the internal pins will fail to engage when you return the weights, leading to a dangerous plate drop on your next lift.
Step-by-Step Tray Installation
- Floor Preparation: Do not place the base tray directly on carpet or uneven hardwood. Install a 3/4-inch thick vulcanized rubber mat (standard horse stall mats, typically costing around $55 each, are ideal) to provide a dense, level surface that dampens sound and absorbs shock.
- Leveling the Tray: Use a 24-inch carpenter's level across the base tray. If your floor has a slight slope (common in garages and basements), use heavy-duty rubber shims under the lower side of the tray until it is perfectly flush.
- Securing the Tray (Optional but Recommended): If you are building a custom wood rack, use 2.5-inch wood screws to secure the plastic tray to the wood frame. Pre-drill the holes to prevent the plastic housing from cracking under torque.
'The integrity of an adjustable dumbbell system relies entirely on the precision of its docking station. A misaligned tray by even 3 millimeters can cause the selector pin to bind, resulting in catastrophic weight separation during a lift.' — Home Gym Equipment Engineering Standards, 2025
Calibration, Safety Testing, and Failure Modes
Before loading up for your first heavy set, you must calibrate and test the safety mechanisms. The American Council on Exercise (ACE) routinely highlights the importance of pre-lift equipment checks to prevent crush injuries in unsupervised home gym settings.
Testing the Locking Mechanisms
Perform this 3-step safety test with the dumbbells set to a moderate weight (e.g., 30 lbs):
- The Lift Test: Select 30 lbs, lift the dumbbell out of the tray, and hold it at arm's length over a padded surface. Gently shake it. Listen for the sound of loose internal plates. A slight metallic rattle is normal for dial systems, but a heavy clunk indicates a misaligned guide rod.
- The Inversion Test: While holding the dumbbell securely, slowly turn it upside down. The plates must remain firmly locked to the handle. If any plate shifts or drops, immediately cease use and contact the manufacturer.
- The Tray Return Test: Return the dumbbell to the tray. Ensure it slides in smoothly without requiring excessive force. Forcing the dumbbell into the tray usually means the handle is not fully returned to the 'zero' alignment mark.
Common Failure Modes to Monitor
- Dial Housing Cracks (Bowflex): Dropping the SelectTech series from a height greater than 12 inches can shatter the plastic dial housing. Always lower the weights to the tray in a controlled manner; never drop them on the floor after a fatiguing set of shoulder presses.
- Urethane Degradation (PowerBlock): While the steel cage is virtually indestructible, the urethane coatings on the weight blocks can chip if repeatedly slammed together during heavy chest flyes. Maintain a soft touch at the top of the movement.
- Guide Rod Friction: Over time, dust and chalk buildup on the steel guide rods can cause the plates to stick. Wipe the rods down weekly with a dry microfiber cloth.
Maintenance Protocols for Longevity
To ensure your adjustable dumbbells survive years of intense chest and shoulder workouts, implement a strict maintenance routine. Avoid using WD-40 or silicone-based lubricants on the handles or the internal weight plates, as these attract dust and create a slipping hazard during heavy presses. Instead, use a lightly dampened cloth with a mild, non-abrasive cleaner (like a diluted dish soap solution) to wipe down the knurled or textured grips after every session. For the external steel guide rods, a microscopic application of dry PTFE (Teflon) spray applied to a cloth—not sprayed directly onto the dumbbell—will keep the plates gliding smoothly without attracting gym chalk or dead skin cells.
By meticulously selecting the right model, mapping out your biomechanical clearances, and adhering to strict installation and maintenance protocols, your adjustable dumbbell station will become the most versatile and safe cornerstone of your home gym for years to come.
More gear to consider
All reviews
Adjustable Dumbbell Review: Setup Guide for Trap Exercises with Dumbbells

Plate Sizing for a Chest and Shoulder Workout with Dumbbells
Home Dumbbell Back Exercises: Barbell Collar & Clamp Types Compared

EZ vs Straight Bar Maintenance & Glutes Workouts with Dumbbells
Top Loadable Dumbbells for the Dumbbell Sit Up Press 2026