Beyond 3lb Dumbbells: Olympic Barbell Weight, Knurling, and Rig Setup
Move beyond 3lb dumbbells. This setup walkthrough covers Olympic barbell weight tolerances, knurling patterns, and power rack installation.

The Evolution of Your Home Gym: From Micro-Weights to Macro-Loads
Building a comprehensive home gym is a journey of progressive overload, both in your training and in your equipment footprint. When you first started, your setup likely consisted of a yoga mat and a pair of 3lb dumbbells for physical therapy, rotator cuff activation, and light mobility work. But as your strength foundation solidifies, the centerpiece of your training space must evolve. Transitioning from rehabilitation tools to heavy compound lifting requires a meticulous approach to equipment selection and installation.
This complete setup and installation walkthrough bridges the gap between your warm-up zone and your main lifting rig. We will cover how to properly integrate your micro-weights into your gym layout, and then dive deep into the most critical purchase you will make: the Olympic barbell. Understanding barbell weight tolerances and knurling patterns is not just academic; it directly impacts your grip security, joint health, and lifting safety when installed inside a power rack.
Phase 1: Establishing the Mobility and Warm-Up Zone
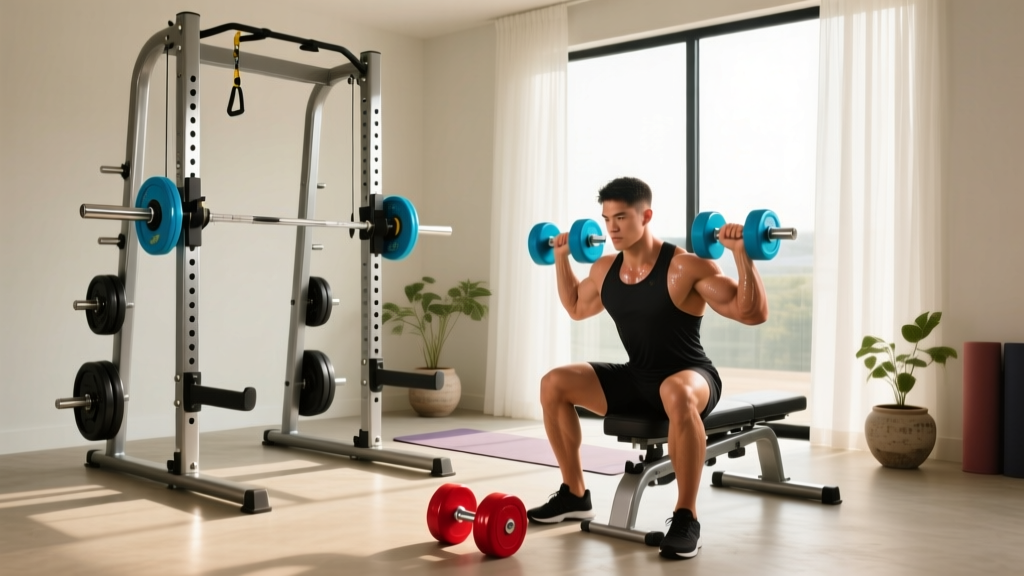
Before bolting down a 1,000-pound capacity squat rack, you must designate a dedicated warm-up and mobility station. This is where your 3lb dumbbells and other micro-weights live. Why does this matter for a barbell setup? Because dropping a 3lb neoprene-coated dumbbell onto an unprotected floor can cause it to bounce unpredictably, potentially striking and chipping the zinc or black oxide finish of your expensive Olympic barbell resting nearby.
Setup Specifications for the Warm-Up Area
- Footprint: Allocate a 4x4 foot rubber mat zone (minimum 3/8-inch thickness) away from the barbell drop zone.
- Storage: Use a tiered, angled dumbbell rack. Storing 3lb dumbbells on the floor creates a tripping hazard and risks damaging the knurling of your barbell if they are kicked or rolled into the rig.
- Usage: Utilize these micro-weights for band pull-aparts, external rotations, and scapular retractions immediately before approaching the loaded barbell.
Phase 2: Selecting the Olympic Barbell (Weight Tolerances & Calibration)
Once your warm-up zone is established, it is time to select the barbell. Not all 20kg (44lb) Olympic barbells are created equal. The manufacturing process dictates the weight tolerance, which is the allowable deviation from the stated weight. When you are calculating percentages for a strict powerlifting or weightlifting program, a bar that is secretly 47lbs instead of 44lbs can skew your data and affect your rate of perceived exertion (RPE).
Expert Insight: The Hidden Cost of Cheap Tolerances
According to industry testing by Garage Gym Reviews, budget commercial barbells can feature weight variances of up to +/- 100 grams. While this sounds negligible, when combined with calibrated plates that also carry variances, your actual loaded weight on the bar could be off by nearly half a pound. For competitive lifters, this is unacceptable.
Understanding Certification Standards
When buying an Olympic barbell in 2026, look for specific federation certifications which guarantee strict weight tolerances:
- IWF (International Weightlifting Federation): Requires a tolerance of +15 grams / -0 grams for a 20kg bar. This means the bar can be up to 15g heavy, but never underweight. Examples include the Eleiko Olympic Weightlifting Bar.
- IPF (International Powerlifting Federation): Similarly strict, demanding exacting weight standards to ensure fairness on the platform. The Rogue 28mm Ohio Power Bar carries IPF certification.
- Standard Commercial (Uncertified): Typically carries a +/- 50g to 100g variance. Fine for general fitness, but not for strict tracking.
Phase 3: Decoding Knurling Patterns for Your Rig
The knurling—the crosshatched pattern machined into the steel shaft—is the most subjective yet vital component of your barbell. It dictates how the bar interacts with your skin, calluses, and the J-cups of your power rack. As detailed in the comprehensive BarBend Knurling Guide, the geometry of the knurl determines its aggression.
| Knurl Profile | Depth & Geometry | Best Application | 2026 Benchmark Model |
|---|---|---|---|
| Volcano | Deep (1.5mm+), but the peaks are rimmed and slightly flattened, creating a crater-like grip that bites without tearing. | Powerlifting, heavy deadlifts, low-rep squats. | Rogue Ohio Power Bar (~$295) |
| Mountain | Sharp, aggressive, flat-topped peaks. Highly abrasive and can easily tear calluses during high-volume work. | Specialized deadlift bars, strongman training. | Eleiko IPF Powerlifting Bar (~$1,150) |
| Hill | Shallow (1.0mm or less), smooth, rounded peaks. Feels almost smooth when chalked. | Olympic weightlifting, high-rep cleans, snatches. | Rep Fitness Excalibur Bar (~$349) |
Center Knurl: To Include or Omit?
If your setup involves heavy back squats, a center knurl is highly recommended. This small, knurled strip in the exact middle of the bar bites into the fabric of your t-shirt or the skin of your upper back, preventing the bar from slipping during the ascent. However, if your rig is dedicated to Olympic lifting or you frequently perform front squats where the bar rests on the deltoids, a center knurl will severely irritate your collarbone. Most modern hybrid bars omit the center knurl to accommodate general fitness enthusiasts.
Phase 4: Power Rack Installation & Barbell Integration
With your barbell selected, the next step is installing the power rack that will house it. A proper installation ensures that your barbell's knurling and sleeve finishes are protected during heavy use.
Step-by-Step Rig Assembly
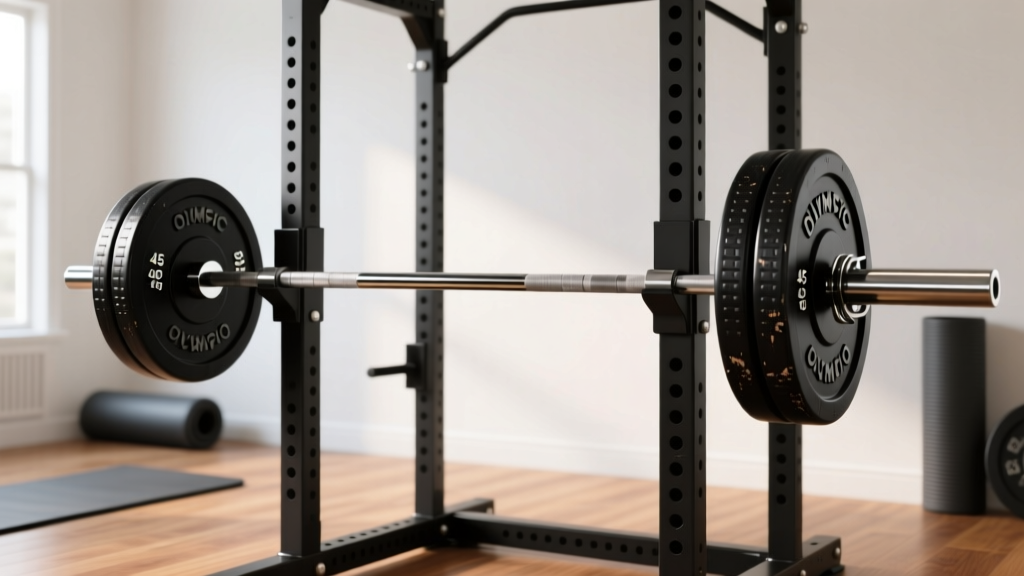
- Upright Placement: Position your 3x3-inch 11-gauge steel uprights on top of a 3/4-inch thick horse stall mat. This dampens sound and protects your concrete or subfloor.
- Hardware Torquing: When securing the crossmembers and gussets, use a calibrated torque wrench. Most commercial-grade racks (like the Rep Fitness PR-4000 or Rogue SML-1) require hardware to be torqued to exactly 80 to 90 ft-lbs. Under-torquing leads to rack sway during re-racking; over-torquing can strip the threads or warp the steel.
- J-Cup Selection: This is critical for barbell longevity. Never use bare metal J-cups with a premium Olympic barbell. Ensure your J-cups are lined with UHMW (Ultra-High Molecular Weight) polyethylene. This dense plastic absorbs the impact of re-racking and prevents the steel J-cup from scraping away the bar's knurl and protective coating.
Pro-Tip: When loading the barbell inside the rack, always slide the plates onto the sleeves rather than dropping them. Dropping plates onto the sleeves while the bar is resting in the J-cups transfers sheer force directly into the rack's uprights and can prematurely wear out the UHMW plastic liners.
Phase 5: Maintenance and Ecosystem Harmony
Your home gym is an ecosystem. The way you maintain your heavy equipment directly impacts the safety and utility of your lighter tools, and vice versa.
Barbell Knurling Maintenance
Chalk, dead skin, and humidity are the enemies of barbell knurling. Over time, these elements pack into the microscopic valleys of the knurl, turning an aggressive volcano pattern into a smooth, slippery hill.
- Weekly: Use a stiff nylon brush (never brass or steel, which can damage zinc and cerakote finishes) to scrub the knurling after your session.
- Monthly: Wipe the shaft down with a microfiber cloth lightly dampened with 3-in-One oil or a specialized barbell cleaner to prevent oxidation, especially if your gym is in a humid garage environment.
Protecting the Micro-Weights
Finally, ensure your 3lb dumbbells and mobility tools are never left on the floor near the power rack. A missed lift or a dropped barbell can easily crush light neoprene or urethane dumbbells, ruining them and potentially causing the barbell to bounce unpredictably off the hardened rubber core. By keeping your warm-up zone meticulously organized and respecting the engineering of your Olympic barbell, you create a safe, high-performance training environment capable of supporting everything from rehab to a 500-pound deadlift.
More gear to consider
All reviews
Power Rack vs Squat Rack vs Stand for Dumbbell to Barbell Bench

Chest Supported Dumbbell Lateral Raise: Rubber vs Urethane
Single Arm Dumbbell Shoulder Press: Rack Storage & Maintenance Tips
Neutral Grip Dumbbell Overhead Press vs Kettlebells: 2026 Market Data
Cast Iron vs Competition Kettlebell Care & Incline Dumbbell Press vs Flat