
Compression Boot Setup & Massage Gun Fingering Techniques for Deep Recovery
Learn how to set up your compression boot system and master massage gun fingering techniques for complete lower-body recovery and targeted trigger point relief.

The Hybrid Recovery Station: Combining Pneumatic and Percussive Therapy
In the modern sports medicine landscape, relying on a single recovery modality is no longer sufficient for elite or dedicated amateur athletes. As of the current 2026 recovery tech ecosystem, the gold standard for lower-body rehabilitation involves a hybrid approach: utilizing intermittent pneumatic compression (IPC) boots for systemic lymphatic flushing, paired with targeted percussive therapy for localized fascial release. While compression systems like the Normatec 3 or Hyperice Recovery System excel at broad-spectrum fluid mobilization, they cannot break up localized adhesions. This is where specialized percussive techniques come into play.
This comprehensive walkthrough will guide you through the complete physical setup of a premium compression boot system and detail the clinical application of massage gun fingering—a highly specific percussive technique used to prep the tissue before booting up.
Phase 1: Complete Compression Boot Setup Walkthrough
Proper installation of your recovery system is critical. A poorly routed hose or misaligned zipper can cause pressure leaks, reducing the therapeutic efficacy of the intermittent pneumatic compression cycles.
Step 1: Hub Placement and Power Routing
Whether you are using the Normatec 3 Legs ($1,199) or the Hyperice Recovery System ($899), the control hub must be positioned centrally. Place the hub on a stable, elevated surface (like a nightstand or dedicated recovery cart) roughly 18 to 24 inches above the floor. This prevents the quick-release hose connectors from bending at sharp angles when you are seated or supine.
Step 2: Hose Connection and Garment Sealing
- Align the Connectors: Push the male hose connector into the female port on the boot until you hear a distinct double-click. A single click will result in an air blowout once the system reaches peak pressures of 80–100 mmHg.
- Zipper Alignment: When stepping into the compression leggings, ensure the heavy-duty YKK zippers align perfectly with the lateral seam of your tibia. Do not force the zipper over the calf muscle belly, as this creates a pressure ridge that can restrict arterial inflow.
- Pre-Flight Test: Run a 2-minute diagnostic cycle at 40 mmHg. Run your hands along the seams to check for hissing sounds, which indicate a compromised valve or zipper gap.
Phase 2: Mastering Massage Gun Fingering Techniques
Before engaging the compression boots, elite physical therapists recommend breaking down localized scar tissue and priming the nervous system. In clinical percussive therapy, massage gun fingering refers to the specialized technique of utilizing the dual-pronged fork or finger-head attachment to cradle and isolate narrow muscle bellies, tendons, and nerve pathways. This mimics the precise, deep-tissue grip of a massage therapist’s fingers while safely avoiding direct skeletal strikes.
Clinical Definition: Massage Gun Fingering
The deliberate use of U-shaped 'finger' or 'fork' attachments on percussive devices (such as the Theragun PRO) to apply bilateral pressure along the edges of a tendon or bone. This technique creates a central channel of relief, promoting localized vasodilation without triggering the periosteal pain receptors associated with bone strikes.
Target Zones for the Finger Attachment
- The Achilles Tendon Cradle: Set your device to 1750 RPMs. Glide the finger attachment upward from the calcaneus (heel bone) to the gastrocnemius junction at a rate of 1 inch per second. The dual prongs should cradle the tendon, applying pressure exclusively to the paratenon sheath.
- IT Band Margins: Never percuss the IT band directly. Instead, use the fingering technique to trace the anterior and posterior borders of the iliotibial tract to release the fascial adhesions binding it to the vastus lateralis.
- Paraspinal Gutter: For lower back prep, use the finger head to glide strictly through the erector spinae muscle bellies, ensuring the empty space between the prongs clears the spinous processes of the vertebrae.
The 35-Minute Hybrid Recovery Protocol
To maximize the synergistic effects of both modalities, follow this sequenced protocol post-training. Research published in PubMed regarding percussive therapy indicates that localized vibration temporarily decreases motor neuron excitability, making subsequent compression flushing more effective at clearing metabolic waste.
| Phase | Modality | Duration & Settings | Physiological Goal |
|---|---|---|---|
| 1. Prep | Massage Gun Fingering | 5 mins / 1750 RPM | Fascial release, tendon cradling |
| 2. Flush | Compression Boots | 20 mins / 60 mmHg | Lymphatic drainage, venous return |
| 3. Re-Integrate | Active Mobility | 10 mins / Bodyweight | Neuromuscular re-education |
Data Matrix: Compression Boots vs. Finger-Head Percussion
Understanding the distinct mechanical forces of each tool is vital for preventing over-training and tissue bruising.
| Feature | Pneumatic Compression Boots | Massage Gun Fingering Technique |
|---|---|---|
| Primary Force | Circumferential Hydrostatic Pressure | Bilateral Percussive Shear |
| Depth of Penetration | Superficial to Deep Venous System | Up to 16mm into Myofascial Tissue |
| Contraindications | DVT, Acute Compartment Syndrome | Open wounds, acute muscle tears, bone fractures |
| Cost Barrier (2026) | $899 - $1,399 | $399 - $599 (Device + Attachment) |
Troubleshooting Common Setup and Technique Failures
Even with premium equipment, user error can compromise recovery. Watch out for these specific edge cases:
- The 'Dead Valve' Boot Error: If your Normatec hub displays an error code regarding pressure thresholds, inspect the internal O-rings on the hose connectors. Sweat and skin oils degrade rubber O-rings over time. Wipe connectors with isopropyl alcohol weekly.
- Percussive Stalling on the Achilles: When performing massage gun fingering on dense tendons, users often apply too much downward force, causing the device's smart-sensor to stall the motor to protect the brushless engine. Fix: Let the weight of the Theragun PRO (approx. 2.8 lbs) provide the pressure; do not push down manually.
- Zipper Blowouts at High mmHg: If you have exceptionally large calves (over 18 inches in circumference) and run the boots at 100 mmHg, the lateral zippers may separate. Use the manufacturer-provided calf expanders or drop the pressure to 70 mmHg to maintain structural integrity.
Expert References & Further Reading
Integrating these tools requires an understanding of human physiology. For deeper insights into the mechanics of pneumatic flushing and percussive vibration, consult the following peer-reviewed resources:
- Intermittent Pneumatic Compression and Recovery: NCBI Review - Detailed analysis of fluid dynamics and mmHg thresholds for optimal venous return.
- The Acute Effects of Percussive Therapy on Muscle Stiffness: PubMed - Clinical data supporting the use of targeted vibration prior to secondary recovery modalities.
By meticulously setting up your compression hardware and applying precise massage gun fingering techniques to vulnerable tendons, you create a comprehensive, multi-tiered recovery environment that rivals professional sports clinics.
More gear to consider
All reviews
Foam Roller Size, Density & Recovery Tools Windows

Normatec vs Hyperice: The Windows Device Recovery Tool for Muscles
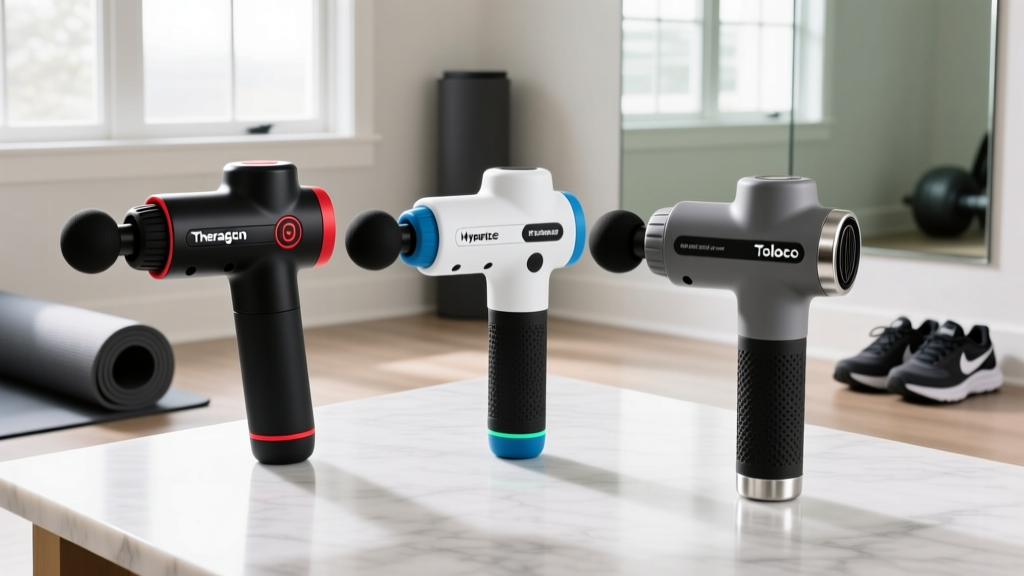
Theragun vs Hyperice & Toloco Massage Gun Review: Longevity Tips

Swiss Brand Pro Percussion Massage Gun vs. Stretching Equipment

Trigger Point Tools & Massage Gun Accessories: 2026 Trends
