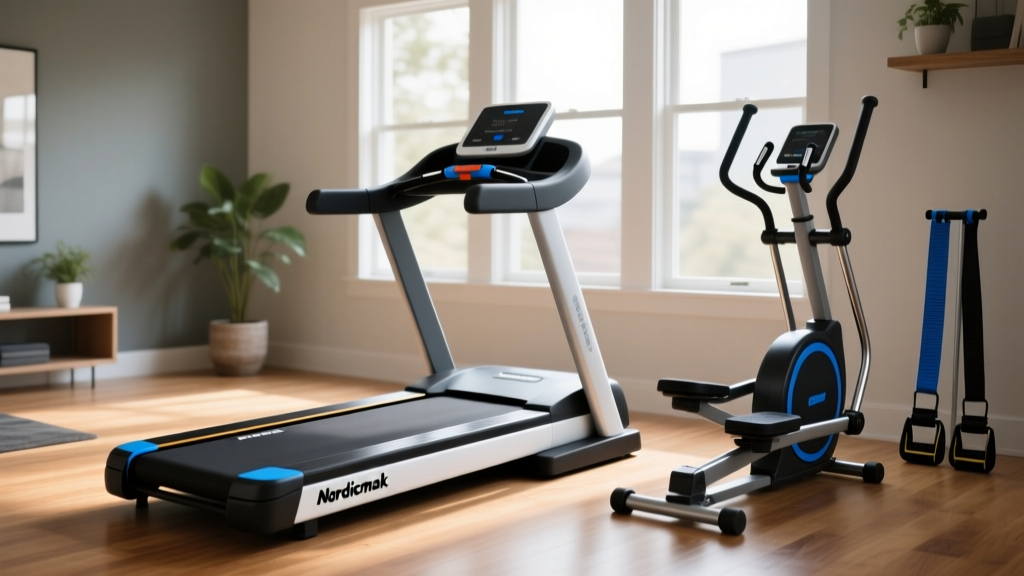
Stair Climber Setup Walkthrough vs NordicTrack Treadmill E2500
Master your home gym installation with our stair climber setup walkthrough. Compare spatial and electrical needs against the NordicTrack Treadmill E2500.

Setting up heavy cardio equipment in a residential environment requires more than just unpacking boxes and tightening bolts. When transitioning from traditional belt-driven machines to vertical climbers, the spatial and structural dynamics shift dramatically. This comprehensive stair climber machine for home use guide focuses on the complete setup and installation walkthrough of premium step-mills (like the StairMaster FreeClimber or Core Home Fitness models). To provide a realistic baseline for home gym space planning, we will continuously compare these vertical footprint requirements against the sprawling, heavy-duty profile of the classic NordicTrack Treadmill E2500.
Structural Prerequisites: Floor Loading and Ceiling Clearance
Before you unbox a single component, you must evaluate your room's structural integrity. Stair climbers and heavy incline treadmills interact with your floor joists in fundamentally different ways.
The Point-Load vs. Distributed-Load Dilemma
The NordicTrack Treadmill E2500 weighs approximately 310 pounds and distributes that mass across a 70-inch by 30-inch footprint. While heavy, the weight per square inch (PSI) is relatively low. A commercial-grade stair climber, however, often weighs between 250 and 350 pounds but rests on four small, 2-inch rubber leveling feet. When a 200-pound user is mid-step, the dynamic point-load on the front stabilizers can exceed 400 PSI. If installed on a second-floor room with standard 16-inch on-center joists, this can cause floor deflection, leading to machine wobble and premature bearing wear.
Expert Warning: If installing a stair climber on a suspended floor (second story or basement), lay a 3/4-inch marine-grade plywood sheet (minimum 4x6 feet) beneath the machine. This bridges multiple joists and disperses the dynamic point-load, mimicking the distributed weight profile of a treadmill.Calculating Vertical Clearance
The most common installation failure for home stair climbers is inadequate ceiling height. Unlike a treadmill where you run horizontally, a stair climber elevates your entire body. According to the American Council on Exercise (ACE), you must calculate clearance based on the tallest user in the household.
- Formula: Tallest User's Height + 15 Inches (Maximum Step Elevation) + 3 Inches (Safety Buffer).
- Example: A 6'2" (74") user requires a minimum ceiling height of 92" (7'8"). Standard 8-foot ceilings will result in head strikes at the top of the stride.
Spatial & Electrical Comparison Matrix
To help you map your home gym layout, here is a direct comparison between a standard home stair climber and the NordicTrack Treadmill E2500.
| Specification | Premium Home Stair Climber | NordicTrack Treadmill E2500 |
|---|---|---|
| Footprint (L x W) | 48" x 26" (Vertical Orientation) | 78" x 32" (Horizontal Orientation) |
| Rear Clearance Required | 12" (Minimal kickback) | 36" (Safety fall zone) |
| Shipping Weight | ~285 lbs (Usually 2 boxes) | ~315 lbs (Single massive box) |
| Electrical Circuit | 15A Dedicated (Standard NEMA 5-15) | 20A Dedicated (NEMA 5-20 often required) |
Electrical Setup and Surge Protection
Cardio machines with high-torque motors or electromagnetic alternators are incredibly sensitive to voltage drops. The National Fire Protection Association (NFPA) outlines in the National Electrical Code (NEC) that high-draw appliances require dedicated circuits to prevent breaker tripping and wire overheating. The NordicTrack Treadmill E2500 is notorious for tripping shared 15-amp breakers when its incline motor and drive motor engage simultaneously. Modern stair climbers use smaller continuous-duty motors or magnetic resistance, but they still demand clean, isolated power to protect the lower control board.
"Never plug a stair climber or heavy treadmill into a standard power strip. Use a UL-listed, 15-amp or 20-amp single-outlet surge suppressor with a minimum 2000-joule rating, plugged directly into a dedicated wall receptacle."
Step-by-Step Stair Climber Assembly Walkthrough
Unlike the relatively straightforward unfolding of a treadmill deck, assembling a stair climber requires vertical alignment and precise wire routing. Follow this sequence to avoid the most common installation errors.
Phase 1: Base Stabilization and Leveling
- Position the Base Frame: Move the main drive housing to its permanent location. Do not attempt to move it after the uprights are attached.
- Deploy the Levelers: Thread the four adjustable feet into the base. Use a 24-inch carpenter's level across the main pedal axle housing. If the floor is uneven, adjust the feet until the bubble is perfectly centered. An unlevel base will cause the internal chain or belt to track improperly, leading to catastrophic derailment within the first 50 hours of use.
Phase 2: Upright Mast and Wire Routing
This is where 80% of home installation failures occur. The upright mast houses the data cables connecting the console to the lower control board.
- Feed the Cable First: Before bolting the mast to the base, use a fish tape or a straightened wire hanger to pull the console cable down through the mast tube.
- Check for Pinches: As you lower the mast onto the base plate, ensure the cable is not caught between the steel flanges. A pinched wire will result in a blank console or erratic resistance levels.
- Torque the Flange Bolts: Secure the four main mast bolts. Use a torque wrench set to 25 Nm (18 ft-lbs) to ensure the frame doesn't sway during aggressive climbing sessions.
Phase 3: Pedal Arm and Linkage Attachment
Attach the left and right pedal arms to the main crankshaft. These joints endure the highest dynamic stress on the entire machine. Apply a drop of medium-strength blue threadlocker (e.g., Loctite 242) to the crank bolts before tightening. This prevents the vibrations from the stepping motion from slowly backing the bolts out over time.
Calibration, First Boot, and Safety Checks
Once fully assembled, plug the machine into your dedicated surge protector. Power on the console and enter the service menu (usually by holding the 'Level' and 'Start' buttons simultaneously for 3 seconds). Run the automated calibration sequence. This forces the machine to find the top and bottom dead-center of the pedal stroke, establishing the baseline for its resistance algorithms.
According to the U.S. Consumer Product Safety Commission (CPSC), exercise equipment accounts for thousands of emergency room visits annually, often due to improper assembly or lack of safety tethers. While treadmills use magnetic safety keys, ensure your stair climber's safety lanyard is properly clipped to the console and tested before your first workout.
Troubleshooting Initial Startup Failures
If your newly installed stair climber fails to operate correctly, consult this diagnostic matrix before calling a technician:
| Symptom / Error Code | Likely Cause | Installation Fix |
|---|---|---|
| Console Lights Up, No Resistance | Disconnected or pinched data cable in the upright mast. | Remove console, check the RJ45 or 4-pin connector, and reseat firmly. |
| Loud Clicking from Base | Base frame is unlevel, causing chain/belt misalignment. | Recalibrate the leveling feet with a carpenter's level. |
| Err 1 / Speed Sensor Fault | Magnetic reed switch is too far from the flywheel magnet. | Loosen the sensor bracket, align it 2mm from the magnet, and retighten. |
Long-Term Maintenance: Lubrication and Belt Tensioning
Unlike the silicone-deck lubrication required for the NordicTrack Treadmill E2500, stair climbers rely on internal drivetrain maintenance. After the first 30 days of use, the internal drive belt or chain will experience initial stretch. Remove the lower plastic shroud (usually secured by six Phillips-head screws) and inspect the drivetrain tension. If your model utilizes a roller chain, apply a dry PTFE (Teflon) bicycle chain lubricant. Avoid wet lubricants or WD-40, as they attract dust and form an abrasive paste that will destroy the sprocket teeth. For belt-driven models, check the tensioner pulley; it should have roughly 1/2 inch of deflection when pressed with moderate thumb pressure.
Furthermore, wipe down the side rails and console with a non-ammonia-based cleaner. Ammonia degrades the anti-glare coating on LCD screens and dries out the rubberized grips, leading to premature cracking.
Final Thoughts on Home Gym Integration
Installing a stair climber requires a shift in spatial thinking compared to traditional horizontal cardio machines. While the NordicTrack Treadmill E2500 demands vast horizontal clearance and heavy-duty 20-amp electrical infrastructure, a premium stair climber challenges your vertical space and requires meticulous attention to point-load distribution and internal wire routing. By following this complete setup and installation walkthrough, you ensure your equipment operates safely, quietly, and reliably for years to come.
More gear to consider
All reviews
Star Trac 10TRx FreeRunner Treadmill Noise Test vs Top Rivals
Air Bike vs Assault Bike: Value & Deer Run Z10 Treadmill Reviews
Elliptical vs Treadmill: Space Design & Backward Walk on Treadmill
Treadmill vs StairMaster: 2026 Belt Maintenance & Cost Analysis
Stair Climber vs Treadmill: Is Incline Treadmill Good for Fat Loss