
Rowing Machine Setup, Technique & Treadmill Belt Tightening Guide
Master your home gym setup with our rowing machine buying guide, expert technique tips, and a complete treadmill belt tightening maintenance walkthrough.

Building a comprehensive home cardio zone in 2026 requires more than just purchasing equipment; it demands precise spatial planning, biomechanical understanding, and rigorous maintenance protocols. Whether you are installing a high-end rower or performing routine treadmill belt tightening on your walking pad, the setup phase dictates the lifespan and performance of your machines. This complete walkthrough bridges the gap between rowing machine selection, ergonomic technique, and cross-equipment maintenance.
Phase 1: Spatial Planning and Electrical Infrastructure
Before unboxing, map your floor plan. A standard air rower like the Concept2 RowErg requires an operational footprint of 106 inches long by 24 inches wide. However, you must account for the slide-back clearance. Conversely, a folding treadmill like the Sole F85 demands a static footprint of 82" x 36", but requires a minimum 24-inch safety clearance zone directly behind the rear roller to prevent injury in the event of a fall.
Flooring Requirements: Never place heavy cardio machines directly on hardwood or carpet. Install 3/8-inch vulcanized rubber mats. This dampens the acoustic vibration of the treadmill motor and prevents sweat-induced corrosion on the rower's steel chain and aluminum monorail.
Electrical Requirements: While manual and air rowers draw negligible power (or none at all), smart rowers with HD screens (e.g., Hydrow) and commercial-grade treadmills require dedicated 15-amp circuits. Sharing a circuit between a 3.5 HP treadmill motor and a smart rower can trip your breaker mid-workout or degrade the treadmill's lower control board over time due to voltage sags.
Phase 2: Rowing Machine Buying Guide (2026 Market Breakdown)
Selecting the right resistance profile is the most critical decision in your buying journey. The market has segmented into three distinct categories, each with unique maintenance and setup profiles.
| Resistance Type | Top 2026 Model | Avg. Price | Noise Level | Maintenance Needs |
|---|---|---|---|---|
| Air | Concept2 RowErg | $1,000 | High (Whoosh) | Chain oiling, monitor battery |
| Magnetic | Echelon Row | $600 | Low (Whisper) | Track wiping, belt inspection |
| Water | WaterRower Natural | $1,200 | Medium (Splash) | Water purification, seal checks |
Expert Insight: If your home gym is in a shared living space, magnetic rowers offer the lowest decibel output. However, for competitive cross-training and exact performance tracking, the air-resistance flywheel remains the undisputed gold standard due to its infinite dynamic drag curve, which perfectly mimics the physics of moving a hull through water.
Phase 3: Unboxing and Assembly Walkthrough
Proper assembly prevents the dreaded "wobble" that plagues poorly constructed home gyms. When assembling a modular rower:
- Base Stabilization: Attach the front legs using the provided M8 x 40mm flange bolts. Use a torque wrench set to 15 Nm to avoid stripping the aluminum threads.
- Monorail Alignment: Slide the seat carriage onto the rail. Ensure the Delrin rollers seat perfectly inside the extruded aluminum track. A misaligned carriage will cause micro-abrasions on the rail, leading to a bumpy stroke and premature wear.
- Drag Factor Calibration: For air rowers, access the hidden calibration menu on the PM5 monitor. A drag factor between 100 and 130 mimics the hydrodynamics of an actual racing shell. Setting it to the maximum 10 damper setting is a common novice error that leads to lumbar fatigue.
Phase 4: Mastering Rowing Technique and Biomechanics
According to Concept2's official technique guide, the rowing stroke is not an upper-body pull; it is a horizontal deadlift. The power distribution must strictly follow the 60-20-20 rule: 60% legs, 20% core hinge, and 20% arms.
The Four Phases of the Stroke
- The Catch: Shins vertical, torso hinged at 11 o'clock, arms straight. Lats engaged to eliminate chain slack before the drive begins.
- The Drive: Initiate exclusively with the legs. The handle should not move until the knees are partially extended. This sequencing protects the lumbar spine and maximizes wattage.
- The Finish: Legs flat, torso leaned back to 1 o'clock, handle pulled to the lower sternum. Elbows brush the ribs.
- The Recovery: Reverse the sequence: Arms away, torso hinge forward, then knees bend. The recovery should take twice as long as the drive (a 1:2 ratio) to allow for cardiovascular recovery.
Pro Tip: Stop looking at your stroke rate (SPM). A lower stroke rate (18-22 SPM) with higher wattage output builds vastly superior cardiovascular endurance and muscular power than rushing the slide at 30+ SPM with zero connection.
Phase 5: Cross-Equipment Maintenance & Treadmill Belt Tightening
A multi-machine cardio zone requires unified maintenance schedules. While rowers need chain lubrication, your treadmill requires deck care and precise belt tensioning. Improper tension is the number one cause of motor control board failure. Here is your definitive guide to treadmill belt tightening.
⚠️ WARNING: The Over-Tightening TrapNever tighten a walking belt to eliminate a slight slip during heavy sprinting. Over-tightening increases the amp-draw on the drive motor, generates excessive heat, and will eventually snap the belt seam or strip the rear roller bolts. Always perform the "Lift Test" first.
The Treadmill Belt Tightening Protocol
Follow these exact measurements to restore optimal tension without damaging your machine:
- The Lift Test: Power off and unplug the treadmill. Reach under the walking belt at the midpoint of the deck. You should be able to lift the belt exactly 2 to 3 inches off the deck. If it lifts higher, it requires tightening.
- Locate the Tension Bolts: Find the left and right rear roller adjustment bolts at the very back of the machine. You will typically need a 3/16" or 1/4" Allen wrench.
- The Quarter-Turn Rule: Turn both the left and right bolts clockwise by exactly one-quarter (1/4) turn. Never turn one side more than the other, or you will throw off the belt tracking.
- Test and Iterate: Plug the machine in, set it to 3.0 MPH, and walk on it. Perform the lift test again. Repeat the 1/4 turn process until the 2-3 inch clearance is achieved.
Tracking Correction: If the belt drifts to the left during use, turn the left rear roller bolt clockwise by 1/4 turn, OR turn the right bolt counter-clockwise by 1/4 turn. Never adjust tracking while the machine is off; always observe the belt at 3.0 MPH. Additionally, ensure you are applying exactly 1 oz of 100% silicone lubricant under the belt every 150 miles to reduce friction.
Summary: Building a Sustainable Cardio Ecosystem
Whether you are perfecting your catch angle on a Concept2 or executing a flawless treadmill belt tightening procedure, precision is the hallmark of a serious home gym. Adhering to the American Heart Association's cardiovascular guidelines requires equipment that is safe, calibrated, and ready for daily use. Invest the time in proper spatial planning, master the biomechanics of the rowing stroke, and respect the mechanical tolerances of your treadmills to ensure your 2026 fitness setup lasts for decades.
More gear to consider
All reviews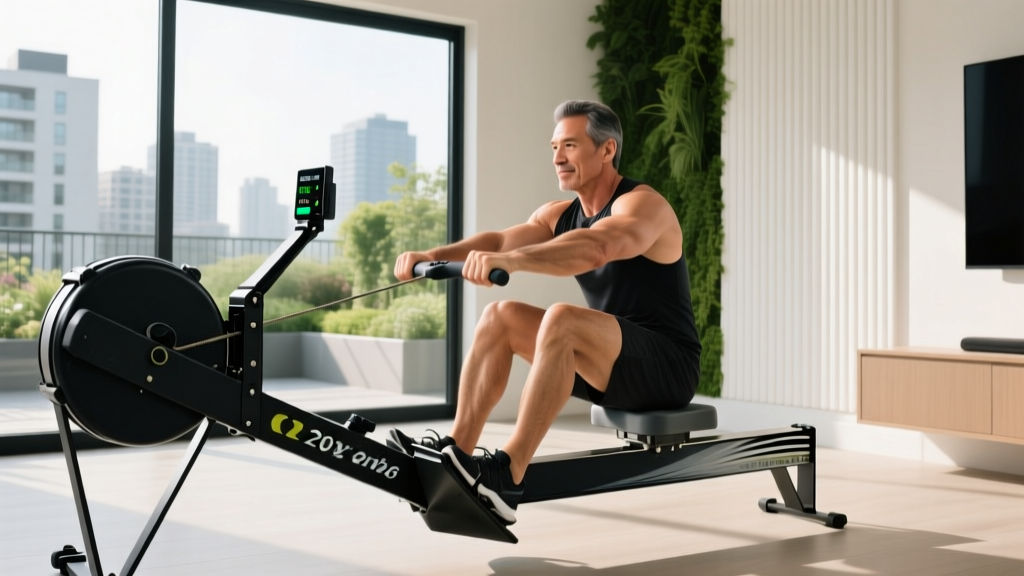
Why the 'Fat Guy on a Treadmill' Should Switch to Rowing: 2026 Guide
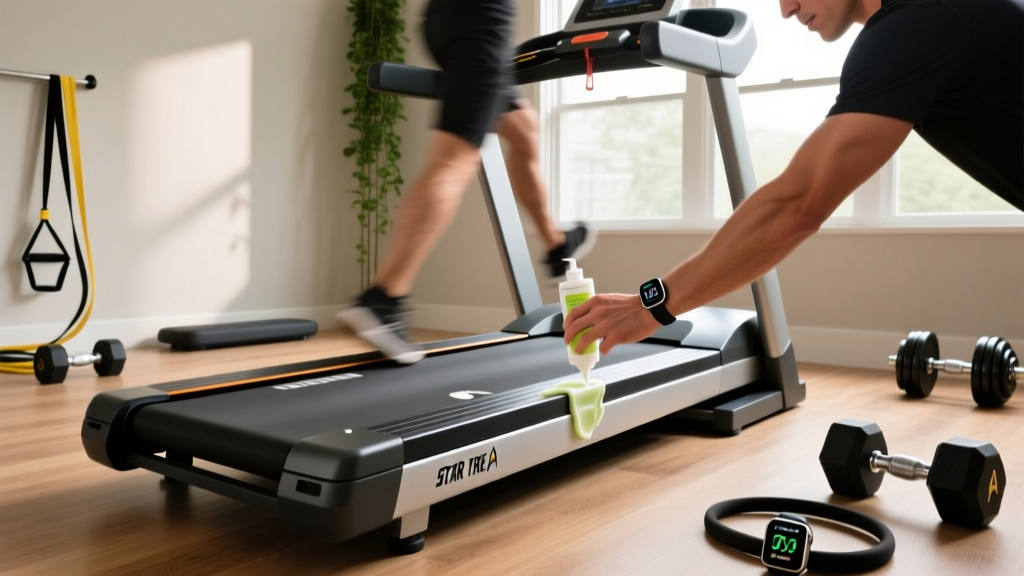
Star Trek Treadmill Belt Maintenance & Lubrication Guide

Gold's Gym Treadmill 480 vs Horizon T101: 2026 Budget Showdown

Rowing Technique & Buying Guide: Horizon Fitness 7.0at Treadmill
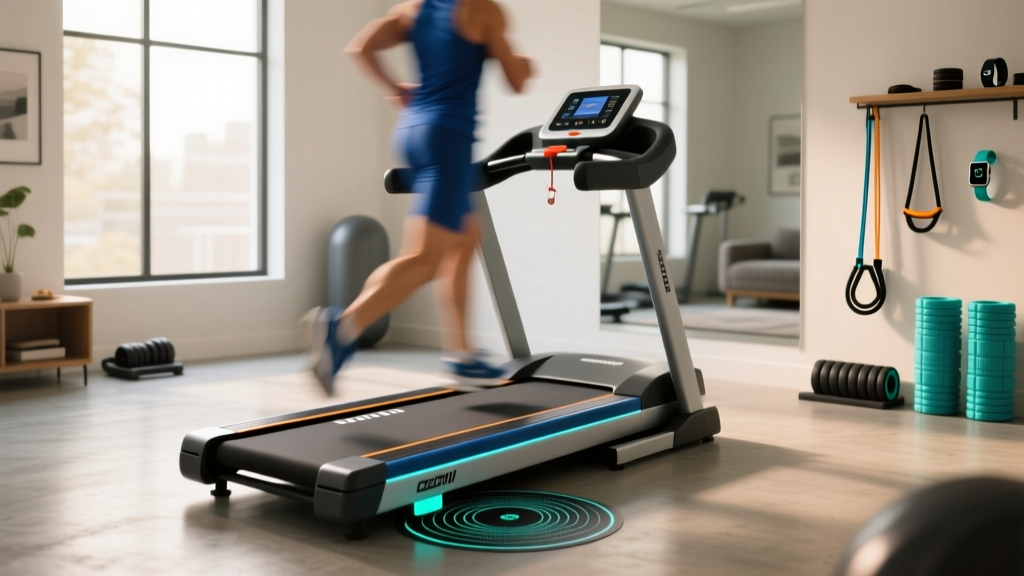
Force Plate Treadmill Installation & Noise Level Comparison Guide
