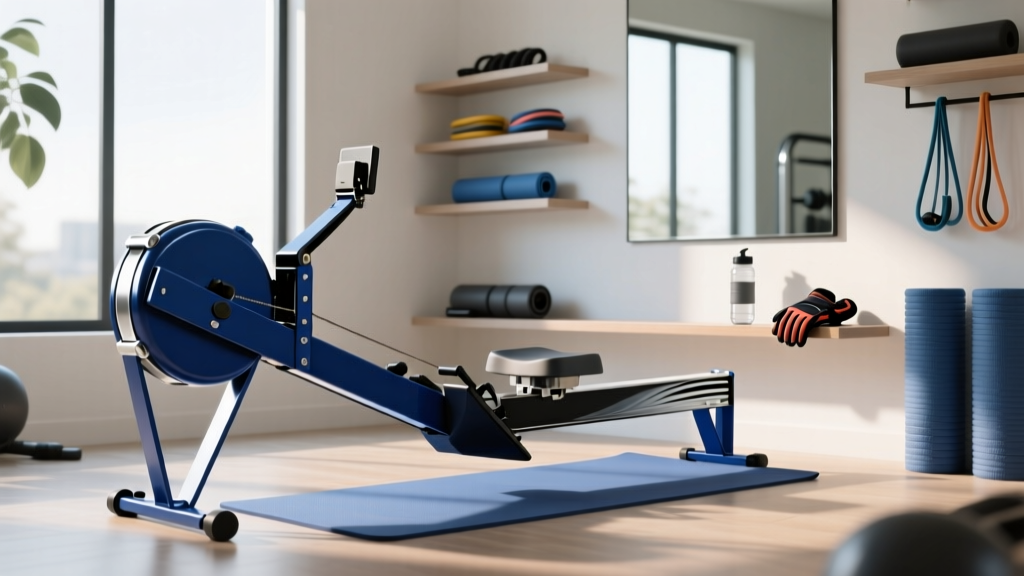
Rowing Machine Guide: Setup & How to Dismantle ProForm Treadmill
Transition your home gym with our rowing machine buying guide, setup walkthrough, technique tips, and how to dismantle ProForm treadmills safely.

The Home Gym Pivot: Why Transition to a Rowing Machine?
As home fitness trends evolve in 2026, many enthusiasts are trading high-impact, lower-body-dominant cardio for the full-body, low-impact efficiency of indoor rowing. A premium rowing machine engages 86% of your muscle mass per stroke, offering superior cardiovascular conditioning and posterior chain development compared to traditional running. However, making the switch often requires a significant spatial reconfiguration. Treadmills are notoriously bulky, and reclaiming that 70-square-foot footprint is the critical first step in your home gym transformation.
This comprehensive guide covers the complete setup and installation walkthrough for your new rowing ergometer, mastery of rowing technique, and a detailed tutorial on how to dismantle ProForm treadmill units to clear your floor space safely.
Phase 1: Clearing Space (How to Dismantle ProForm Treadmill)
Before your new rower arrives, you must remove the old equipment. If you are researching how to dismantle ProForm treadmill models like the Carbon TL, Pro 2000, or SMART Pro 9000 for storage, resale, or recycling, following a systematic teardown sequence is vital. Improper disassembly frequently results in snapped console ribbon cables or stripped deck bolts.
Step-by-Step Teardown Sequence
- Power and Safety Isolation: Unplug the machine and remove the magnetic safety key. Never attempt to unbolt the upright mast while the machine is plugged in, as exposed wiring near the pivot point poses a shock hazard.
- Console and Handrail Removal: Using a Phillips #2 screwdriver, remove the four to six screws securing the console display. Critical: Gently lift the console and disconnect the multi-pin ribbon cable by pressing the release tab. Do not pull the wires directly. Next, use a 13mm socket wrench to detach the handrails from the upright mast.
- Upright Mast Separation: Locate the pivot bolts at the base of the upright mast where it meets the motor hood. You will typically need a 3/16-inch Allen wrench and a 13mm socket. Have a second person support the mast weight as you remove the final bolt to prevent the steel frame from cracking the plastic motor cover.
- Deck and Frame Split: If you need to break the frame down further for tight doorways, locate the four main carriage bolts connecting the front motor assembly to the rear roller frame. Use an 18mm socket to remove these. Cap all exposed bolt threads with masking tape to prevent injury and thread damage during transport.
Phase 2: 2026 Rowing Machine Buying Guide
With your space cleared, it is time to select the right ergometer. The 2026 market is dominated by three primary resistance profiles: air, magnetic, and water. Your choice should align with your noise tolerance, space constraints, and desire for digital integration.
Top Tier Models Compared
| Model | Resistance Type | 2026 Price Range | Footprint (L x W) | Max User Weight |
|---|---|---|---|---|
| Concept2 RowErg (Model D) | Air (Variable Damper) | $995 - $1,045 | 8 ft x 2 ft | 500 lbs |
| Hydrow Apollo Pro | Electromagnetic | $2,295 | 7 ft 2 in x 2 ft 1 in | 375 lbs |
| NordicTrack RW900 | Air + Magnetic Hybrid | $1,199 | 7 ft 5 in x 1 ft 10 in | 250 lbs |
| WaterRower Natural | Water Impeller | $1,699 | 7 ft x 1 ft 9 in | 265 lbs |
For pure performance metrics, competitive benchmarking, and unmatched durability, the Concept2 RowErg remains the undisputed gold standard. However, if you prioritize immersive, instructor-led classes and near-silent operation for early morning workouts in shared living spaces, the electromagnetic resistance of the Hydrow Apollo Pro is superior.
Phase 3: Complete Setup and Installation Walkthrough
Proper installation extends the lifespan of your machine and protects your flooring. Rowing machines generate significant horizontal shear force during the drive phase, making floor preparation non-negotiable.
1. Floor Protection and Mat Placement
Do not place a rower directly on hardwood or luxury vinyl plank (LVP) flooring. The repetitive friction of the seat rollers and the downward force of the foot stretchers can cause permanent indentations. Invest in a 3/4-inch thick, high-density EVA foam equipment mat measuring at least 9 feet by 4 feet. This provides acoustic dampening and moisture protection from sweat.
2. Rail Assembly and Alignment
Most premium rowers ship with the monorail detached from the front flywheel housing. When sliding the aluminum or steel rail into the receiver bracket:
- Ensure the track groove is completely free of shipping debris or metal shavings.
- Apply a thin layer of dry PTFE (Teflon) lubricant to the roller tracks before the first use.
- Tighten the M8 connecting bolts using a torque wrench set to 25 Nm (Newton-meters). Overtightening can warp the rail seam, causing a noticeable 'bump' during the recovery phase of your stroke.
3. Leveling the Stabilizers
Once assembled, sit on the machine at the 'catch' position (knees bent, shins vertical). If you feel lateral rocking, adjust the threaded leveling feet on the rear stabilizer bar. A wobbly monorail will accelerate the wear on the seat carriage wheels and cause premature tracking failure.
Phase 4: Mastering Rowing Technique & Biomechanics
Unlike a treadmill where you simply step on and move, rowing requires technical proficiency to avoid lumbar strain and maximize wattage output. The stroke is divided into four distinct phases.
The Power Distribution Framework
A common beginner mistake is treating the rower as an upper-body machine. According to the American Council on Exercise (ACE), a properly executed rowing stroke derives 60% of its power from the legs (quadriceps and glutes), 30% from the core (hip hinge and spinal erectors), and only 10% from the arms (lats and biceps).
The Four Phases of the Stroke
- The Catch: This is the starting position. Your shins should be perfectly vertical. Do not over-compress your knees past a 90-degree angle, as this forces the hips to drop below the knees and rounds the lumbar spine.
- The Drive: Initiate the movement by pushing explosively through the mid-foot with your legs. Keep the arms completely straight and the core braced until the handle passes your knees. Only then do you swing the torso back to an 11 o'clock position and pull the handle to your lower sternum.
- The Finish: The handle rests lightly against your ribcage, elbows are drawn back past the torso, and wrists are flat. The legs are fully extended but not hyper-locked.
- The Recovery: This is the active rest phase. Reverse the sequence exactly: extend the arms, hinge the torso forward past the knees, and finally allow the knees to bend. The recovery should take twice as long as the drive (a 1:2 stroke ratio).
Biomechanics experts at the Hospital for Special Surgery note that maintaining a neutral spine and limiting forward shin travel at the catch are the two most critical factors in preventing patellofemoral pain syndrome and lumbar disc herniation in amateur rowers.
Maintenance & Long-Term Care
To keep your machine operating flawlessly, adhere to a strict maintenance schedule:
- Chain Care (Air Rowers): Wipe the nickel-plated steel chain with a dry cloth after every session. Every 40 hours of use, apply 1-2 teaspoons of purified mineral oil or 20W motor oil to a paper towel and pull the chain through it to lubricate the rollers.
- Rail Cleaning: Wipe the monorail with a damp microfiber cloth weekly. Never use abrasive chemical cleaners, as they will strip the factory coating and cause the seat rollers to stutter.
- Water Tank Upkeep (Water Rowers): Drop one chlorine purification tablet into the water tank every 6 months to prevent algae growth, which can degrade the polycarbonate tank and impeller seals.
By methodically dismantling your old treadmill and carefully selecting, installing, and mastering your new rowing machine, you are upgrading your home gym from a simple calorie-burner to a high-performance athletic training center.
More gear to consider
All reviews
What Does Treadmill Do to Your Body? Noise & Impact Guide
Rowing Machine Buying Guide and Technique vs Sole F83 Treadmill

Air Bike vs Assault Bike & HydroWorx Treadmill Guide
Top Dumb Treadmill Picks: AssaultRunner Elite vs TrueForm
Elliptical vs Treadmill Space & Exercise Plan for Treadmill to Lose Weight
