
Walking Pad vs Treadmill Setup & ProForm Treadmill Belt Lube Guide
Compare walking pad and traditional treadmill setup. Includes a complete installation walkthrough and essential ProForm treadmill belt lube application steps.

Spatial Planning and Unboxing Realities: Compact vs. Heavy-Duty
Choosing between an ultra-compact walking pad and a full-size traditional treadmill in 2026 dictates not just your workout intensity, but your entire room layout and assembly process. While walking pads like the KingSmith WalkingPad X21 (retailing around $599) offer unparalleled convenience, heavy-duty machines like the ProForm Pro 9000 (approximately $1,299) demand rigorous spatial planning. Before cutting any zip-ties, you must address the footprint.
According to the U.S. Consumer Product Safety Commission, full-size treadmills require a minimum clearance of 24 inches on all sides, and critically, at least 24 inches of unobstructed space directly behind the machine to prevent severe friction-burn injuries in the event of a fall. Walking pads, lacking upright handrails and operating at lower maximum speeds (usually capped at 3.5 to 6 mph), can often be placed closer to walls, though a 12-inch rear buffer is still recommended for power cord routing and motor ventilation.
Step-by-Step Assembly: Folding Pad vs. Full-Size Deck
The physical installation of these two cardio categories diverges immediately upon unboxing. A walking pad typically ships fully assembled or requires only the unfolding of a single hinge mechanism and the insertion of a front stabilizer bar. In contrast, a traditional treadmill is a multi-stage construction project.
Traditional Treadmill Assembly Walkthrough
- Base Positioning: With a partner, lift the ProForm deck from the box. Do not drag it, as the internal motor mounts can shift. Position it facing your desired viewing angle.
- Upright Installation: Feed the console wiring harness through the left upright. This is the most common failure point; pinching the 14-gauge data cable between the steel frame and the bolt washer will result in an immediate 'E1' communication error upon boot. Connect the wire, then secure the uprights using the provided M10 hex bolts, torquing them to roughly 25 Nm.
- Console Mounting: Attach the console to the uprights using M8 bolts. Ensure the safety tether slot is unobstructed.
- Leveling: Use a spirit level across the rear roller cover. Adjust the rear foot pads by twisting them clockwise or counterclockwise until the deck sits perfectly flat to prevent uneven belt wear.
The Crucial Break-In: Applying ProForm Treadmill Belt Lube
One of the most vital, yet frequently overlooked, steps in setting up a traditional machine is deck lubrication. While some factory floors pre-lubricate decks, applying a fresh layer of proform treadmill belt lube during the initial setup or at the 30-day break-in mark guarantees optimal friction reduction and extends motor life. Using the wrong lubricant, such as petroleum-based WD-40, will chemically degrade the rubber belt and void your warranty.
As noted by maintenance experts at Runner's World, 100% silicone is the only acceptable lubricant for modern fitness equipment decks. Here is the exact procedure for applying your proform treadmill belt lube during installation:
Pro-Tip: The 0.5 Oz RuleNever over-lubricate. Excess silicone will seep out the sides of the belt, attracting dust and creating a slipping hazard on your floor. Exactly 0.5 ounces per side is the industry standard for a 20-inch wide belt.
- Loosen the Belt: Using the provided Allen wrench, turn the left and right rear roller adjustment bolts counterclockwise by exactly three full turns. This creates enough slack to lift the belt edge.
- Apply the Silicone: Insert the applicator tube of the proform treadmill belt lube under the center of the belt. Squeeze half the bottle (0.5 oz) in a zigzag pattern from the front roller to the rear roller.
- Repeat and Tighten: Repeat on the opposite side. Tighten the rear roller bolts exactly three turns clockwise to restore factory tension.
- Distribution Run: Power on the treadmill, insert the safety key, and run the machine at 3.0 mph for 5 minutes. Walk gently on the belt to help distribute the silicone evenly across the phenolic deck.
Do Walking Pads Need Belt Lube?
This is where the walking pad treadmill comparison shifts dramatically. Most modern walking pads, including the UREVO and KingSmith lines, utilize specialized low-friction PVC or composite belts paired with high-density fiberboard decks. These are often treated at the factory with a dry-Teflon or specialized silicone coating designed to last the lifespan of the belt. Attempting to apply standard liquid silicone lube to a walking pad can actually cause the belt to slip on the drive roller, resulting in a jerky, stuttering walking experience. Always consult your specific walking pad manual; if it requires maintenance, it usually involves belt tensioning via the rear hex bolts rather than liquid lubrication.
Setup & Maintenance Comparison Matrix
| Feature | Walking Pad (e.g., KingSmith X21) | Traditional Treadmill (e.g., ProForm Pro 9000) |
|---|---|---|
| Assembly Time | 10 - 15 Minutes (1 Person) | 60 - 90 Minutes (2 People) |
| Rear Safety Clearance | 12 - 18 Inches | 24+ Inches (CPSC Mandated) |
| Belt Lubrication | Rarely Required (Dry/Composite) | Required (ProForm Treadmill Belt Lube / 100% Silicone) |
| Power Requirements | Standard 120V / 15A Outlet | Dedicated 120V / 20A Circuit Recommended |
| Deck Material | HDF (High-Density Fiberboard) | Phenolic Coated Wood / Urethane |
Software Calibration and Incline Testing
Once the hardware is assembled and the proform treadmill belt lube is distributed, the final setup phase is digital. Full-size treadmills require incline calibration. To do this on a ProForm machine, enter the engineering menu (usually by holding the 'Stop' and 'Speed Up' buttons simultaneously while inserting the safety key). Select 'Incline Calibration' and allow the deck to rise to its maximum 12% grade and lower to 0%. This resets the internal potentiometer, ensuring the digital display matches the physical deck angle.
Walking pads generally skip this step. Because they lack mechanical incline motors, their software setup is limited to Bluetooth pairing with proprietary apps (like the KS Fit app) and setting user-specific stride length parameters for accurate step-tracking.
Troubleshooting Common Setup Failures
Error Code E1 (Motor Communication): Almost always caused by a pinched data cable during the upright assembly phase. Disconnect the machine from the wall, detach the console, and inspect the wiring harness for crimps.
Belt Stuttering at Low Speeds: If your walking pad stutters at 1.5 mph, the belt is likely overtightened from the factory. Loosen the rear hex bolts by one-quarter turn on each side. If a traditional treadmill stutters, the deck may be dry—reapply your silicone lubricant immediately to prevent motor board burnout.
Ultimately, the choice between a walking pad and a traditional treadmill hinges on your willingness to manage the setup and maintenance overhead. Walking pads offer a plug-and-play experience perfect for under-desk use and small apartments. However, if your fitness goals require sustained running, heavy inclines, and interactive coaching, the rigorous assembly, spatial requirements, and mandatory maintenance routines—like mastering the application of proform treadmill belt lube—are small prices to pay for a commercial-grade home gym experience.
More gear to consider
All reviews
Best Folding Treadmills for Small Spaces: Get Yours in Payments

Curved vs Motorized: Lode Valiant 2 Rehab XXL Treadmill Specs, Speed & Incline

Pictures of Treadmills vs Rowers: Buying Guide & Technique Mistakes

Elliptical vs Treadmill: 2026 Market Trends & Sole Treadmills Reviews
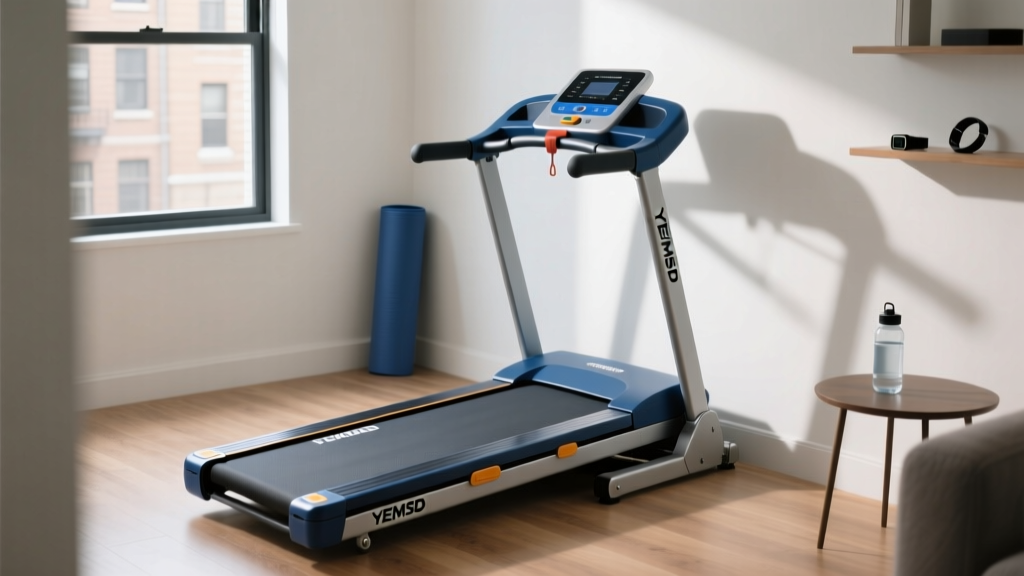
YEMSD Treadmill Review: Small Space Fit & Maintenance Guide
