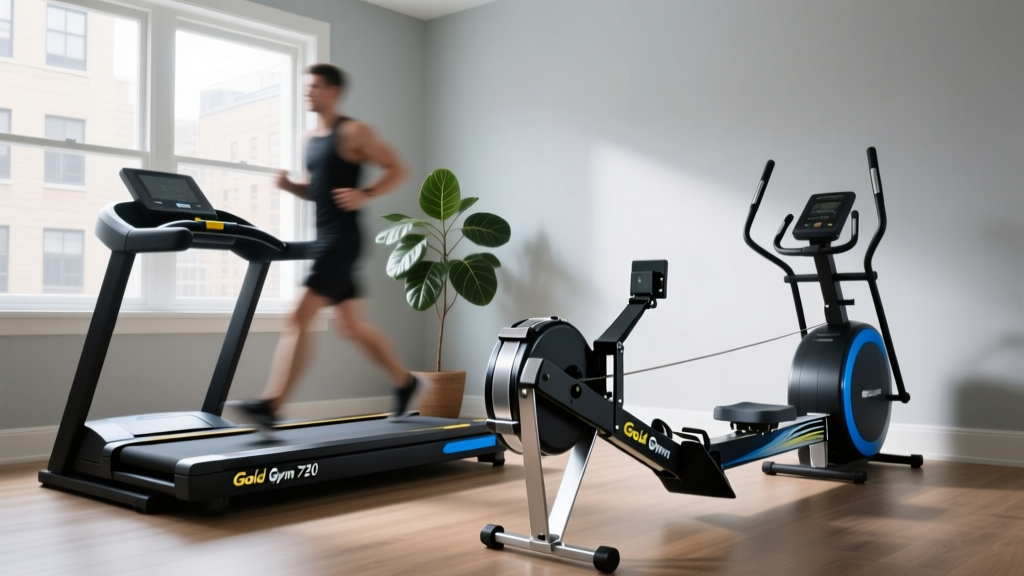
Gold Gym 720 Treadmill vs Rowing Machine Buying Guide
Transitioning from the Gold Gym 720 treadmill? Explore our beginner-friendly rowing machine buying guide and step-by-step technique for low-impact cardio.

Why Look Beyond the Gold Gym 720 Treadmill?
For many home gym enthusiasts, the Gold Gym 720 treadmill serves as the perfect entry point into indoor cardio. Priced accessibly, it features a 2.5 CHP motor, a 14-inch by 48-inch belt, and a 10 MPH top speed. It is an excellent machine for daily walking, light jogging, and low-impact steady-state (LISS) cardio. However, as your fitness levels progress, you may notice distinct limitations: the compact belt restricts natural running strides, the lower-body-only focus neglects your posterior chain, and the repetitive impact can lead to joint fatigue over time.
If you are looking to upgrade your home gym or cross-train to prevent plateaus, a rowing machine is the ultimate companion—or alternative—to the Gold Gym 720 treadmill. Rowing recruits approximately 86% of the body's musculature, offering a high-calorie burn with zero impact on your knees and ankles. This beginner-friendly guide will walk you through buying the right rower and mastering the technique to transform your cardio routine.
Impact Profile: Treadmill vs. Rower
- Gold Gym 720 Treadmill: Weight-bearing (good for bone density) but generates up to 2.5x your body weight in joint impact per stride.
- Rowing Machine: Zero-impact, horizontal glide. Ideal for joint preservation, injury rehabilitation, and full-body muscular endurance.
The 2026 Rowing Machine Buying Guide for Beginners
When shopping for a rower to complement or replace your treadmill, you must understand the four primary resistance types. Your choice will dictate the machine's noise level, footprint, and maintenance requirements.
1. Air Resistance
Air rowers use a flywheel and fan blades. The harder you pull, the more resistance is generated. They are incredibly durable and offer a dynamic, infinite resistance curve, but they are notably loud. Top Pick: Concept2 RowErg ($990).
2. Magnetic Resistance
Magnetic rowers use a magnetic brake system near the flywheel. They are virtually silent, making them perfect for apartments or early-morning workouts while the household sleeps. Top Pick: Sunny Health & Fitness SF-RW5515 ($299).
3. Water Resistance
These utilize a water-filled tank to simulate the exact feel and sound of rowing on a lake. They are aesthetically pleasing but require water purification tablets and are heavy to move. Top Pick: WaterRower Natural ($1,295).
4. Hydraulic Resistance
Hydraulic rowers use pistons attached to the handles. While cheap and compact, they often lack a smooth stroke and are prone to fluid leaks over time. We generally advise beginners to avoid hydraulic models in 2026 in favor of entry-level magnetic options.
| Model | Resistance Type | Est. Price | Best For |
|---|---|---|---|
| Concept2 RowErg | Air | $990 | Longevity & Data Tracking |
| Sunny SF-RW5515 | Magnetic | $299 | Quiet Apartments & Budgets |
| Hydrow Rower | Electromagnetic | $2,495 | Immersive Screen Classes |
| WaterRower Oak | Water | $1,295 | Aesthetics & Sensory Feel |
Step-by-Step Rowing Technique Mastery
Unlike walking on the Gold Gym 720 treadmill, which is a natural human movement, rowing requires learned biomechanics. Poor form can lead to lower back pain. According to the Concept2 Technique Guide, the stroke is broken down into four distinct phases. Remember the golden rule: Legs, Core, Arms on the drive, and Arms, Core, Legs on the recovery.
Phase 1: The Catch
This is your starting position. Sit with your knees bent, shins completely vertical (do not compress past vertical). Hinge forward from the hips at roughly a 1-o'clock angle. Your arms should be fully extended, gripping the handle loosely with your thumbs wrapped underneath.
Phase 2: The Drive
This is where the power is generated. Push explosively through your heels. Do not pull with your arms yet. Once your legs are about 75% extended, swing your torso back to an 11-o'clock angle using your core. Finally, draw the handle into your lower ribcage/sternum using your biceps and upper back.
Phase 3: The Finish
At the end of the drive, your legs should be fully extended (but not hyperextended), your torso leaning slightly back, and the handle resting just below your chest. Your elbows should be drawn past your ribcage, not flaring outwards.
Phase 4: The Recovery
The recovery is your active rest. Reverse the sequence: extend your arms fully, hinge your torso forward past your knees, and then allow your knees to bend, sliding the seat back to the Catch position. The recovery should take twice as long as the drive.
Expert Tip: The Damper Setting Myth
Beginners often set the air rower damper to 10, assuming higher is better. This is equivalent to riding a bicycle in the heaviest gear. For optimal cardiovascular conditioning and to protect your lower back, set the damper between 3 and 5. This mimics the drag factor of a sleek racing shell on water.
Common Beginner Mistakes to Avoid
- Shooting the Slide: Pushing your legs down before your torso moves, causing the handle to jerk and your lower back to round. Ensure your hips and the handle move backward simultaneously.
- Gripping Too Tightly: A death grip on the handle causes forearm fatigue and blisters. Hold the handle with your fingers, not your palms.
- Rushing the Stroke Rate: Beginners often aim for 30+ strokes per minute (SPM). For technique building and endurance, keep your SPM between 20 and 24. Focus on wattage and power per stroke, not speed.
Building a Hybrid Cardio Routine
You do not necessarily need to throw out your Gold Gym 720 treadmill. Combining both machines yields incredible results. The Cleveland Clinic notes
Here is a sample hybrid weekly schedule:
- Monday: Rower HIIT (10 rounds of 1-minute hard effort, 1-minute easy recovery).
- Tuesday: Gold Gym 720 Treadmill LISS (45 minutes walking at 3.5 MPH, incline level 2).
- Wednesday: Active Rest / Mobility.
- Thursday: Rower Steady State (30 minutes at a conversational pace, 22 SPM).
- Friday: Treadmill Intervals (5 min warmup, then 1 min jog / 2 min walk x 8 rounds).
By blending the weight-bearing, lower-body focus of the treadmill with the full-body, horizontal pull of the rower, you create a bulletproof cardiovascular base. As outlined by the Mayo Clinic's aerobic exercise guidelines, aiming for 150 minutes of moderate aerobic activity or 75 minutes of vigorous activity a week is the key to long-term heart health. Whether you are gliding on a rower or walking on your trusty treadmill, consistency and proper form will always dictate your success.
More gear to consider
All reviews2026 Automotive Comparison Trends: Electrification, AI Integration, and Structural Shifts in Performance Metrics

Exercise Bike vs Treadmill: Folding Small-Space Budget Review

Assault Air Bike vs Treadmill Exercise for Weight Loss 2026
NordicTrack Treadmill Maintenance Kit & Belt Lube Review

Elliptical vs Treadmill: Echelon Stride-6 Folding Treadmill Tested
