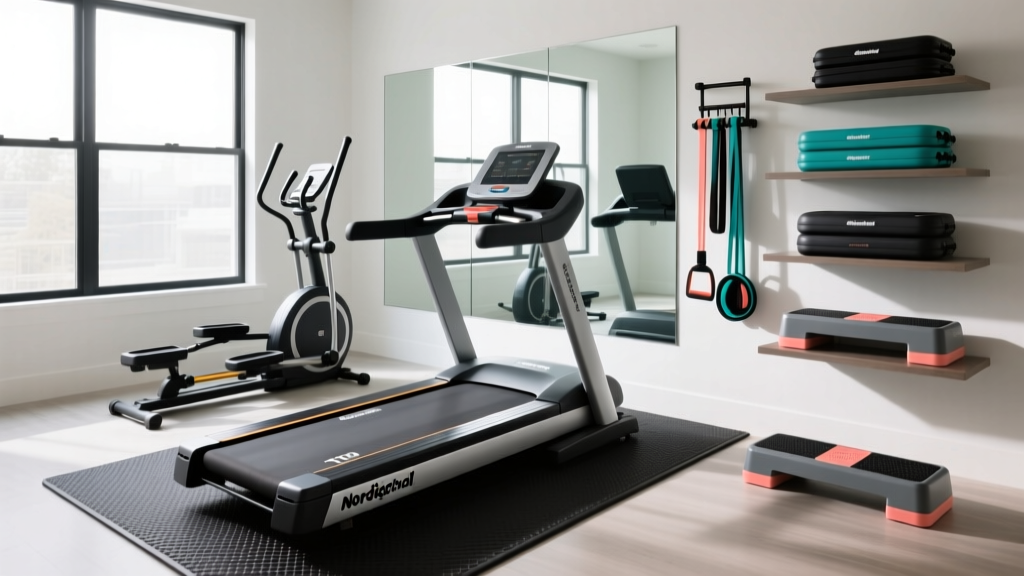
Self Run Treadmill vs Motorized: Complete Setup Walkthrough
Master your home gym with our complete setup walkthrough. We compare self run treadmill vs motorized installation, flooring needs, and calibration.

The Biomechanics of Assembly: Curved Manual vs. Motorized
Installing a commercial-grade cardio machine in a residential space requires more than just unboxing and plugging it in. When comparing a self run treadmill (curved manual) to a traditional motorized treadmill, the physical forces, electrical requirements, and calibration protocols diverge drastically. As of 2026, premium curved models like the AssaultRunner Elite ($3,299) and TrueForm Runner ($3,495) dominate the manual space, while motorized workhorses like the Sole F85 ($1,199) and NordicTrack Commercial 1750 ($1,999) remain staples for steady-state and iFIT-integrated training.
This comprehensive installation walkthrough breaks down the exact site preparation, assembly torque specifications, and first-run diagnostics required to protect your equipment, your flooring, and your safety.
⚠️ Critical Safety Clearance: According to the Consumer Product Safety Commission (CPSC), you must maintain a minimum clearance of 3 feet (36 inches) behind ANY treadmill. This is non-negotiable to prevent severe friction burn injuries in the event of a backward fall.Phase 1: Pre-Installation Site Prep & Flooring
The most common setup failure occurs before the machine is even unboxed. Both machine types require specialized floor matting, but the type of mat differs due to horizontal force vectors.
Motorized Treadmill Flooring
Motorized treadmills generate vertical impact and minor horizontal vibration. A standard 3/8-inch thick, high-density rubber mat (minimum 36" x 72") is sufficient to dampen acoustic transfer to rooms below and protect hardwood from the machine's static weight (typically 250–300 lbs).
Self Run Treadmill Flooring
A self run treadmill operates on a completely different physical principle. Because there is no motor driving the belt forward, the user must generate the horizontal force to push the slat belt up the curve. This creates a massive backward horizontal shear force. If placed on a slick surface or a lightweight EVA foam mat, a curved treadmill will literally "walk" backward across your room during a sprint.
- Mat Requirement: 1/2-inch thick vulcanized rubber mat (minimum 40" x 80").
- Grip Factor: The mat must have a high coefficient of friction against both the subfloor and the treadmill's rubber feet.
- Subfloor Check: Ensure the floor joists can support a concentrated dynamic load of up to 600 lbs (machine + user + impact force).
Phase 2: Unboxing and Assembly Walkthroughs
Walkthrough A: The Self Run Treadmill (Curved Manual)
Curved treadmills ship with the heavy slat belt already mounted to the welded steel frame. The assembly primarily involves the uprights and handlebars. Because the running surface is already calibrated at the factory, your main concern is structural rigidity.
- Position the Base: With two people, lift the main chassis onto the rubber mat. Never drag the chassis; the adjustable leveling feet will tear through the rubber matting.
- Mount the Uprights: Insert the left and right steel uprights into the base receiver tubes. Insert the M10 x 80mm bolts. Do not fully tighten yet.
- Attach the Handlebar Console Bracket: Slide the crossbar over the uprights. This aligns the vertical posts.
- Torque Sequence: Using a calibrated torque wrench, tighten all frame bolts to 45 Nm (33 ft-lbs). This specific torque prevents the handlebars from wobbling during high-cadence sprints without stripping the threads.
- Install the Console: Route the internal magnetic resistance cable (if applicable, like on the TrueForm) through the right upright before bolting the display mount.
Walkthrough B: The Motorized Treadmill
Motorized treadmills require careful handling of the deck folding mechanism and sensitive internal wiring. The #1 cause of "dead on arrival" motorized treadmills is a pinched console ribbon cable during assembly.
- Deploy the Deck: Remove the shipping zip-ties securing the deck to the uprights. Slowly lower the deck to the floor. Ensure the hydraulic or manual locking pin engages with an audible click.
- Erect the Uprights: Pivot the uprights from the folded shipping position to vertical. Secure the base pivot bolts.
- Route the Ribbon Cable (Critical): Before mating the console to the uprights, inspect the multi-pin ribbon cable. Ensure it is seated flush in the ZIF (Zero Insertion Force) connector and that the locking flap is pressed down. A loose cable here causes erratic speed readings and blank screens.
- Secure the Console: Bolt the console housing to the uprights and attach the safety lanyard clip.
Head-to-Head Installation Comparison Matrix
| Setup Parameter | Self Run Treadmill (Curved) | Motorized Treadmill (Flat) |
|---|---|---|
| Average Assembly Time | 45 - 60 Minutes (2 People) | 60 - 90 Minutes (2 People) |
| Electrical Requirement | None (100% Mechanical/Magnetic) | Dedicated 120V, 15A/20A Circuit |
| Primary Calibration | Slat Belt Tension & Tracking | Incline Motor & Belt Alignment |
| Shipping Weight | 280 - 350 lbs | 200 - 310 lbs |
| Required Clearance | 36" Rear / 24" Sides | 36" Rear / 24" Sides |
| Lubrication at Setup | None (Sealed Slat Bearings) | 100% Silicone Belt Lubricant |
Phase 3: Calibration and First-Run Diagnostics
Once assembled, neither machine is ready for a full workout. Calibration ensures the hardware matches the software and mechanical tolerances are met.
Calibrating the Self Run Treadmill
Curved treadmills do not have speed sensors that require software calibration, but the slat belt tracking must be verified.
- The Spin Test: Give the slat belt a hard push with your hand. It should spin freely and coast to a stop over 8–10 seconds.
- Tracking Adjustment: If the slats drift to the left and rub against the side rail, locate the rear axle tension bolts. Turn the left bolt clockwise by exactly 1/4 turn. Re-test. Never adjust by more than 1/4 turn at a time, or you will over-tension the Kevlar-reinforced internal belts, causing premature bearing failure.
Calibrating the Motorized Treadmill
Motorized units require software-to-hardware synchronization, specifically for the incline motor and speed sensor.
- Incline Calibration (NordicTrack/ProForm): With the machine idle, press and hold the 'Speed Up' and 'Incline Up' buttons simultaneously for 5 seconds until the display reads 'CAL'. The deck will rise to maximum incline (15%) and drop to -3% (if equipped) to map the potentiometer range.
- Belt Tension Test: Stand on the side rails and start the belt at 3 MPH. Step onto the belt and intentionally drag your feet to create resistance. If the motor hums but the belt stops while the front roller keeps spinning, the belt is too loose. Tighten both rear roller bolts 1/4 turn clockwise.
Troubleshooting Common Setup Failure Modes
Failure Mode 1: The "Squeaking Slat" (Curved Manuals)
Symptom: A rhythmic clicking or squeaking noise that matches footstrike cadence.
Diagnosis: Users often mistakenly spray silicone lubricant directly onto the rubber slats, which ruins the traction. The noise is actually coming from the dry internal guide wheels or the rear axle bearings.
Fix: Flip the treadmill on its side (requires 3 people). Apply a PTFE-based dry lubricant exclusively to the polyurethane guide wheels that ride the inner track.
Failure Mode 2: The "E1 / Speed Sensor" Error (Motorized)
Symptom: Console displays E1 error code and stops the belt within 3 seconds of starting.
Diagnosis: The optical or magnetic speed sensor on the front roller is misaligned or the wire was pinched under the motor hood during factory packaging.
Fix: Unplug the machine. Remove the 6 screws securing the front motor hood. Locate the reed switch near the front roller pulley. Ensure the gap between the magnet and the sensor is exactly 2mm to 4mm. Re-seat the wire connector on the lower control board.
Final Verification and Maintenance Scheduling
For comprehensive biomechanical testing and ensuring your treadmill's speed and incline outputs match your training zones, reference the protocols outlined by ExRx Treadmill Testing Standards. Proper setup is only day one. Log a calendar reminder to vacuum under the motor hood of your motorized treadmill every 90 days to prevent dust buildup on the heat sink, and inspect the slat bearings on your self run treadmill bi-annually to ensure your investment performs flawlessly for years to come.
More gear to consider
All reviews
Top Under Desk Treadmills & Treadmill Exercises to Burn Fat 2026

Echelon Stride Auto-Fold Treadmill Motor Troubleshooting & HP Guide

Top Under Desk Treadmills With a Treadmill Handle (2026 Review)

2026 Performance Treadmill Noise Comparison: Quietest Models
NordicTrack Apex 4100i Treadmill: Best Folding Pick For Small Spaces