Mastering the Treadmill Zone: Belt Lubrication and Care Guide
Learn how to optimize your treadmill zone with expert belt maintenance and lubrication tips to extend motor life and prevent costly deck replacements.

The Anatomy of the Treadmill Zone Friction Interface
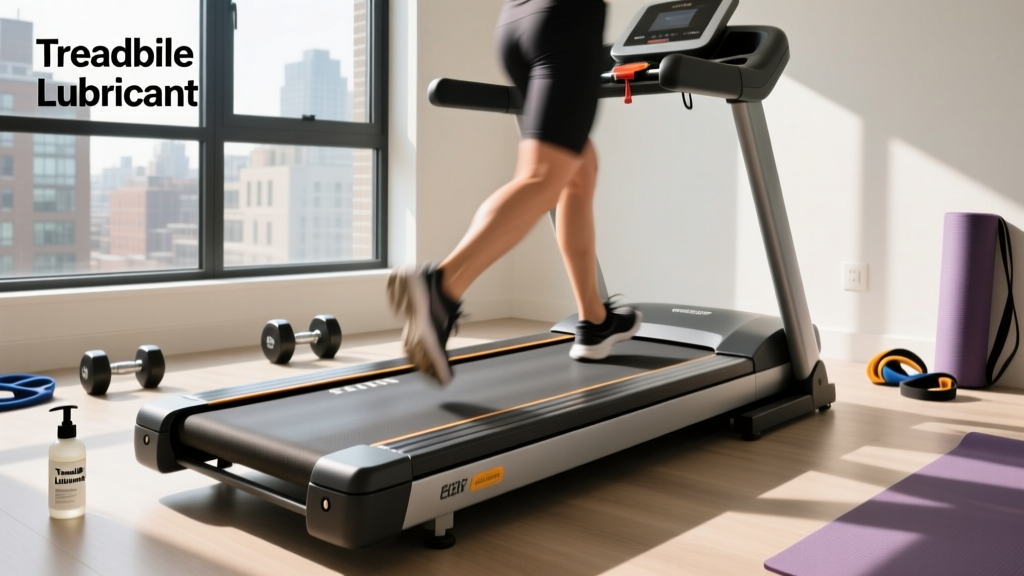
When fitness enthusiasts talk about their workouts, they often focus on heart rate zones or pace targets. However, from a mechanical engineering perspective, the most critical area of your machine is the treadmill zone—the microscopic friction interface where the running belt meets the walking deck. This zone dictates the lifespan of your drive motor, the integrity of your motor control board (MCB), and the overall safety of your workout.
Modern home treadmills, such as the Sole F80 or the NordicTrack Commercial series, utilize a 2-ply or 4-ply PVC and cotton-blend belt gliding over a phenolic resin-coated MDF or medium-density fiberboard deck. When properly lubricated, the coefficient of friction in this treadmill zone remains below 0.10. When dry, that friction coefficient can spike above 0.25, generating excessive heat and forcing the drive motor to work significantly harder.
⚠️ The Amp Draw Danger Zone: A healthy 3.0 CHP drive motor should draw between 3 to 5 amps under a 150 lb load at 6 mph. If your treadmill zone is dry, amp draw can easily spike past 10 to 12 amps. This sustained overload will eventually trip the MCB's thermal breaker or permanently fry the circuitry, resulting in a $300 to $600 replacement bill.When to Lubricate: Mileage vs. Time Metrics
Many owners mistakenly believe that treadmill belt lubrication is an annual chore. In reality, the maintenance schedule for your treadmill zone should be dictated by a combination of total mileage, user weight, and environmental humidity. Heavier users generate more downward force, pressing the belt deeper into the deck and squeezing lubricant out of the friction zone faster.
| User Profile & Weight | Weekly Mileage | Lubrication Interval | Estimated Belt Lifespan |
|---|---|---|---|
| Light (Under 150 lbs) | 5 - 10 miles | Every 6 months / 150 miles | 5 - 7 years |
| Average (150 - 200 lbs) | 10 - 20 miles | Every 3 months / 130 miles | 3 - 5 years |
| Heavy (Over 200 lbs) | 15+ miles | Every 6 weeks / 100 miles | 2 - 3 years |
Note: If your treadmill is kept in a climate-controlled room with low humidity (below 30%), the belt backing may dry out faster, necessitating more frequent applications.
Choosing the Right Lubricant (And What to Avoid)
The treadmill zone requires a very specific type of lubricant. You must use 100% pure silicone, either in liquid or aerosol form. Silicone is chemically inert, meaning it will not degrade the PVC backing of the belt or the phenolic resin on the deck.
The 'Never Use' List
- WD-40 or 3-IN-ONE: These contain petroleum distillates that will literally melt the PVC backing of your belt, causing it to stretch, warp, and delaminate within weeks.
- Household Oils or Greases: Motor oil, cooking spray, or lithium grease will attract dust and pet hair, creating an abrasive sludge that acts like sandpaper against your deck.
- Silicone Blends: Avoid products labeled 'silicone-based' if they contain added solvents or propellants. Stick to 100% pure silicone treadmill lube (brands like Horizon Fitness OEM or ProForm approved silicone are reliable).
Step-by-Step Belt Lubrication Procedure
Proper application ensures the silicone reaches the exact center of the treadmill zone where foot strikes are most concentrated. According to guidelines referenced by Sole Fitness Official Support, precise application prevents over-lubrication, which can cause the belt to slip at high speeds.
- Safety First: Turn off the power switch and unplug the treadmill from the wall outlet. Never perform maintenance on a live machine.
- Loosen the Belt Tension: Locate the two rear roller adjustment bolts at the back of the machine. Using the correct size hex wrench (usually 6mm or 1/4-inch), turn both bolts counter-clockwise exactly two full turns. This releases the tension without losing your alignment tracking.
- Apply the Silicone: Lift the edge of the belt near the center of the deck. Squeeze exactly 0.5 oz (15 ml) of 100% silicone lubricant onto the deck in a zig-zag pattern or a single continuous line down the middle third of the deck. Repeat on the opposite side. Do not exceed 1 oz total; excess silicone will squeeze out onto the edges and cause slipping.
- Retighten the Belt: Turn both rear roller bolts clockwise exactly two full turns to restore the original tension.
- Distribute the Lube: Plug the machine back in. Start the treadmill at 1.0 mph and walk on it for 3 minutes. Gradually increase the speed to 3.0 mph for another 2 minutes. The friction and heat will evenly distribute the silicone across the entire treadmill zone.
Belt Tension and Alignment: The Post-Lube Checklist
Lubricating the treadmill zone is only half the battle; verifying belt tension is equally critical. A belt that is too tight will starve the friction zone of lubricant and overwork the motor. A belt that is too loose will slip under heavy foot strikes.
The Lift Test: With the treadmill turned off, reach under the belt at the exact midpoint between the front and rear rollers. You should be able to lift the belt 2 to 3 inches off the deck. If you can lift it more than 3.5 inches, it is too loose. If you cannot lift it at least 1.5 inches, it is overtightened.
If the belt drifts to the left or right after lubrication, consult your owner's manual or resources like NordicTrack Customer Care to make micro-adjustments (usually a quarter-turn) to the rear roller bolts until the belt tracks perfectly centered.
Troubleshooting Common Treadmill Zone Issues
Even with meticulous maintenance, the treadmill zone can develop specific failure modes. Here is how to diagnose and resolve them:
1. The Belt Slips at High Speeds or During Sprints
Cause: Over-lubrication, severe belt stretching, or a worn front drive roller.
Fix: Wipe the edges of the belt and deck with a dry microfiber cloth to remove excess silicone. If slipping persists, tighten the rear roller bolts by one half-turn. If the belt is over 5 years old and stretched beyond the adjustment limit of the rear roller, it must be replaced.
2. A Sharp 'Burning Rubber' or 'Hot Electronics' Odor
Cause: Extreme friction in the treadmill zone or a failing motor capacitor.
Fix: Stop the treadmill immediately. Check the amp draw using a multimeter if you are technically inclined. If the deck is grooved or warped (run your hand under the belt to feel for dips), the deck is ruined and must be flipped (if reversible) or replaced. Continuing to run on a warped deck will destroy the motor.
3. Static Shocks When Touching the Console
Cause: Friction in the treadmill zone generates static electricity, which grounds through the user if the machine's grounding wire is faulty or the environment is too dry.
Fix: Ensure the treadmill is plugged into a properly grounded 3-prong outlet (never use a 2-prong cheater adapter). Apply an anti-static spray to a cloth and wipe down the belt surface, and consider adding a humidifier to your home gym to keep ambient humidity above 40%.
Final Thoughts on Longevity
Treating the treadmill zone as a precision mechanical interface rather than just a 'running surface' will save you hundreds of dollars in premature part replacements. By adhering to a strict silicone lubrication schedule, monitoring motor amp draw, and respecting the 2-to-3-inch tension rule, your home cardio equipment will deliver a smooth, quiet, and safe workout experience for years to come.
More gear to consider
All reviews
Woodway Treadmill 4Front vs. Home Stair Climber Guide

Walking on Treadmill with Weights: Portable Cardio Maintenance

Air Bike vs Assault Bike: Maintenance & When to Rent a Treadmill for Home

Treadmill Motor Size Guide: Setup for a Barry's Treadmill Workout

Rowing Machine Buying Guide: Rower vs 15 Incline Treadmill