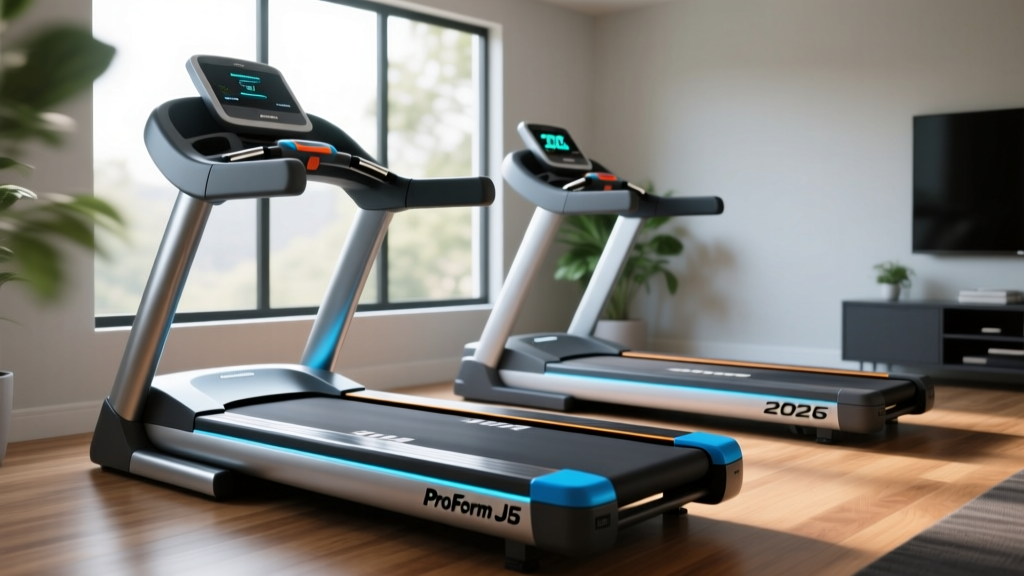
Free Run Treadmill Features & Setup Walkthrough 2026
Compare top free run treadmill features before buying, then follow our complete setup, assembly, and installation walkthrough for a perfect home gym fit.

The Biomechanical Advantage: Why Go Free Run?
The home fitness landscape in 2026 has seen a massive shift toward non-motorized, self-powered cardio equipment. Often referred to as a curved treadmill or a free run treadmill, this equipment relies entirely on the user's biomechanics to drive the belt. According to a comprehensive physiological analysis published in the National Institutes of Health, running on a curved, non-motorized treadmill increases metabolic cost and heart rate response by up to 30% compared to traditional motorized equivalents at the same perceived speed. This means you burn more calories in less time, while simultaneously reducing the impact forces on your patellofemoral joints.
However, investing in a premium free run treadmill is only half the battle. These machines are heavy, mechanically complex, and highly sensitive to improper installation. This guide bridges the gap between choosing the right model and successfully executing a complete setup and installation walkthrough in your home gym.
Feature Comparison Matrix: Choosing Your Free Run Treadmill
Before we unbox the crate, we must ensure you are buying the right machine for your specific biomechanical needs and spatial constraints. The 2026 market is dominated by three distinct tiers of free run treadmills. Below is a feature comparison matrix to guide your purchase.
| Feature / Model | AssaultRunner Elite | TrueForm Runner | NOHrD Sprintbok |
|---|---|---|---|
| Belt Material | Vulcanized Rubber Slats | Thick Polyurethane Slats | Solid Ash Wood Slats |
| Curve Geometry | Aggressive (High resistance) | Moderate (Natural stride) | Shallow (Speed focused) |
| Max User Weight | 400 lbs | 400 lbs | 265 lbs |
| Unit Weight (Shipping) | 295 lbs (330 lbs crated) | 310 lbs (360 lbs crated) | 220 lbs (260 lbs boxed) |
| 2026 Price Range | $3,799 - $4,299 | $4,500 - $5,200 | $5,800 - $6,500 |
Key Buying Criteria for 2026
- Slat Material vs. Traditional Belt: Always opt for individual slat belts over a continuous loop manual belt. Slats provide superior grip and allow for easy, piece-by-piece replacement if a single track segment cracks under heavy sprinting loads.
- Curve Angle and Pitch: A steeper curve (like the AssaultRunner) requires more force to initiate movement, making it ideal for HIIT and sled-push simulations. A shallower curve allows for higher top-end sprinting speeds but offers less initial resistance.
- Console Telemetry: Modern free run treadmills must include Bluetooth FTMS connectivity. This allows the treadmill to broadcast your wattage, pace, and heart rate directly to third-party apps like Zwift or Peloton Digital, which is essential for virtual racing.
Complete Setup and Installation Walkthrough
Once the freight carrier has dropped the pallet in your garage or staging area, the real work begins. Follow this exact sequence to ensure your machine operates silently and safely.
Phase 1: Unboxing and Staging
- Break Down the Crate: Use a reciprocating saw or heavy-duty bolt cutters to remove the steel banding and pry the wooden crate walls away. Leave the machine bolted to the pallet base until you are in the final room.
- Clear the Pathway: Sweep the route to your gym. A single stray nail or piece of debris can gouge the polyurethane slats if the treadmill is dragged.
- The Pivot Lift: With two adults, unbolt the frame from the pallet. Lift the front handlebars and tilt the machine back onto its rear transport wheels. Never tilt past a 45-degree angle, as the internal lithium-ion console battery and magnetic brake fluid reservoirs can leak or disconnect.
Phase 2: Frame Assembly and Belt Tensioning
Most premium free run treadmills arrive with the main chassis welded, but the handlebars and console mast require assembly. The most critical mechanical step is verifying the slat belt tension.
- Attach the Console Mast: Route the internal wiring harness through the steel upright. Use the provided dielectric grease on the connector pins to prevent sweat corrosion—a common failure mode in humid garages.
- The 1/2-Inch Deflection Test: Locate the rear tensioning bolts (usually requiring a 25mm socket or 6mm hex key). Press your thumb firmly into the center of the top slat track. You should see exactly 1/2 inch of vertical deflection. If the belt is too tight, it will destroy the sealed cartridge bearings within 100 miles. If it is too loose, the slats will slip under heavy foot strikes, causing a dangerous stutter-step effect.
- Tracking Alignment: Spin the belt by hand. If the slats drift to the left or right, adjust the left and right tension bolts in opposing quarter-turns until the belt tracks perfectly dead-center over the UHMW (Ultra-High Molecular Weight) polyethylene guide rails.
Phase 3: Floor Leveling and Calibration
A free run treadmill is incredibly sensitive to floor pitch. If your floor slopes laterally by even 2 degrees, the user's weight distribution will force the belt to track aggressively to one side, wearing out the guide rails prematurely.
- Place a digital torpedo level on the flat section of the running track.
- Adjust the four independent leveling feet at the base of the frame using a 17mm wrench.
- Achieve a 0.0-degree lateral tilt and a slight 0.5-degree forward pitch to assist with natural deceleration when stepping off the front hood.
- Power on the console and perform the magnetic brake calibration sequence (usually holding the 'Stop' button for 5 seconds) to ensure the eddy-current resistance system reads zero watts at idle.
Real-World Installation Failure Modes & Edge Cases
As equipment technicians, we see the same installation mistakes repeated constantly. Avoid these edge cases to protect your warranty and your safety.
'The most common reason for warranty denial on curved treadmills is improper floor leveling combined with over-tensioned belts. Users try to fix a slipping belt by cranking the tension bolts, not realizing the floor slope is causing the user to push laterally, which misaligns the track.'
— Lead Technician, Commercial Cardio Repair Services
- Failure Mode 1: Squeaking Slat Track. If the treadmill squeaks rhythmically, the UHMW guide rails are dry. Do not use WD-40 or petroleum-based lubricants, which will degrade the polyurethane slats. Use only 100% silicone spray applied to a microfiber cloth and wiped onto the guide rails.
- Failure Mode 2: Console Wattage Drift. If your wattage output seems artificially low after 6 months, the magnetic brake gap has widened due to thermal expansion and vibration. Consult your service manual to recalibrate the proximity sensor using a feeler gauge set to 0.030 inches.
- Failure Mode 3: Static Shock. Free run treadmills generate massive static electricity due to the friction of the slats on the guide rails. If you are experiencing shocks from the handlebars, your home gym lacks adequate humidity (keep it above 40%), and the grounding wire on the rear axle has likely vibrated loose. Check the ring terminal on the rear axle bolt.
Post-Installation Safety and Maintenance Framework
Proper setup is only day one. To maintain the integrity of your investment, you must adhere to strict maintenance protocols. The U.S. Consumer Product Safety Commission (CPSC) emphasizes that regular inspection of moving parts and structural integrity is paramount for home fitness equipment to prevent catastrophic failures.
Furthermore, adapting to the biomechanical demands of a curved deck takes time. As noted by experts in PubMed-indexed sports science literature, the eccentric loading on the hamstrings and calves is significantly higher on a non-motorized treadmill. Limit your initial free run sessions to 15 minutes to prevent severe delayed onset muscle soreness (DOMS) and Achilles tendon strain.
Your 90-Day Maintenance Checklist
- Weekly: Wipe down the slat belt with a damp microfiber cloth to remove rubber dust and sweat salts. Inspect the console mast bolts for vibration loosening.
- Monthly: Re-verify the 1/2-inch belt deflection test. Silicone the UHMW guide rails. Check the leveling feet to ensure the rubber pads haven't compressed into the flooring.
- Annually: Use a torque wrench to check all structural frame bolts (spec: 45 Nm). Clean the console cooling fan vents with compressed air to prevent the internal PCB from overheating during long endurance sessions.
By carefully selecting the right free run treadmill based on your biomechanical needs and executing a meticulous, tolerance-based installation, you secure a piece of cardio equipment that will outlast traditional motorized models by a decade. Treat the setup process with the precision of a mechanic, and the machine will reward you with years of silent, high-output performance.
More gear to consider
All reviews
Elliptical vs Treadmill Care: Is an HSA Eligible Treadmill Best?

True 540 Treadmill vs Air Bike: Assault Comparison

Curved vs Motorized Treadmills: Beyond Cats on Treadmill Videos
Rowing Machine Guide: Technique vs Manual Treadmill Curve Cardio

Merach T12 Treadmill vs. Top Compact Runners: 2026 Buying Guide