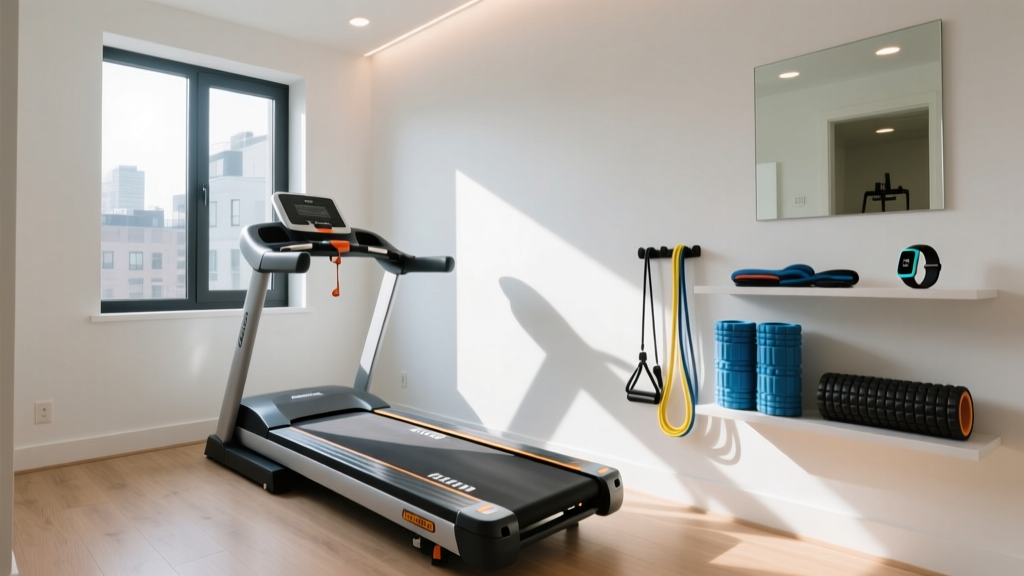
Beyond Ancheer Treadmill Reviews: Belt Maintenance in Small Spaces
Discover what most ancheer treadmill reviews miss: how to layout your small home gym for proper belt maintenance, lubrication, and tension adjustments.

The Spatial Reality of Compact Treadmill Maintenance
When outfitting a compact home gym or apartment fitness corner in 2026, folding treadmills are the undisputed champions of spatial efficiency. However, while scrolling through ancheer treadmill reviews, most buyers focus entirely on the folded footprint, under-desk capabilities, and budget-friendly price point. What these reviews frequently overlook is the "maintenance footprint"—the physical layout clearance required to actually service the machine over its lifespan.
A folding treadmill might only consume 2.5 square feet when stored vertically against a wall. But maintaining the belt, adjusting the rear roller tension, and cleaning the motor hood requires a completely different spatial geometry. If your home gym layout places the treadmill flush in a corner, you are effectively locking yourself out of routine maintenance, leading to premature deck wear, motor burnout, and voided warranties.
According to equipment testing guidelines highlighted by Consumer Reports, routine belt lubrication and deck inspection are the primary factors that extend a budget treadmill's lifespan from two years to five or more. In this guide, we bridge the gap between space optimization and mechanical longevity, showing you exactly how to design your layout for seamless belt maintenance.
Decoding the Belt: Silicone, Friction, and Budget Decks
Most budget-friendly folding models, including the popular 2-in-1 walking pads frequently analyzed in ancheer treadmill reviews, utilize a medium-density fiberboard (MDF) or phenolic-coated deck paired with a standard PVC multi-ply belt. Unlike high-end commercial gym treadmills that use reversible, wax-impregnated belts, these compact home models require manual application of 100% silicone liquid lubricant.
⚠️ The Over-Lubrication Trap
Applying too much silicone is a common error in tight spaces where users rush the process. Excess lubricant squeezes out the sides, degrading the PVC belt edges and creating a slip hazard on your flooring. The exact required dose is 15ml (0.5 oz) per side, applied in a zig-zag pattern directly onto the deck beneath the belt. Always use pure silicone; petroleum-based products like WD-40 will instantly dissolve the belt backing.
The "Wall-Clearance" Rule for Maintenance Access
To optimize a small room without sacrificing maintenance access, you must design your layout around the machine's service zones. The following spatial matrix dictates the minimum clearance required around a standard compact folding treadmill (approx. 55" L x 26" W) to perform belt care and tension adjustments.
| Service Zone | Minimum Clearance | Maintenance Task Enabled |
|---|---|---|
| Left Side | 18 inches | Motor hood removal, belt lubrication, left tension bolt access |
| Right Side | 12 inches | Right tension bolt access, belt edge inspection |
| Rear | 24 inches | Rear roller adjustment, power cord management |
| Front / Top | 36 inches | Upright folding clearance, console dusting |
Pro Layout Tip: If your room is too narrow to accommodate the 18-inch left-side clearance permanently, place the treadmill on a heavy-duty, low-profile equipment mat with furniture sliders. This allows you to easily pull the machine away from the wall by 2 feet for the 15 minutes required for bi-annual maintenance, then slide it back into its optimized footprint.
Step-by-Step Belt Lubrication in Tight Quarters
Performing belt maintenance in a space-optimized apartment requires a systematic approach to avoid making a mess or damaging nearby walls. Follow this precise sequence:
- Power Down and Unplug: Never service a belt while the machine is connected to a 120V/15A outlet. In tight spaces, route the power cord up and over the console to prevent tripping while you move the machine.
- Release Belt Tension: Using the provided T-hex key (usually 6mm), turn the left and right rear roller adjustment bolts counter-clockwise by exactly two full turns. This creates enough slack to lift the belt.
- Lift and Apply: Lift the center of the belt approximately 2 inches off the deck. Insert the silicone applicator tube. Squeeze exactly 15ml of lubricant in a wide zig-zag pattern across the center third of the deck. Repeat on the opposite side.
- Restore Tension: Turn the rear adjustment bolts clockwise by the exact same two turns you removed. Do not over-tighten; excessive tension increases motor amp draw and strains the front roller bearings.
- Distribute the Silicone: Plug the machine in. Stand on the side rails (not the belt). Start the treadmill at 3.0 MPH. Let it run for 3 minutes. The friction and rotation will evenly distribute the silicone across the entire deck surface.
"In compact home gyms, spatial heat dissipation is just as critical as mechanical friction. A poorly lubricated belt forces the motor to draw higher amperage, generating excess heat. In a tight corner with poor airflow, this thermal buildup is the number one cause of control board failure in budget folding treadmills."
Layout-Integrated Storage for Maintenance Kits
Space optimization isn't just about the treadmill; it's about the accessories. Losing the specific hex key or the silicone bottle means delaying maintenance, which degrades the deck. Integrate these items into your layout:
- Magnetic Tool Strips: Mount a 12-inch magnetic knife strip on the wall directly adjacent to the treadmill's left side. Stick the T-hex key and a small microfiber cloth to it. This utilizes vertical dead space and keeps tools exactly where they are needed.
- Under-Deck Bungee Storage: If your folding treadmill has a crossbar or exposed frame tubing near the hinge mechanism, use a small bungee cord to secure the bottle of 100% silicone lubricant to the frame. When folded, the bottle travels with the machine.
- Command Hook Routing: Install heavy-duty adhesive hooks on the side of the treadmill's uprights to coil the power cord and hang the safety lanyard, preventing them from getting tangled in the rear roller during belt adjustments.
Troubleshooting Belt Slippage and Edge Wear
Even with perfect spatial planning, budget treadmill belts can develop issues. Use this diagnostic matrix to identify failure modes and apply the correct spatial or mechanical fix.
| Symptom | Root Cause | Actionable Fix |
|---|---|---|
| Belt hesitates or slips underfoot | Loose rear roller tension or excess silicone | Tighten both rear bolts 1/4 turn clockwise. If over-lubricated, wipe edges with a dry rag and run at 5 MPH for 10 mins. |
| Belt drifts to the left | Uneven tension (left side is looser) | Turn left rear bolt clockwise 1/4 turn, OR turn right rear bolt counter-clockwise 1/4 turn. Re-test. |
| Fraying on the right edge | Belt tracking too far right, rubbing motor hood | Adjust tension to center the belt. Check left-side spatial clearance to ensure hood isn't being compressed by a wall. |
| Burning rubber smell | Extreme friction; deck is dry or warped | Immediate stop. Apply 15ml silicone per side. If smell persists, the MDF deck wax coating has failed and requires deck replacement. |
Final Thoughts on Spatial Fitness Design
As home fitness equipment continues to shrink in size to accommodate modern urban living, the responsibility shifts to the user to design an environment that supports the machine's mechanical needs. The insights found in standard ancheer treadmill reviews are valuable for purchasing decisions, but they rarely prepare you for the physical realities of ownership.
By respecting the maintenance clearance matrix, utilizing vertical wall space for tool storage, and adhering to strict 15ml silicone dosing, you can maximize both your room's square footage and your treadmill's operational lifespan. For more comprehensive data on home gym equipment safety and spatial planning, refer to the home fitness testing standards published by Good Housekeeping's Health & Fitness Lab, which emphasizes the critical link between proper clearance, ventilation, and equipment longevity.
More gear to consider
All reviews
ProForm ZT6 Treadmill: 2026 Compact Cardio Value Breakdown
Stair Climber vs Treadmill Belt: Home Fitness Guide
Air Bike vs Assault Bike: Trading Treadmill Time for Better Value
Rowing Machine Setup: Better Than Cheap Treadmills for Home

Beginner's Guide to Buying an Incline Trainer Treadmill (2026)
