
Squat Rack vs Hammer Strength Leg Press Machine Space Layouts
Optimize your gym layout with our guide on squat rack and power cage spacing versus the Hammer Strength leg press machine footprint.

The Spatial Dilemma: Cages vs. Dedicated Leg Presses
Designing a high-performance lower body training zone requires balancing biomechanical necessity with strict spatial constraints. For strength and conditioning facilities, the squat rack and power cage for leg training remain the undisputed kings of axial loading and functional movement. However, to build a complete, spine-sparing leg day arsenal, facility managers and serious home gym owners must also integrate dedicated linear or incline sleds. This creates a unique architectural challenge: how do you optimize floor space when accommodating both a sprawling power cage and a heavy-duty plate-loaded sled?
In this 2026 layout guide, we break down the exact functional footprints, safety clearances, and spatial integration strategies required when pairing a commercial power cage with a hammer strength leg press machine. Whether you are outfitting a 500-square-foot garage gym or planning the traffic flow for a high-volume commercial facility, understanding the geometric demands of these two titans is critical for safety and efficiency.
Core Biomechanical Purpose
- Power Cage: Facilitates free-weight, closed-kinetic-chain movements (squats, lunges, split squats) requiring multi-planar stabilization and core bracing.
- Leg Press Sled: Provides sagittal-plane isolation, allowing for maximal hypertrophy and unilateral loading without the limiting factor of spinal compression or lower-back fatigue.
Mapping the Functional Footprint
Equipment manufacturers list the physical dimensions of their machines, but these 'static' measurements are virtually useless for facility planning. According to facility design principles outlined in the NSCA's Essentials of Strength Training and Conditioning, you must calculate the 'dynamic functional footprint'—the total area required for the user, the spotter, plate storage, and safe ingress/egress.
| Equipment Model (2026 Standard) | Static Base (L x W) | Required Clearance | Functional Sq. Footage | Avg. 2026 Price |
|---|---|---|---|---|
| Rogue RM-6 Monster Rack (Standard) | 49" x 49" | 36" all sides + 48" front | ~125 sq. ft. | $4,800 - $5,500 |
| Hammer Strength Iso-Lateral Leg Press (HS-4000) | 86" x 34" | 24" sides + 36" rear | ~85 sq. ft. | $4,100 - $4,600 |
Deconstructing the Power Cage Clearance
A standard 49-inch by 49-inch power cage seems compact until you factor in human movement. When executing heavy barbell back squats, the user requires at least 24 inches of rear clearance to unrack and step back. Furthermore, if you are utilizing spotter arms rather than a spotter, you still need lateral clearance for loading 45-pound bumper plates (which are 17.7 inches in diameter). If you mount plate storage horns on the rear uprights, you must add another 10 to 12 inches to the rear clearance zone, pushing the total functional depth to over 10 feet.
Integrating the Hammer Strength Leg Press Machine
The hammer strength leg press machine presents a different spatial geometry. Because it is an incline, plate-loaded sled, its primary spatial demand is length and rear-access. The sled travels on a 45-degree or 35-degree track, meaning the overhead clearance is rarely an issue in standard 9-foot ceilings, but the rear clearance is non-negotiable.
"When placing incline sleds, never back them against a wall. Users must be able to load and unload plates from both horns simultaneously to maintain track balance and prevent binding. A minimum of 36 inches of rear clearance is mandatory for safe plate manipulation."
— Facility Planning Guidelines, Life Fitness / Hammer Strength Commercial Division
Unlike the power cage, which acts as a 360-degree hub, the leg press is a directional machine. Users enter from the front or side, sit, press, and exit. This directional flow allows you to tuck the machine into tighter spatial envelopes, provided the loading zones remain unobstructed. Furthermore, the hammer strength leg press machine features integrated weight horns on the moving carriage. While this eliminates the need for separate plate trees, it means the physical width of the machine expands dynamically when fully loaded with multiple 45-pound plates.
3 Space-Optimized Layout Blueprints
How you arrange these two pieces of equipment dictates the traffic flow, safety, and overall aesthetic of your lower body zone. Below are three battle-tested layouts for integrating a squat rack and power cage for leg training alongside a dedicated sled.
Blueprint 1: The Corner Anchor (Ideal for < 250 Sq. Ft.)
In space-constrained environments, the corner is your best friend. Position the power cage in the corner of the room, utilizing the adjacent walls for mounted plate storage and band pegs. This eliminates the need for 360-degree clearance around the cage.
- Cage Placement: 12 inches off the side wall, 12 inches off the rear wall.
- Leg Press Placement: Position the hammer strength leg press machine at a 90-degree angle to the cage, with the user's head pointing toward the center of the room.
- Space Saved: By sharing the central walking aisle, you reduce the combined functional footprint by roughly 30%, requiring only about 180 square feet of total dedicated floor space.
Blueprint 2: The Parallel Runway (High-Volume Commercial)
For commercial gyms where multiple athletes or members train simultaneously, the 'runway' layout prioritizes line-of-sight and coaching access. According to the International Health, Racquet & Sportsclub Association (IHRSA), maintaining clear sightlines for floor staff is a primary safety mandate.
- Align 2 to 4 power cages in a row, facing the same direction, with 48 inches of lateral spacing between each rack.
- Place the leg press machines directly behind the cages, facing the opposite direction.
- The Benefit: This creates a centralized 'loading and coaching' aisle. A coach can stand in the center aisle and spot squats in front of them, while simultaneously monitoring leg press form behind them.
Blueprint 3: The Island Hub (Mid-Sized Box Gyms)
Create a central 'island' using back-to-back power cages (often called a squat stand combo or dual-rack). Place the hammer strength leg press machine units on the outer perimeter of the island, facing outward toward the walls. This pushes the heavy, static loading zones to the edges of the room, leaving the center open for dynamic movements, sled pushes, and stretching.
Flooring Transition Strategy
Do not ignore the floor when planning your layout. The power cage requires a heavy-duty drop zone. We recommend 3/4-inch (19mm) vulcanized rubber flooring under the cage and extending 4 feet outward. However, the leg press does not experience dropped barbells. You can transition to standard 3/8-inch (9mm) commercial gym flooring under the hammer strength leg press machine to save on material costs and reduce overall floor weight, using a beveled transition strip to prevent tripping hazards between the two zones.
Budgeting for Space: Cost Per Square Foot Analysis
When optimizing a facility, space is a financial asset. Understanding the cost-per-square-foot of your equipment's functional footprint helps justify the investment in space-saving attachments (like monolifts or wall-mounted storage).
| Equipment Setup | Total Equipment Cost (2026) | Functional Footprint | Cost Per Functional Sq. Ft. |
|---|---|---|---|
| Power Cage + 500lb Bumper Set + Storage | $6,200 | 125 sq. ft. | $49.60 / sq. ft. |
| Hammer Strength Leg Press + 400lb Plates | $5,100 | 85 sq. ft. | $60.00 / sq. ft. |
| Combined Layout (Optimized / Shared Aisles) | $11,300 | 175 sq. ft. (Shared) | $64.57 / sq. ft. |
Final Verdict on Lower Body Facility Planning
Integrating a squat rack and power cage for leg training alongside a dedicated sled is not just about fitting metal into a room; it is about engineering an environment that promotes heavy, safe, and uninterrupted training. The power cage demands a wide, multi-directional safety perimeter due to the unpredictable nature of free-weight barbell paths and spotter interventions. Conversely, the hammer strength leg press machine requires strict linear clearance focused entirely on the rear loading zones and the sled's travel path.
By utilizing corner anchors for compact spaces or parallel runways for commercial sightlines, you can reduce the combined functional footprint by up to 30% without compromising safety. Always adhere to the 36-inch minimum clearance rule for loading zones, invest in proper zoning-specific flooring, and ensure your layout supports the natural traffic flow of athletes moving between heavy axial loading and high-volume sagittal isolation. A well-planned lower body zone pays dividends in member retention, coaching efficiency, and long-term equipment longevity.
More gear to consider
All reviews
Glute Training Trends 2026: Hip Thrusts vs Seated Leg Press Machine

Best Leg Press Machine for Hamstrings: Horizontal vs 45° (2026)

Cable Leg Attachments & Unilateral Leg Press Machine Maintenance

Standing vs Seated Calves: Leg Press Machine Exercise Image Mistakes
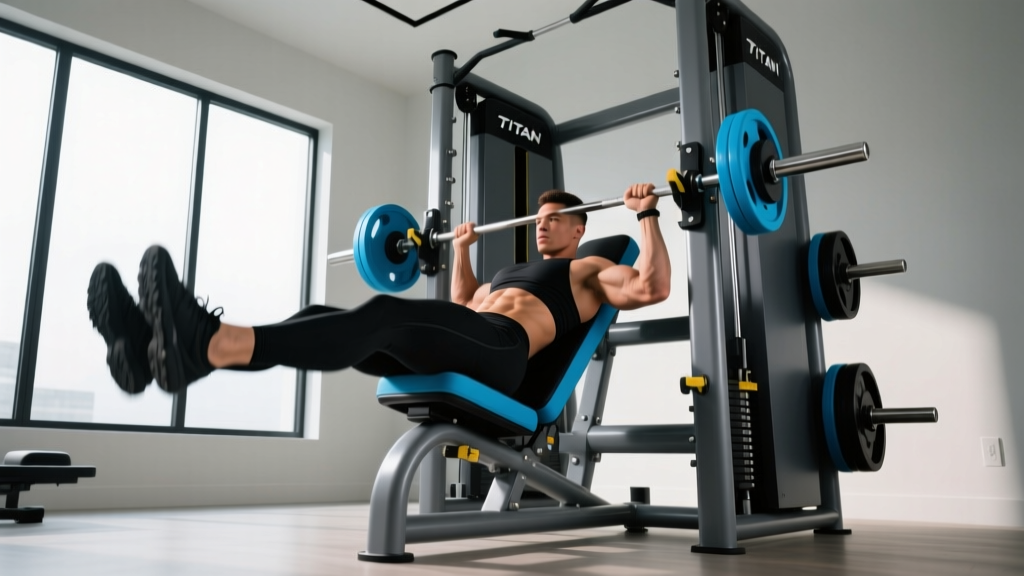
Titan Leg Press Hack Squat Machine: 2026 Glute Market Trends
