
Installing a Neutral Grip Chest Press Machine: Home Gym Guide
Master the setup of your neutral grip chest press machine with our step-by-step home gym installation guide, covering flooring, anchoring, and safety.

Pre-Installation: Space, Flooring, and Load Distribution
Integrating a neutral grip chest press machine into your home gym is one of the most effective ways to build pectoral mass while safeguarding your rotator cuffs. Unlike traditional pronated (overhand) barbell pressing, a neutral grip (palms facing inward) keeps the humerus aligned closer to the sagittal plane, significantly reducing subacromial impingement. However, commercial-grade chest training equipment for home gyms is exceptionally heavy and requires meticulous installation to ensure safety and smooth operation.
Before unboxing, verify your spatial and structural requirements. A standard plate-loaded neutral grip chest press machine (such as the Titan Fitness Plate-Loaded Chest Press or similar 11-gauge steel models) typically measures 55 inches long, 38 inches wide, and 62 inches high. You must allocate a minimum footprint of 8x8 feet to allow for 24 inches of clearance on all sides for plate loading, user ingress, and emergency egress.
Structural Warning: A fully loaded machine with a 300 lb user and 400 lbs of bumper plates can exert a point load exceeding 1,000 lbs over a 14-square-foot area. If your home gym is on a second floor or over a crawlspace, consult a structural engineer to verify your floor joists (ideally 16 inches on-center or closer) can handle this dynamic load.Tools and Inventory Verification
Do not rely solely on the generic Allen wrenches provided by the manufacturer. For a secure, rattle-free assembly that withstands years of heavy pressing, gather the following professional tools:
- Wrenches: 19mm and 24mm combination wrenches, plus a 3/4-inch drive torque wrench.
- Sockets: Deep well metric socket set (M8, M10, M12).
- Alignment: 24-inch carpenter's square and a 4-foot bubble level.
- Lubrication: PTFE (Teflon) dry spray lubricant. Never use WD-40 or wet lithium grease on guide rods, as they attract abrasive gym dust.
- Mallet: 3 lb dead-blow rubber mallet for seating tight bearing sleeves.
Upon unboxing, immediately inventory the linear bearings, solid steel guide rods (usually 1-inch diameter), and structural hardware. Inspect the welds on the main uprights; in 2026, high-end manufacturing standards mean you should see clean, uniform TIG welds with no porosity or slag inclusions.
Step-by-Step Assembly Walkthrough
Phase 1: Base Frame and Upright Construction
Begin by assembling the base frame on top of your 3/4-inch vulcanized rubber flooring. Insert the M12 structural bolts connecting the front and rear base rails to the central spine. Critical Step: Do not fully tighten these bolts yet. Leave them at roughly 60% torque. Place your carpenter's square at the intersection of the base rails to ensure a perfect 90-degree angle. If the frame is racked even slightly, the carriage will bind later. Once squared, tighten the base bolts to 65 ft-lbs in a star pattern to distribute tension evenly.
Next, bolt the main uprights to the base. Use your 4-foot level on both the X and Y axes of the uprights before finalizing the torque on the M10 gusset plate bolts (45 ft-lbs).
Phase 2: Guide Rod and Linear Bearing Alignment
The smoothness of your neutral grip chest press machine relies entirely on this phase. Wipe down the 1-inch solid steel guide rods with a microfiber cloth and isopropyl alcohol to remove factory shipping oils. Apply a light, even coat of PTFE dry lubricant.
Slide the linear bearings onto the carriage assembly. Carefully thread the guide rods through the bearings and into the top and bottom mounting brackets. As you secure the top brackets, manually cycle the carriage up and down. If you feel any lateral stuttering or 'grabbing,' loosen the top bracket bolts slightly, tap the bracket with your rubber mallet to let it self-center around the rod, and re-tighten. The carriage should glide with zero resistance.
Phase 3: Neutral Grip Carriage and Seat Installation
Attach the pressing arms and the neutral grip handles to the main carriage. The biomechanical advantage of the neutral grip is maximized when the handles are perfectly parallel. Torque the carriage pivot bolts to 45 ft-lbs, ensuring you use the included Nylock nuts or apply blue Loctite (threadlocker) to prevent vibration-induced loosening over time.
Mount the seat and backrest pads. Adjust the backrest to the standard 15-to-20-degree decline angle often preset on these machines to target the sternocostal head of the pectoralis major. Ensure the seat adjustment pop-pin engages fully into the 11-gauge steel tubing without excessive wobble.
Anchoring Matrix for Home Gym Subfloors
While the machine's weight provides substantial stability, dynamic movements (like drop sets or explosive concentric presses) can cause the unit to 'walk' or tip if not anchored. Refer to the matrix below for proper anchoring based on your home gym's subfloor:
| Subfloor Type | Recommended Anchoring Method | Hardware Required | Max Dynamic Load |
|---|---|---|---|
| Poured Concrete (4+ inches) | Wedge Anchors through base plates | 3/8' x 3' Zinc Wedge Anchors | 1,200+ lbs |
| Wood Joist (16' OC) | Lag Screws directly into joists | 3/8' x 4' Structural Lag Screws | 600 lbs |
| Floating Rubber Tile (Over Concrete) | Friction / Anti-Slip Matting | N/A (Use 5mm vulcanized underlay) | 800 lbs |
According to general home gym safety guidelines endorsed by organizations like the American Council on Exercise (ACE), ensuring your heavy resistance equipment is properly stabilized is paramount to preventing tipping hazards, especially in multi-use residential spaces.
Troubleshooting Common Installation Failures
Even with careful assembly, you may encounter mechanical quirks. Here is how to diagnose and fix the most common issues:
- Carriage Binding at Mid-Range: This is almost always caused by misaligned guide rods. Loosen the top guide rod brackets, cycle the weight stack or carriage to the bottom, and re-tighten the brackets while the rods are under natural tension.
- Uneven Handle Resistance: If one side of the neutral grip chest press machine feels heavier, check the pivot bushings on the pressing arms. They may be over-torqued, creating excess friction. Back off the pivot bolt by 1/8th of a turn and apply a drop of synthetic grease to the bushing collar.
- Seat Backrest Slippage: If the backrest shifts during heavy incline presses, the pop-pin spring may be weak, or the hole in the upright is burr-ed. Use a round file to smooth the adjustment holes in the steel tubing.
Biomechanics and Ongoing Maintenance
The primary reason lifters invest in a neutral grip chest press machine for their home gym is joint longevity. As detailed in kinesiology resources like ExRx.net's biomechanical breakdowns of machine chest presses, the neutral grip minimizes internal rotation of the shoulder joint, placing the anterior deltoid and biceps tendon in a much safer mechanical position compared to wide-grip pronated pressing.
To maintain this biomechanical advantage, your machine must operate smoothly. Implement a strict maintenance schedule:
- Weekly: Wipe down the neutral grip handles and seat pads with a non-corrosive, alcohol-free antibacterial wipe to preserve the knurling and vinyl stitching.
- Monthly: Inspect all structural M10 and M12 bolts. Vibrations from racking heavy plates can loosen hardware over time. Re-torque to factory specifications.
- Bi-Annually: Wipe the guide rods clean and reapply PTFE dry lubricant. Check the linear bearings for any signs of pitting or metal shavings, which indicate internal wear and require immediate bearing replacement.
By following this comprehensive installation and maintenance walkthrough, your neutral grip chest press machine will become a permanent, safe, and highly effective cornerstone of your home gym's chest training equipment arsenal for years to come.
More gear to consider
All reviews
Pec Deck Guide: Space Layouts vs the Leg Bench Press Machine
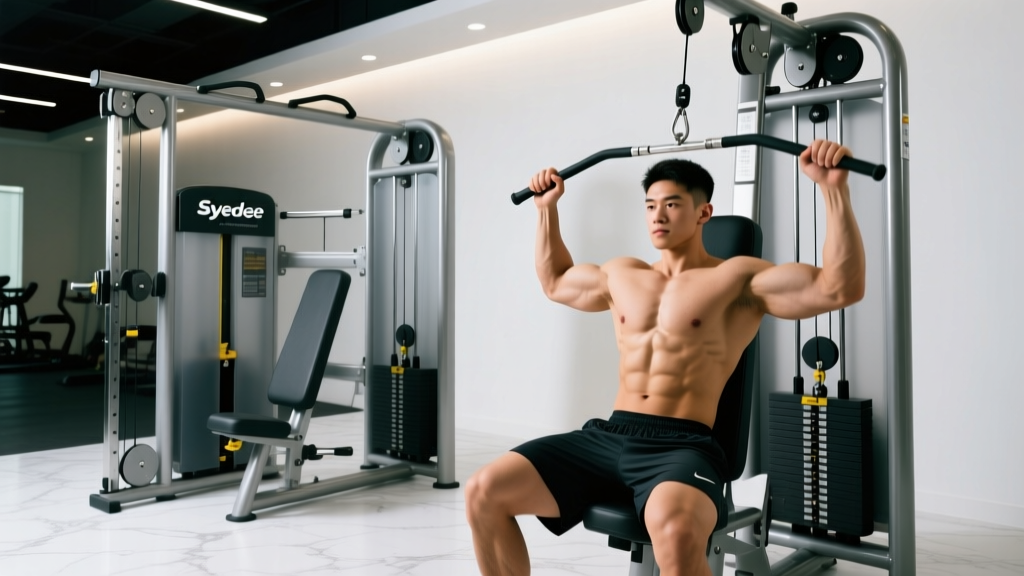
Syedee Chest Press Machine vs Cable Crossover: Chest Training Guide
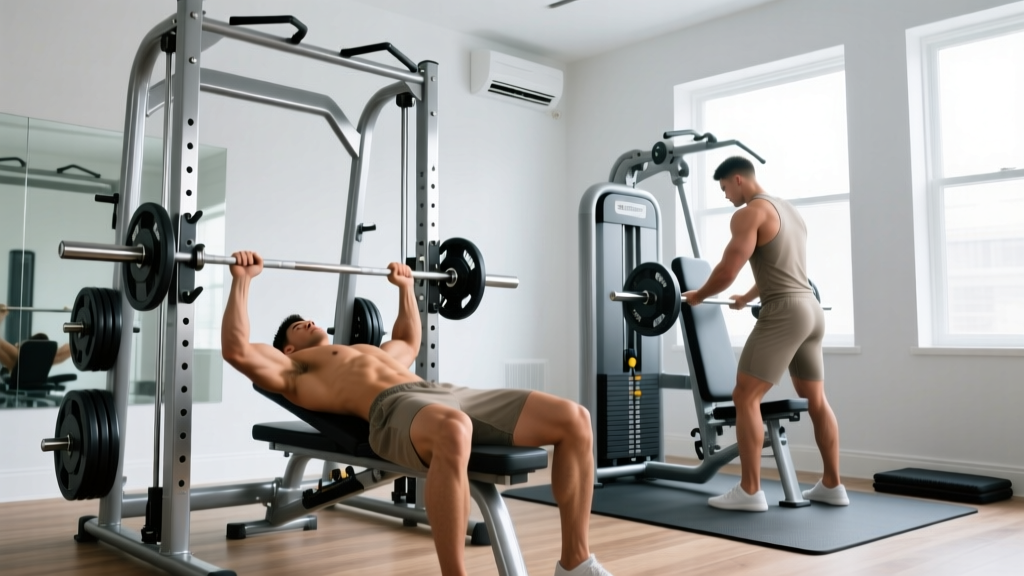
Bench Press Racks vs. Chest Press Machine Weight Without Plates

Planet Fitness Chest Press Machine Weight vs Home Pec Deck Value

Equip Body Back Tools Checklist: A Field-Tested, Ergonomic Readiness Protocol for Industrial and Clinical Settings
