
Cable Crossover vs Lying Chest Press Machine: Troubleshooting Guide
Master the cable crossover machine for chest training. We troubleshoot common mistakes, compare it to the lying chest press machine, and offer expert fixes.

The Biomechanics: Cable Crossover vs. Lying Chest Press Machine
When building a comprehensive chest training protocol, understanding the mechanical differences between the cable crossover machine for chest training and a traditional lying chest press machine is critical. The lying chest press machine—such as the Hammer Strength Iso-Lateral Chest Press (retailing around $3,800)—utilizes a fixed linear path governed by gravity. It excels at overloading the pectoralis major with heavy, stable loads, particularly in the mid-range of the movement.
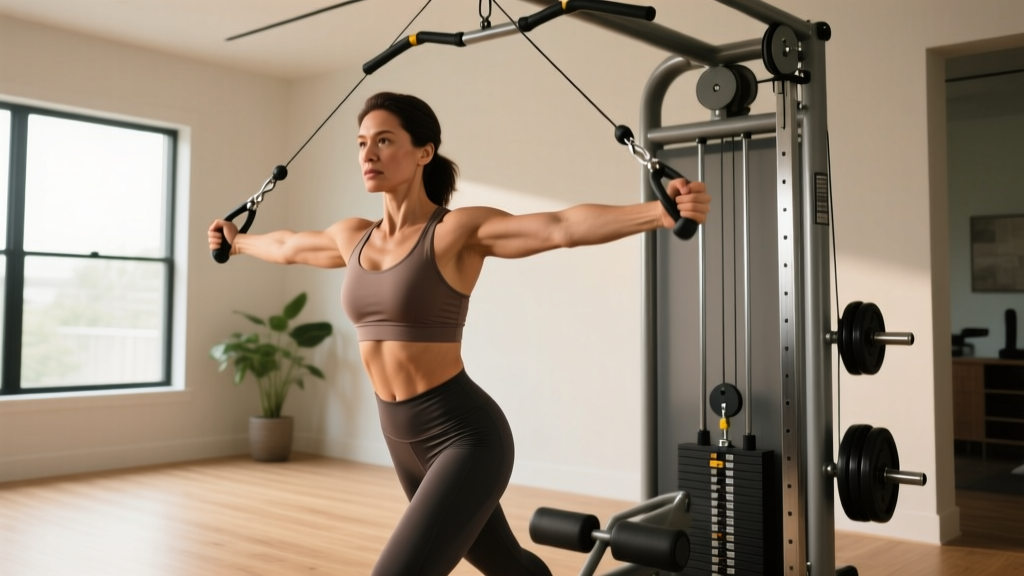
Conversely, the cable crossover machine (like the Life Fitness Signature Series, priced between $4,500 and $5,200) provides continuous variable resistance. Because the resistance vector always points toward the pulley, tension is maintained at the peak contraction (hands together) where a free-weight or standard lying chest press machine experiences a mechanical 'dead spot.' However, this freedom of movement introduces a high margin for user error and mechanical calibration issues.
Top 4 User Mistakes on the Cable Crossover
1. Incorrect Pulley Height & Angle of Pull
The most frequent error is failing to match the pulley height to the targeted pectoral fibers. The pectoralis major has distinct clavicular (upper) and sternal (lower) heads.
- Targeting Lower Pecs (Sternal Head): Set pulleys to the highest notch (usually 18-20 on a standard 20-adjustment tower). Lean forward 15 degrees and pull downward and inward.
- Targeting Upper Pecs (Clavicular Head): Set pulleys to the lowest notch (1-3). Lean back slightly and pull upward and inward, mimicking an incline press trajectory.
- Mid-Chest Mass: Set pulleys to shoulder height (notch 10-12). Pull straight across the midline.
2. The 'T-Rex' Arm Position (Excessive Elbow Flexion)
Many lifters bend their elbows to 90 degrees, turning the cable crossover into a triceps-dominant pressing movement rather than a pectoral fly. The Fix: Maintain a slight, fixed bend in the elbow (about 160 to 170 degrees of extension). Your arm should mimic the shape of a barrel being hugged. Lock this angle in place; the only joint moving should be the glenohumeral (shoulder) joint.
3. Losing Scapular Retraction at Peak Contraction
On a lying chest press machine, the bench physically forces your scapulae to remain pinned back. On a cable crossover, lifters often allow their shoulders to roll forward (protract) as their hands meet in the middle. This shifts the load onto the anterior deltoids and serratus anterior. The Fix: Actively pinch your shoulder blades together before initiating the pull and maintain that retraction even as your hands cross the midline.
4. Ego Lifting and Momentum
Using a weight stack that forces you to jerk your torso forward to initiate the movement eliminates the eccentric loading phase. According to the National Strength and Conditioning Association (NSCA), controlling the eccentric phase is vital for muscle hypertrophy. Drop the weight by 20-30% and enforce a strict 3-second eccentric (negative) return to the starting position to maximize stretch-mediated hypertrophy.
Mechanical Troubleshooting: Machine Maintenance & Calibration
Beyond user error, the cable crossover machine itself requires specific maintenance to function safely and smoothly. If you are managing a home gym or commercial facility, add these to your monthly checklist.
Weight Stack Friction & Guide Rods
Symptom: The weight stack feels 'sticky' on the eccentric return, or plates rattle excessively.
Troubleshooting: Inspect the dual guide rods. Over time, dust and oxidized metal create friction. Never use standard WD-40, as it attracts dust and creates a gummy residue. Instead, wipe the rods with a microfiber cloth and apply a dry PTFE (Teflon) spray or a 100% silicone-based lubricant. Wipe off any excess immediately.
Cable Slack & Turnbuckle Adjustment
Symptom: There is 2-3 inches of slack in the cable before the weight stack actually lifts off the resting pin.
Troubleshooting: Locate the threaded turnbuckle (usually found near the base pulley or the handle attachment point). Use two wrenches to loosen the locking nuts, twist the turnbuckle body clockwise to shorten the cable housing and increase tension, and then re-tighten the locking nuts. Ensure the 7x19 galvanized aircraft cable shows no signs of 'bird-caging' (fraying strands). If fraying is present, replace the cable immediately—a snapped cable under 100+ lbs of tension is a severe laceration hazard.
Grip Attachments & Carabiner Wear
Symptom: Clicking noises during the movement or uneven handle rotation.
Troubleshooting: Inspect the snap-gate carabiners connecting the handles to the cable loop. In high-traffic commercial gyms, the spring-loaded gate can weaken, or the metal loop can develop a sharp burr that frays the cable eyelet. Replace standard carabiners with heavy-duty, threaded-locking climbing carabiners (rated for 20+ kN) for under $15 each. Additionally, if using D-handles, ensure the rubberized grips are not spinning freely on the steel core, which causes grip fatigue and blisters.
Troubleshooting Matrix: Symptom to Solution
| Symptom / Error | Root Cause | Expert Fix |
|---|---|---|
| Anterior Deltoid Burn (No Chest Pump) | Shoulder protraction at peak contraction | Maintain scapular retraction; stop hands 4 inches apart to keep tension on pecs. |
| Triceps Fatigue | Excessive elbow flexion (90 degrees) | Lock elbows at 160-170 degrees; focus on shoulder adduction. |
| Weight Stack 'Sticking' | Guide rod friction / dust buildup | Clean rods and apply dry PTFE lubricant. |
| Cable Slack at Start | Cable stretching over time | Adjust the base turnbuckle clockwise to restore tension. |
Programming: When to Use Which Machine
To maximize hypertrophy and joint health, integrate both machines strategically into your training splits.
- Primary Overload (Start of Workout): Use the lying chest press machine when your central nervous system is fresh. The fixed path allows you to safely push to technical failure without requiring stabilizer muscles to balance the load. Aim for 3-4 sets of 6-10 reps with 90-120 seconds of rest between sets.
- Metabolic Stress & Stretch (End of Workout): Transition to the cable crossover machine. The continuous tension is ideal for high-rep ranges (12-20 reps), drop sets, and emphasizing the deep stretch at the bottom of the movement. Keep rest intervals shorter (45-60 seconds) to maximize metabolic accumulation. The Mayo Clinic notes that varying resistance vectors is key to preventing overuse injuries in the shoulder capsule.
"The transition from stable, gravity-dependent presses to multi-planar cable work ensures comprehensive motor unit recruitment across all fascicles of the pectoralis major while sparing the rotator cuff from repetitive fixed-path stress."
Final Calibration Check
Whether you are troubleshooting a sticking weight stack on your home gym's cable crossover or refining your biomechanics to complement your lying chest press machine sessions, precision is paramount. Audit your pulley heights, respect the eccentric phase, and maintain your equipment's guide rods and turnbuckles. Mastery of these details separates casual gym-goers from elite physique architects.
More gear to consider
All reviews
Practical, Professional Therapy Storage Ideas for Clinics, Schools, and Home Practice
Beyond a Basic Chest Press Machine Image: Cable Crossover Guide

Chest Press Machine Types Compared: 2026 In-Depth Buyer Guide
Plate Loaded Incline Chest Press Machine & Fly Equipment Trends

Vertical Chest Press Machine: Beginner Home Gym Setup Guide
