Why Are Dumbbells Called Dumbbells? History & Storage Layouts
Discover why dumbbells are called dumbbells and explore space-saving storage layouts, rack dimensions, and gym optimization strategies for your home.

The Etymology: Why Are Dumbbells Called Dumbbells?
If you have ever lugged a pair of 80-pound iron weights across your garage gym, the last word you would use to describe them is "silent." Yet, the question of why are dumbbells called dumbbells takes us back to a time when fitness equipment made no noise at all. In the 16th and 17th centuries, bell ringing was a highly respected skill and a rigorous physical workout. To practice without disturbing the neighborhood, ringers used "dumb" (meaning silent or mute) bells—church bells with the clappers removed. According to historical linguistic archives like Etymonline, the term eventually transferred to the wooden and lead-weighted handheld devices athletes used to mimic the pulling motion of bell ringing in total silence.
"The 'dumb' in dumbbell doesn't mean stupid; it is rooted in the Old English 'dumb,' meaning silent or speechless, referring to the clapperless bells used for silent practice."
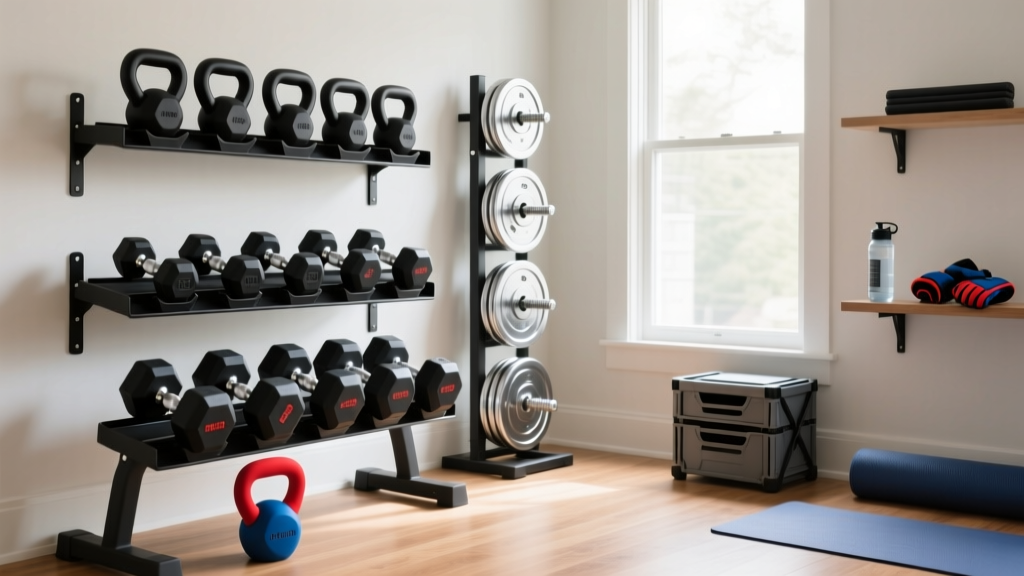
While 17th-century ringers only needed to toss a single wooden handle into a closet, today’s fitness enthusiasts face a massive spatial dilemma. A modern 5-to-50-pound rubber hex dumbbell set weighs over 1,000 pounds and demands significant floor space. To honor the "silent" origins of the equipment, modern gym design must focus on eliminating visual and physical clutter through intelligent, space-optimized storage.
The Modern Dilemma: From Silent Bells to Space Hogs
The evolution from a single wooden stick to a full commercial-grade dumbbell set has created a unique challenge in home and boutique gym layout design. Dumbbells possess an incredibly high weight-to-volume ratio. A standard 3-tier dumbbell rack holding a 5-50 lb set (20 pairs) will concentrate over 1,100 pounds of force into a footprint of less than 13 square feet.
⚠️ The Floor Load Warning: If you are building a gym on a second floor or an elevated wooden deck, a fully loaded 3-tier rack can exceed standard residential floor joist live-load capacities (typically 40 lbs per square foot). Always position heavy, multi-tier racks directly over load-bearing walls or ground-floor concrete slabs.Space Optimization: Choosing the Right Dumbbell Rack
Selecting the correct rack is the cornerstone of gym space optimization. The market has shifted heavily toward 11-gauge and 7-gauge steel constructions to prevent shelf sagging under the immense point-load of heavy dumbbells. Based on current 2026 market analysis and expert testing from sources like Garage Gym Reviews, here is how the primary rack styles compare for spatial efficiency.
| Rack Style | Footprint (Sq Ft) | Weight Capacity | Best Layout Scenario | Avg. Price (2026) |
|---|---|---|---|---|
| A-Frame | 4.0 | 600 - 800 lbs | Small garages, 5-30lb sets | $120 - $180 |
| 3-Tier Horizontal | 12.5 | 1,200 - 1,500+ lbs | Full sets (5-50lbs+), commercial | $350 - $550 |
| Vertical / Tower | 2.5 | 400 - 600 lbs | Neoprene/Light sets, apartments | $80 - $140 |
| Wall-Mounted | 0 (Floor) | Varies by studs | Dedicated gym walls, max space | $150 - $300 |
Layout Design: Integrating Racks into Your Gym Flow
Buying the right rack is only half the battle; placing it correctly dictates the safety and flow of your workout space. Poor layout design leads to bottlenecking, dropped weights, and shin injuries.
The 24-Inch Loading Zone Rule
Ergonomic guidelines for weight rooms dictate that you must maintain a minimum clearance in front of a dumbbell rack. When a user bends over to pick up a pair of 100-pound dumbbells from the bottom tier of a 3-tier rack, their hips will extend backward by roughly 18 to 22 inches.
- Minimum Front Clearance: 24 inches from the front lip of the rack to the nearest obstacle (bench, wall, or squat rack).
- Rear Clearance: 4 to 6 inches from the back of the rack to the wall to account for baseboards, airflow, and slight rack shifting during heavy loading.
- Lateral Flow: Leave at least 36 inches of lateral walking space on one side of the rack to allow users to carry heavy weights to their training area without twisting.
Edge Cases & Failure Modes in Dumbbell Storage
When optimizing space, many gym owners fall victim to compatibility failures between their dumbbell brand and their rack. This is a critical edge case that can ruin an expensive equipment investment.
💡 The Urethane vs. Rubber Hex Width Problem:Not all dumbbells are created equal. A 50-pound urethane dumbbell (like those from Rogue or Inspire) has a compact head width of roughly 6.5 inches. However, a 50-pound cheap rubber hex dumbbell can have a head width exceeding 8.5 inches. If you purchase a compact 3-tier rack with 14-inch shelf dividers designed for urethane, the wider rubber hex heads will overlap, cascade off the shelf, and create a dangerous rolling hazard. Always measure the width of your heaviest dumbbell before ordering a rack with fixed dividers.
Shelf Sag and Steel Gauge
Another common failure mode is shelf deflection. Many budget racks on the market use 14-gauge steel or MDF wood inserts for the shelves. Under the continuous point-load of heavy iron, 14-gauge steel will permanently bow within 12 to 18 months. For any dumbbell exceeding 40 pounds per pair, insist on racks constructed from 11-gauge or 7-gauge steel with reinforced cross-bracing beneath the shelves.
Step-by-Step: Designing Your Dumbbell Zone
To achieve a truly optimized layout, follow this sequential framework for designing your dumbbell storage zone:
- Audit Your Set Dimensions: Lay your dumbbells out and measure the total linear inches required for your heaviest pairs. This dictates whether you need a 44-inch wide rack or a 60-inch wide rack.
- Map the Traffic Flow: Identify the primary training area (e.g., adjustable bench or open rubber matting). The rack should be positioned so the user walks in a straight line from the rack to the training zone, avoiding high-traffic "collision corridors."
- Anchor for Seismic and Impact Safety: If using a freestanding 3-tier rack, the center of gravity shifts dangerously high when the bottom tier is empty and the top tier is loaded. Use L-brackets to anchor the rear legs to wall studs or the concrete floor.
- Implement Tier Logic: Store the heaviest dumbbells (40+ lbs) on the bottom tier to keep the rack's center of gravity low and save the user's lower back from awkward high-reaches. Store lighter pairs (5-25 lbs) on the top tier.
Summary: Honoring the "Silent" Bell with a Clutter-Free Gym
The next time someone asks you why are dumbbells called dumbbells, you can share the fascinating history of silent church bell practice. But more importantly, you can point to your meticulously organized, space-optimized gym layout. By understanding the exact dimensions of your equipment, respecting ergonomic clearance zones, and investing in heavy-gauge steel storage, you ensure that your dumbbells remain "silent" in their resting state—tucked away safely until it is time to make some noise in your next workout.
More gear to consider
All reviews
Best Neoprene Dumbbells for a Back Fat Workout: 2026 Matchup
Power Rack vs Squat Rack vs Stand: Dumbbells for Love Handles Setups
Hex vs Urethane Dumbbells for Single Arm Neutral Grip Rows
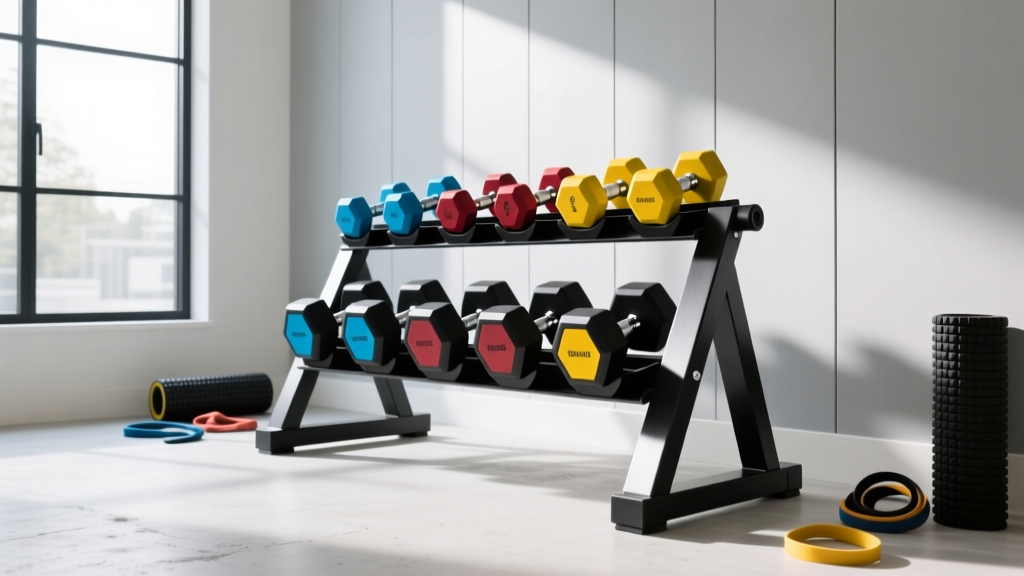
Best Dumbbell Racks for Simple Arm Exercises with Dumbbells (2026)
Top Dumbbell Racks for Lat Muscle Dumbbell Exercises (2026)
