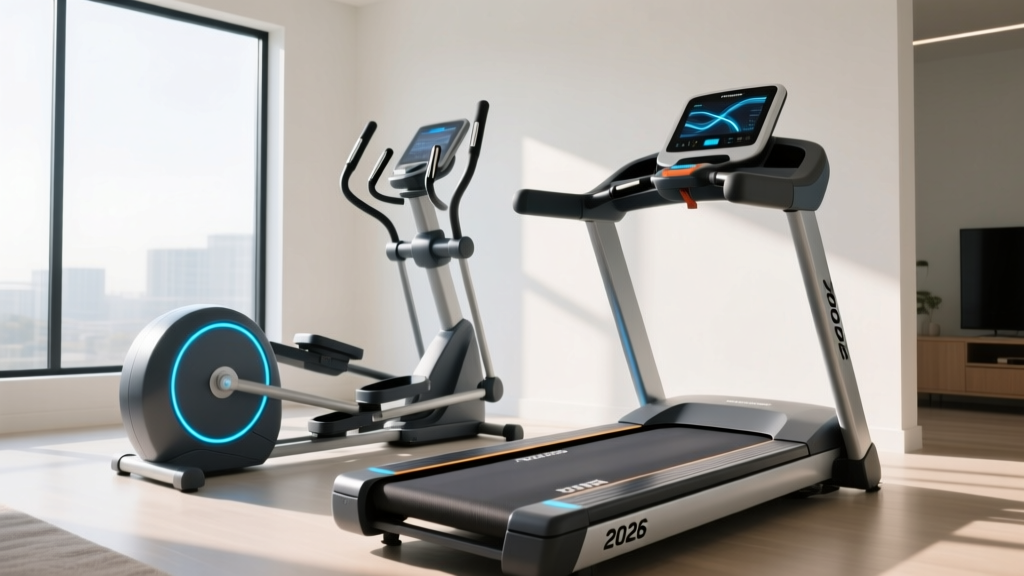
Wahoo KICKR RUN Smart Treadmill Setup & Motor Horsepower Guide
Master your Wahoo KICKR RUN smart treadmill setup. Our 2026 installation walkthrough includes a complete treadmill motor size and horsepower guide.

The Intersection of Smart Tech and Motor Physics
Unboxing and assembling a premium piece of fitness equipment is only half the battle; understanding the mechanical heart of the machine is what separates a successful installation from a frustrating one. As of 2026, the Wahoo KICKR RUN smart treadmill stands at the pinnacle of indoor cardio technology, seamlessly integrating with platforms like Zwift and Wahoo SYSTM. However, beneath its sleek console and responsive deck lies a high-torque brushless DC (BLDC) motor system that demands specific electrical and physical setup protocols.
This comprehensive walkthrough will guide you through the complete physical installation of the Wahoo KICKR RUN while simultaneously serving as your ultimate treadmill motor size and horsepower guide. Whether you are upgrading from a budget walker or setting up a dedicated smart-training studio, understanding how motor horsepower dictates your electrical requirements, belt tensioning, and long-term maintenance is critical.
⚠️ Critical Electrical Warning: Never plug a high-performance smart treadmill into a shared 15-amp household circuit. Doing so will cause voltage sag during high-speed sprints, potentially triggering an E-02 motor controller error and causing dangerous belt stuttering.Phase 1: Pre-Installation & Electrical Prep (Motor Power Requirements)
Before you even cut the zip ties on the packaging, you must evaluate your room's electrical infrastructure. The Wahoo KICKR RUN utilizes a specialized high-torque motor designed to simulate virtual terrain gradients and respond to instant ERG-mode wattage demands. This requires a massive amount of continuous current.
Understanding Your Circuit Capacity
Most modern homes feature 15-amp and 20-amp circuits. A standard 15-amp circuit can safely deliver about 1,440 watts of continuous power. When a 200-pound runner strikes the deck of a smart treadmill, the motor experiences a transient torque spike that can momentarily draw upwards of 1,800 watts. If your treadmill shares this circuit with a space heater, an air conditioner, or even a high-draw gaming PC, the breaker will trip, or the motor controller will starve for voltage.
- The 20-Amp Dedicated Rule: For any treadmill boasting 3.0 Continuous Horsepower (CHP) or higher, a dedicated 20-amp circuit (capable of 1,920 continuous watts) is the gold standard for 2026 smart home gyms.
- Surge Protection: Do not use standard power strips. Use a direct wall outlet or a heavy-duty, treadmill-rated surge suppressor with a minimum joule rating of 2,000 to protect the KICKR RUN's sensitive logic boards from micro-surges.
Phase 2: Physical Assembly and Weight Distribution
The Wahoo KICKR RUN ships in a single, massive LTL freight box weighing over 180 lbs. The sheer weight of the unit is directly tied to its motor housing and flywheel assembly, which are engineered to absorb kinetic impact and dissipate heat.
- Unboxing and Base Placement: Cut the cardboard banding and carefully slide the box off the base pallet. Do not attempt to lift the base. Instead, tilt it backward onto its rear transport wheels. The motor housing is located at the front (under the motor hood), making the unit extremely front-heavy.
- Mast Uprighting: This is strictly a two-person job. One person must secure the heavy base by stepping on the rear stabilizer bar, while the other lifts the integrated console mast. The internal wiring harness for the KICKR RUN's data cables is pre-routed; ensure you do not pinch the delicate Ethernet-style data wire between the mast and the base bracket.
- Console Lock-In: Secure the mast to the base using the provided M10 hex bolts. Use a torque wrench set to 35 Nm to ensure the frame remains rigid during high-cadence intervals, preventing micro-vibrations from transferring to the motor encoder.
Phase 3: Treadmill Motor Size and Horsepower Guide
To truly appreciate the engineering of the Wahoo KICKR RUN, you must understand the broader landscape of treadmill motors. The fitness industry has historically plagued consumers with misleading 'Peak Horsepower' metrics. As we evaluate cardio machines in 2026, Continuous Duty Horsepower (CHP) is the only metric that matters.
'Peak Horsepower (HP) measures the absolute maximum output a motor can achieve for a fraction of a second before overheating. Continuous Horsepower (CHP) measures the motor's ability to dissipate heat and maintain torque under a constant, heavy load over a 60-minute workout.' — American Council on Exercise (ACE) Fitness Equipment Guidelines.
The Treadmill Motor Sizing Matrix
Use the table below to understand where the Wahoo KICKR RUN's motor technology sits compared to traditional market offerings, and how motor size dictates user weight limits and duty cycles.
| Motor Rating | Type | Max User Weight | Ideal Use Case | Circuit Req. |
|---|---|---|---|---|
| 1.5 - 2.0 HP | Peak | 150 lbs | Walking / Light Jog | 15A Shared |
| 2.5 - 3.0 CHP | Continuous | 250 lbs | Daily Running | 15A Dedicated |
| 3.0 - 4.0 CHP | Continuous (BLDC) | 300+ lbs | Smart Tech / Sprinting | 20A Dedicated |
Why the Wahoo KICKR RUN Motor is Different
The Wahoo KICKR RUN smart treadmill operates in the premium 3.0+ CHP tier, but with a distinct advantage: regenerative and dynamic braking capabilities. In traditional treadmills, the motor only drives the belt forward. In advanced smart treadmills designed for virtual terrain simulation, the motor must act as a dynamic brake to simulate downhill running or resist the belt during ERG-mode wattage targets. This requires a heavily oversized motor stator and advanced thermal paste application on the logic board to prevent thermal throttling during multi-hour endurance rides or runs.
Phase 4: Belt Tensioning and Motor Calibration
A motor is only as effective as the belt it drives. If the belt is too loose, the motor will spin, but the belt will slip under your foot (a dangerous failure mode). If the belt is too tight, you will create excessive friction, forcing the motor to draw higher amperage, leading to premature bearing failure and overheated motor windings.
Step-by-Step Belt Alignment
- Power On: Plug the KICKR RUN into your dedicated 20A outlet and flip the master I/O switch near the power cord.
- The 3 MPH Test: Start the belt at 3.0 MPH. Stand on the side rails. Watch the rear roller cap.
- Adjusting Tension: If the belt slips when you step on it, locate the two rear adjustment bolts at the very back of the deck. Using a 6mm hex key, turn both bolts clockwise by exactly one-quarter (1/4) turn. Never adjust one side more than the other, or the belt will track off-center and shred the edge.
- Friction Check: After tensioning, place your hand near the motor hood. If you smell a faint burning rubber or ozone scent after 5 minutes, the belt is over-tensioned, or the deck lacks silicone lubrication. Back off the tension bolts by 1/8th of a turn.
Phase 5: Software Integration and Firmware Updates
The physical setup is complete, but the digital setup is where the KICKR RUN truly shines. Because the motor controller relies on software to interpret Zwift or Wahoo SYSTM gradient commands, firmware calibration is mandatory.
Pro Tip: Always perform a factory belt calibration before your first virtual run. According to the official Wahoo Fitness support hub, running the automated calibration sequence ensures the motor's internal encoder aligns perfectly with the belt's physical speed, eliminating the 'phantom speed drops' that plague uncalibrated smart treadmills.- Download the Wahoo Fitness app on your iOS or Android device.
- Pair the treadmill via Bluetooth and ANT+ FE-C (Fitness Equipment Control).
- Navigate to Device Settings > Advanced > Belt Calibration.
- Step off the treadmill and allow the machine to run through its 0-to-12 MPH automated sweep. The motor controller will measure the exact rotational latency of the flywheel and adjust the voltage curve accordingly.
Troubleshooting Motor and Setup Edge Cases
Even with a flawless installation, high-end cardio machines can present edge cases. Here is how to troubleshoot motor-related issues specific to smart treadmills:
1. The 'Hesitation' or 'Stutter' at High Speeds
The Symptom: When sprinting at 10+ MPH, the belt feels like it momentarily pauses or surges.
The Fix: This is rarely a broken motor. It is almost always a voltage drop or a dry deck. First, verify your 20A circuit isn't experiencing external load (e.g., a microwave running in the adjacent kitchen). Second, lift the belt edge and apply 100% pure silicone treadmill lubricant to the deck. A dry deck increases the coefficient of friction, forcing the motor to pull more amps than the controller allows, resulting in a safety stutter.
2. Incline Motor Grinding
The Symptom: A loud metallic grinding when the KICKR RUN adjusts its incline to match a virtual hill.
The Fix: The incline actuator is a separate motor from the drive motor. If it grinds, the lift column has likely lost its factory grease due to temperature fluctuations during shipping. Unplug the unit, remove the motor hood (using a Phillips #2 screwdriver), and apply white lithium grease to the incline actuator screw drive.
Final Thoughts on Your Smart Treadmill Investment
Setting up the Wahoo KICKR RUN smart treadmill is an exercise in respecting the physics of high-end fitness engineering. By treating the installation not just as 'bolting pieces together,' but as an opportunity to understand the crucial relationship between motor horsepower, electrical current, and belt friction, you ensure your machine will perform flawlessly for years. Whether you are chasing a new 5K PR on Zwift or simply maintaining your cardiovascular health, a properly calibrated, adequately powered motor is the silent partner in every stride you take.
More gear to consider
All reviews
Goplus 2 in 1 Folding Treadmill Manual & Walking Pad Review
LiveStrong LS8.0T Treadmill Setup & Walking Pad Comparison

Treadmill Power Consumption: 2026 Walking Pad Comparison & Review
Folding Treadmill for Small Spaces & Treadmill Exercise App Value

Home Stair Climbers & CPT Code for Nuclear Treadmill Stress Test