
Upgrading From Dumbbell Workouts for Arms: Barbell Collar Guide
Transitioning from dumbbell workouts for arms to barbells? Compare spring, clamp, and spinlock barbell collars to keep your plates secure and safe.

The Bridge: From Dumbbell Workouts for Arms to Barbell Training
When most lifters begin their fitness journey, dumbbell workouts for arms are the gold standard. Dumbbells offer a forgiving learning curve, allow for natural wrist supination during bicep curls, and, most importantly, are inherently safe. If you fail a dumbbell skull crusher or a heavy hammer curl, you simply drop the weights to the floor. However, as you progress through your first year or two of training, you will inevitably hit the ceiling of your adjustable dumbbells or the fixed dumbbell rack—usually around the 50 to 90-pound mark per hand.
To continue driving progressive overload, you must transition to barbell training. Barbell curls, close-grip bench presses, and lying tricep extensions allow you to move significantly more weight. But this transition introduces a critical safety variable that dumbbells don't have: lateral plate migration. If a 25-pound plate slides off one side of a barbell during a heavy set of skull crushers, the resulting asymmetrical weight distribution can cause the bar to violently flip, leading to severe wrist, facial, or shoulder injuries. This is where understanding barbell collars and clamps becomes non-negotiable.
The Biomechanics of Plate Shift During Arm Exercises
Why do plates slide off in the first place? It is not just about gravity. According to biomechanical analyses of weightlifting equipment, barbell sleeves experience immense rotational torque and lateral vibration—often referred to as 'barbell whip'—during dynamic movements. When performing a strict barbell curl, the acceleration and deceleration phases create kinetic energy that travels down the shaft and into the sleeves. If the collar does not exert enough radial clamping force against the 50mm Olympic sleeve, the rotational inertia will literally unscrew or slide the plate outward.
Step-by-Step: Choosing the Right Clamp for Your Barbell
Not all collars are created equal. The market is flooded with options ranging from $5 to over $150. Let us break down the primary types you will encounter in 2026, analyzing their specific failure modes and ideal use cases.
1. Spring Collars (The Budget Starter)
Spring collars, like the highly popular Rogue HG 2.0 Collars, are the most ubiquitous clamps in commercial gyms. They utilize a heavy-duty zinc-plated steel spring to exert inward pressure via plastic or rubberized contact pads.
- Clamping Force: ~45 to 60 lbs of radial pressure.
- Price Range: $12 - $18 per pair.
- The Failure Mode: Chalk and dust. Spring collars rely entirely on surface friction. If you use chalk on your barbell sleeves, the chalk acts as a dry lubricant. A spring collar on a chalky sleeve will slide off under the rotational torque of a heavy barbell curl.
2. Lock-Jaw / Clamping Collars (The Sweet Spot)
Clamp-style collars use a mechanical lever and a cam system to lock onto the sleeve. The Lock-Jaw Pro series is a staple in garage gyms worldwide, featuring an ABS plastic body with TPU (Thermoplastic Polyurethane) rubber grip pads.
- Clamping Force: 100+ lbs of radial pressure.
- Price Range: $30 - $40 per pair.
- The Failure Mode: Extreme temperatures. ABS plastic becomes brittle in cold environments. If you train in an uninsulated garage gym where temperatures drop below 40°F (4°C), dropping a Lock-Jaw collar on a concrete floor can cause the internal cam mechanism to shatter.
3. Spinlock Collars (The Traditionalist)
Spinlock collars thread directly onto the barbell sleeve. While mostly found on cheap, non-Olympic 1-inch standard bars, high-end threaded Olympic collars (like those from York or older Ivanko models) still exist.
- Clamping Force: Virtually infinite (limited only by user torque).
- Price Range: $15 (standard) to $80+ (Olympic threaded).
- The Failure Mode: Cross-threading and time. Threading a heavy metal nut onto a barbell sleeve takes 15-20 seconds per side. If the threads are damaged or cross-threaded, the collar will strip under load, leading to catastrophic failure.
4. Competition Lever Collars (The Heavy Duty)
For powerlifters and Olympic weightlifters, competition collars are mandatory. As outlined in the International Weightlifting Federation (IWF) Technical Rules, competition collars must weigh exactly 2.5 kg and securely lock the heaviest bumper plates during explosive drops from overhead.
- Clamping Force: 250+ lbs (often utilizing a metal cam and steel inner ring).
- Price Range: $100 - $160 per pair (e.g., Eleiko or Werksan).
- The Failure Mode: User error and sleeve gouging. If the metal inner ring is not perfectly aligned before clamping the lever, it will bite into and permanently gouge the steel barbell sleeve.
Collar Comparison Matrix
To help you decide which collar fits your specific arm-day and compound-lifting needs, review the comparison matrix below. For a broader look at gym accessories, resources like Garage Gym Reviews offer extensive testing on these exact models.
| Collar Type | Avg. Price (2026) | Change Speed | Best For |
|---|---|---|---|
| Spring (e.g., Rogue HG) | $15 | Very Fast (2 sec) | Quick accessories, high-rep arm work |
| Clamp (e.g., Lock-Jaw) | $35 | Fast (5 sec) | Heavy curls, skull crushers, benching |
| Spinlock | $20 - $80 | Slow (20 sec) | Home gyms with fixed weight setups |
| Competition Lever | $120+ | Moderate (10 sec) | Olympic lifts, heavy powerlifting |
Step-by-Step Installation for Maximum Safety on Arm Day
Even a $150 competition collar will fail if installed incorrectly. When setting up for high-risk arm exercises like lying tricep extensions (skull crushers), follow this exact protocol:
- Wipe the Sleeve: Use a microfiber cloth to remove any chalk, sweat, or oil from the barbell sleeve. Friction is your primary defense against lateral migration.
- Load the Plates Flush: Ensure the inner face of the first bumper or iron plate is sitting completely flush against the barbell's shoulder (the lip where the shaft meets the sleeve).
- Position the Collar: Slide the collar onto the sleeve until it is exactly 1 millimeter away from the outer plate. Do not leave a gap. If there is a gap, the plates have room to accelerate and build kinetic energy before hitting the collar.
- Engage the Lock:
- For Clamps: Squeeze the handles together and push the red locking tab down until you hear an audible click.
- For Spring Collars: Ensure both plastic pads are making full, flat contact with the steel sleeve before releasing your grip.
- The Shake Test: Grab the end of the barbell and give it a sharp, violent shake. If you hear the plates clanking against each other, the collar is too loose or positioned too far outward. Readjust immediately.
Common Edge Cases and Troubleshooting
As you build your home gym or navigate commercial equipment, you will encounter specific edge cases that catch beginners off guard.
The 'Cheap Barbell' Tolerance Issue
A true Olympic barbell sleeve measures exactly 50mm (1.97 inches) in diameter. However, budget barbells often suffer from poor manufacturing tolerances, resulting in sleeves that measure 50.2mm or even 50.5mm. If you buy standard 50mm lock-jaw collars and try to force them onto a 50.4mm sleeve, you will stretch the TPU pads and eventually snap the ABS plastic hinge. Solution: Always measure your barbell sleeve with a digital caliper before purchasing clamp-style collars. If your sleeve is oversized, stick to heavy-duty spring collars which have more radial forgiveness.
Bumper Plates vs. Iron Plates
When doing arm workouts, you are likely using fractional iron plates (e.g., 2.5 lb or 5 lb plates) to micro-load your bicep curls. Iron plates are typically narrower than bumper plates and can easily slip past the rubber pads of a poorly aligned spring collar. When using small iron plates, always place a larger 45lb or 25lb plate on the inside to act as a structural backstop, and clamp the collar tightly against the smaller outer plate to lock the entire stack together.
Final Thoughts on Your Progression
Moving beyond basic dumbbell workouts for arms into the realm of heavy barbell training is a major milestone in your lifting career. It unlocks new levels of hypertrophy and central nervous system adaptation. However, respecting the equipment is just as important as respecting the weight on the bar. By investing $30 to $40 in a high-quality pair of clamp collars and taking the extra five seconds to properly secure your plates, you ensure that your focus remains entirely on the mind-muscle connection, rather than worrying about a 45-pound iron plate sliding toward your face during your final rep.
More gear to consider
All reviews
Olympic vs Standard Plates: Building the Biggest Dumbbell Setup

Bumper vs Iron Plate Care & Shoulder Workout with Dumbbells Chart

Best Storage for Dumbbell Workouts for Chest Without a Bench

EZ Curl vs Straight Bar: Rogue Bar & Dumbbell Care
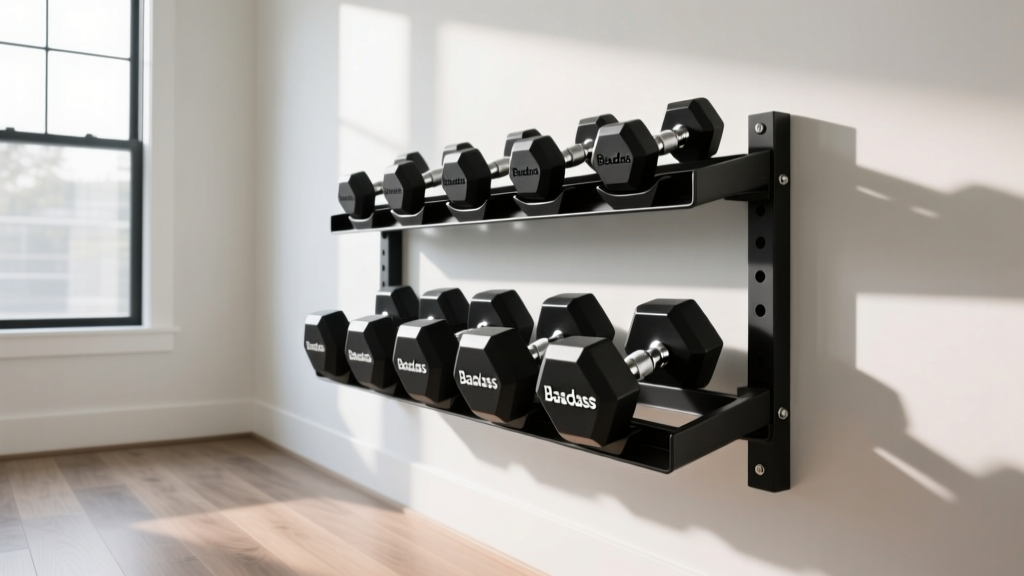
Space-Saving Racks to Organize Your Baadass Dumbbells
