Treadmill Motor Setup: Sizing Guide & 100 Meters on a Treadmill Test
Master your treadmill motor setup with our CHP sizing guide, electrical prep, and the exact 100 meters on a treadmill stress test to validate performance.

Why Motor Sizing Dictates Your Setup Strategy
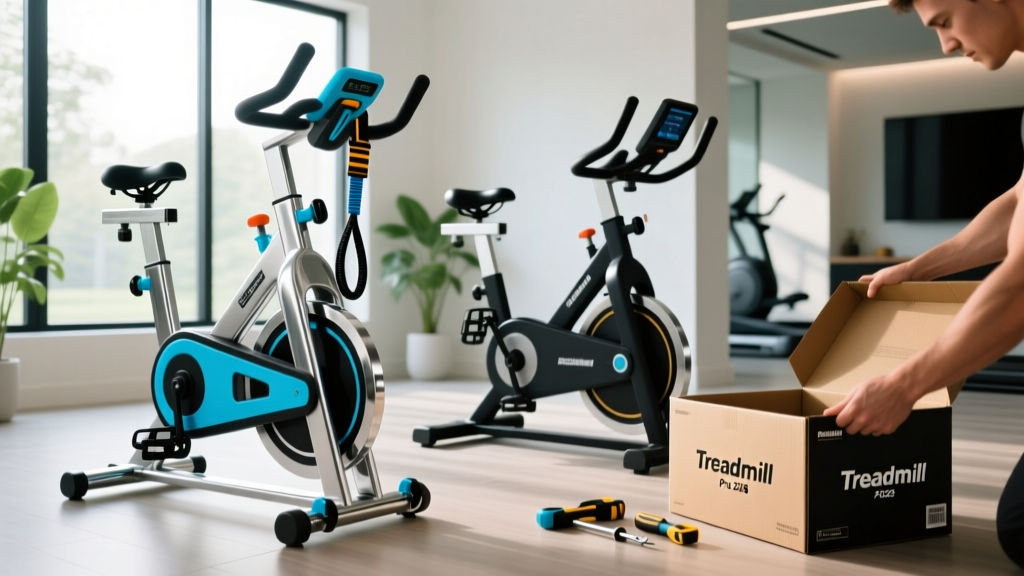
Unboxing and assembling a premium 2026 treadmill—whether it is the latest Sole F85 or a NordicTrack Commercial series—is only half the battle. The true cornerstone of your machine's longevity and performance lies in understanding, installing, and validating the drive motor. A misconfigured motor or an inadequate electrical supply will lead to belt hesitation, thermal shutdowns, and voided warranties. According to Consumer Reports, motor failure remains one of the top three reasons for treadmill repairs within the first five years of ownership. This complete setup and installation walkthrough will guide you through matching your motor specifications to your physical space, hardwiring your electrical requirements, and executing a highly specific post-installation validation protocol.
Decoding Treadmill Motor Specifications: CHP vs. Peak HP
Before you tighten a single bolt, you must verify the motor specifications on your unit's manifest. Manufacturers often use misleading marketing terms, but as an installer or informed buyer, you must focus on Continuous Duty Horsepower (CHP). Peak HP only measures the motor's maximum output for a fraction of a second before overheating. CHP measures the power the motor can sustain indefinitely under load.
Furthermore, the 2026 high-end home market is split between advanced DC (Direct Current) and AC (Alternating Current) motors. While DC motors (found in 90% of residential units) are lighter and rely on internal carbon brushes, AC motors (like those in Life Fitness Club Series) offer zero-maintenance operation and superior torque at low walking speeds.
| Primary Use Case | User Weight (lbs) | Minimum CHP Required | Recommended Motor Type |
|---|---|---|---|
| Walking / Light Jogging | Under 180 | 2.5 CHP | Standard DC |
| Daily Running (5-8 mph) | 180 - 220 | 3.0 CHP | Heavy-Duty DC |
| Sprinting / HIIT | 220 - 275 | 3.5 - 4.0 CHP | Premium DC or AC |
| Heavy User / Commercial | 275+ | 4.0+ CHP | AC Induction Motor |
Electrical Prep: The 20-Amp Dedicated Circuit Rule
The most critical failure point during treadmill setup is improper electrical routing. A 3.5 CHP or 4.0 CHP motor can draw between 15 and 18 amps under heavy sprinting loads. If your treadmill shares a standard 15-amp household circuit with a TV, air conditioner, or even a vacuum cleaner, the sudden amperage spike during acceleration will trip the breaker or, worse, degrade the motor's internal windings over time.
⚠️ CRITICAL INSTALLATION WARNING: Never use an extension cord or a standard power strip for a treadmill exceeding 2.5 CHP. The National Fire Protection Association (NFPA 70 / National Electrical Code) strictly advises against using extension cords for high-draw, continuous-load appliances due to severe voltage drop and fire hazards. You must plug the machine directly into a dedicated 20-amp wall receptacle.Step-by-Step Mechanical Setup: Mounting and Belt Tensioning
Once the electrical environment is secured, proceed to the physical motor and deck installation. Proper alignment here prevents the motor from overworking to compensate for mechanical friction.
- Motor Mount Alignment: When bolting the motor to the chassis, use the provided M10 hex bolts. Do not fully tighten them until the drive belt (connecting the motor pulley to the front roller) is seated. Apply exactly 45 Nm of torque to the motor mount bolts to prevent chassis vibration.
- Drive Belt Tension: The motor-to-roller belt should have roughly 1/4 inch of lateral play. If it is too tight, it will destroy the motor's front bearing within 50 hours of use. If too loose, it will slip during high-speed intervals.
- Running Belt Calibration: Power on the machine at 2.0 MPH. Use a 3/16" Allen wrench to adjust the rear roller bolts. Turn both the left and right bolts exactly one-quarter turn clockwise. The running belt should lift exactly 2 to 3 inches off the deck when pinched in the dead center. This specific clearance ensures the motor isn't fighting excessive deck friction.
The Ultimate Post-Setup Validation: 100 Meters on a Treadmill
Most setup guides end at belt tensioning, but a true installation walkthrough requires dynamic load testing. To verify that your motor controller, drive belt, and running belt are perfectly synchronized, we utilize a highly specific benchmark: running exactly 100 meters on a treadmill at maximum sprint speed. This distance is long enough to push the motor past the initial capacitor startup surge into a continuous thermal load, but short enough to prevent mechanical damage if a micro-misalignment exists.
The Math Behind the 100-Meter Sprint Test
To execute this test accurately, you need to understand the physics of your treadmill's speed settings. Set your treadmill console to 10.0 MPH (or 16.0 KPH if using metric).
- 10.0 MPH equates to 16,093.4 meters per hour.
- Divided by 60, that is 268.22 meters per minute.
- Divided by 60 again, the belt is traveling at 4.47 meters per second.
- Therefore, covering exactly 100 meters at 10.0 MPH takes precisely 22.37 seconds.
Executing the Test
Straddle the deck (feet on the side rails), start the belt, and allow it to reach a stable 10.0 MPH. Jump onto the belt and simultaneously start a digital stopwatch. Run for exactly 22.4 seconds, then step back onto the rails. During those 22.4 seconds, you are performing a forensic analysis of your setup.
What to feel for during the 100 meters on a treadmill test: Pay close attention to the footfall feedback. If you feel a rhythmic 'micro-stutter' or hesitation every 2-3 steps, your running belt is overtightened, causing the motor to lug. If the belt slips precisely when your foot strikes the deck, your rear roller tension is inadequate, or the motor drive belt is loose.
Troubleshooting Common Post-Installation Motor Faults
If your 100-meter test results in a console error code or abnormal noise, refer to these specific failure modes before contacting the manufacturer. Opening the motor hood and checking these three components resolves 80% of post-setup issues.
Error E1: Speed Sensor Misalignment
The E1 code indicates the console is not receiving RPM data from the motor. Locate the optical or magnetic reed switch mounted near the motor's flywheel. The sensor must be exactly 3 to 5 millimeters away from the magnet on the pulley. If the vibration of your 100-meter test shook the sensor bracket loose, recalibrate the gap and secure it with a drop of blue Loctite.
Error E2: Motor Overcurrent / Thermal Limit
An E2 code during or immediately after your 100-meter sprint indicates the motor is drawing too much amperage. This is rarely a dead motor; it is almost always a friction issue.
- Check Deck Lubrication: Lift the belt and verify the silicone wax layer. A dry deck can increase amp draw by up to 40%.
- Check Voltage Drop: Use a multimeter at the wall receptacle while the treadmill is running at 8 MPH. If the voltage drops below 110V (on a standard 120V US line), your dedicated circuit is undersized or the wiring gauge in your walls is insufficient for the distance from the breaker box.
By treating your treadmill setup as a precision engineering task rather than simple furniture assembly, you guarantee that the machine will handle years of high-intensity interval training. Validating your installation with the 100-meter sprint test ensures that the motor, belt, and electrical supply are operating in perfect harmony from day one.
More gear to consider
All reviews
Is It OK to Walk on a Treadmill Barefoot? Home Stair Climber Guide

Space-Saving Layouts & An Exercise Routine For Treadmill Desks

TX400 Treadmill vs Elliptical: Expert Home Cardio Review

Treadmill Keeps Shocking Me? Air Bike vs Assault Bike Value Guide

Running Treadmill Barefoot: Curved vs Motorized Guide