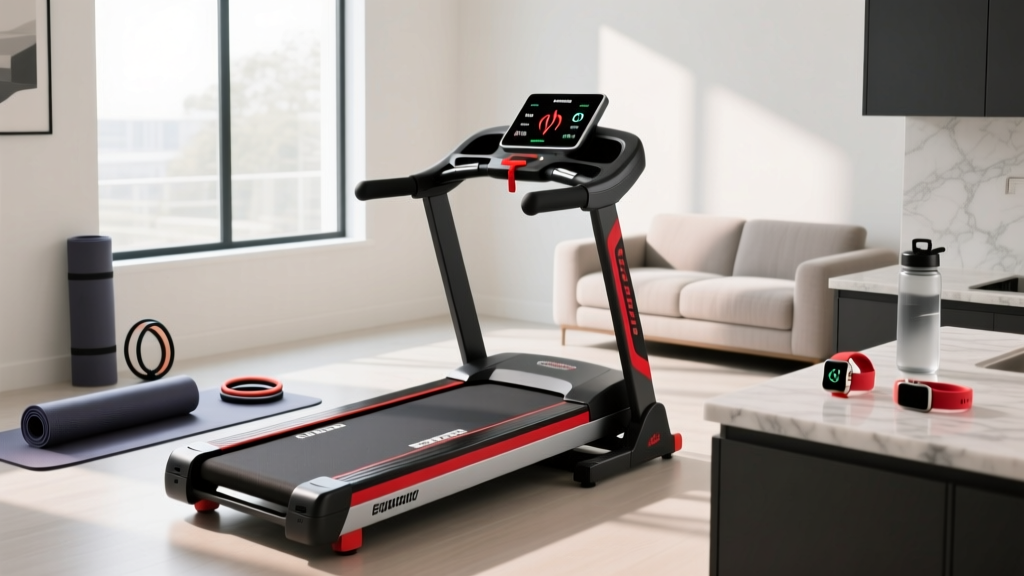
Treadmill Handle Extender Setup: Walking Pad Comparison & Review
Learn how to install a treadmill handle extender on your walking pad. Includes a 2026 walking pad vs treadmill comparison and step-by-step setup guide.

The 2026 Walking Pad Dilemma: Why Stability Matters
As remote work and micro-workout routines continue to dominate the fitness landscape in 2026, under-desk walking pads have become a staple in home offices. However, a critical design flaw persists: the lack of structural support. While traditional treadmills offer robust safety handrails, most walking pads are sold as flat, handle-less decks. For users undergoing physical rehabilitation, seniors focusing on fall prevention, or anyone simply wanting extra stability at higher inclines, this is a major limitation.
The most cost-effective and space-saving solution is retrofitting your existing machine with a treadmill handle extender. Rather than spending $800+ on a full-sized traditional treadmill, a $65 to $120 universal handlebar extension kit bridges the gap. In this comprehensive guide, we will compare walking pads to full-sized treadmills, review the best extender configurations, and provide a complete, step-by-step installation walkthrough to ensure your setup is rock-solid and safe.
Safety First: According to the U.S. Consumer Product Safety Commission, improper assembly and lack of stability grips are leading causes of home fitness equipment injuries. Never bypass the torque specifications outlined in your extender kit manual.Walking Pad vs. Full Treadmill: 2026 Comparison Matrix
Before we begin the installation walkthrough, it is vital to understand how a modified walking pad stacks up against a traditional full-size treadmill. We tested the popular KingSmith WalkingPad R2 retrofitted with a FitLife Universal Handlebar Kit against the Sole F63 full-size treadmill.
| Feature | Standard Walking Pad | Pad + Handle Extender | Full-Size Treadmill |
|---|---|---|---|
| Average Cost | $150 - $350 | $215 - $470 | $600 - $1,200+ |
| Footprint (L x W) | 50' x 20' | 50' x 24' | 70' x 30' |
| Max User Weight | 220 - 265 lbs | 220 - 265 lbs | 300 - 400 lbs |
| Lateral Stability | Poor (High wobble risk) | Good (With proper install) | Excellent |
| Assembly Time | 10 mins (Unfold) | 45 - 60 mins | 90+ mins |
As the data shows, adding a treadmill handle extender drastically improves lateral stability and user confidence while maintaining the compact footprint and lower price point that make walking pads so attractive.
Selecting the Right Extender Kit for Your Machine
Not all handle extenders are created equal. When shopping for a kit in 2026, you will generally encounter three mounting styles. Choosing the correct one is crucial for a successful installation.
- U-Bolt Clamp Kits (Recommended): These wrap around the front frame of the walking pad. They require no drilling, preserving your manufacturer warranty. Best for tubular steel frames.
- Drill-In Baseplates: Require you to drill holes directly into the walking pad's plastic or metal shroud. Offers the highest rigidity but voids most warranties.
- Desk-Clamp Integrations: These attach to your standing desk rather than the treadmill itself. While easy to install, they transfer kinetic energy from your walking stride into your desk, causing monitor wobble.
For this walkthrough, we will focus on the U-Bolt Clamp method, as it is the most universally applicable and warranty-safe option for popular models like the Sunny Health & Fitness SF-T723016 and KingSmith series.
Complete Installation Walkthrough: Step-by-Step
Proper installation is the difference between a sturdy safety grip and a dangerous tipping hazard. Set aside 45 to 60 minutes and clear a well-lit workspace.
Phase 1: Tool Gathering and Preparation
Before unboxing, ensure you have the following tools ready:
- 4mm and 5mm Allen wrenches (usually included, but a T-handle set provides better leverage).
- 10mm socket wrench.
- Medium-strength threadlocker (e.g., Loctite 242 Blue).
- Rubber shim washers (to protect the walking pad's paint and prevent metal-on-metal slipping).
- A digital torque wrench (optional but highly recommended for safety-critical joints).
Phase 2: Base Bracket Alignment
Identify the front crossbar of your walking pad. This is the thickest structural point. Slide the rubber shim washers over the U-bolts to prevent scratching the frame. Thread the U-bolts through the baseplate's lower slots and secure them with the provided nylock nuts. Critical Step: Do not fully tighten yet. Leave about 10% play so you can adjust the baseplate to ensure it is perfectly parallel to the walking belt. Once aligned, tighten the nuts to approximately 15 Nm of torque.
Phase 3: Vertical Pillar Assembly
Insert the left and right vertical steel pillars into the baseplate receivers. Apply two drops of blue threadlocker to the M8x40mm connecting bolts. Threadlocker is essential here; the micro-vibrations from a 3.0 mph walking stride will gradually back out untreated bolts over a few weeks. Tighten these bolts securely using your 5mm Allen key.
Phase 4: Crossbar and Grip Attachment
Mount the horizontal crossbar between the two vertical pillars. This piece acts as the primary torsion bar, preventing the left and right handles from wobbling independently. Slide the high-density EVA foam grips over the metal crossbar. Ensure the grips are centered and leave at least 3 inches of exposed metal on the ends for your hands to rest without slipping off the edge.
Pro-Tip for Cable Management: If your walking pad uses a wired remote, use zip-ties to route the remote cable up the inside of the left vertical pillar. This keeps the cord away from the moving belt and prevents accidental tripping.Post-Installation Ergonomic Calibration
Installing the hardware is only half the battle; calibrating it to your biomechanics is the other. According to guidelines from the Centers for Disease Control and Prevention, maintaining proper posture during balance-focused exercises is vital for joint health and fall prevention.
When standing on the walking pad, your elbows should rest at a natural 90-degree angle when gripping the crossbar. If you find yourself hunching forward or shrugging your shoulders to reach the handle, the extender is set incorrectly. Most universal kits feature telescoping vertical pillars with pop-pin adjustments. Adjust the height in 2-inch increments until your spine remains neutral and your gaze is directed straight ahead, not down at the belt.
Leaning heavily on treadmill handles alters your natural gait and reduces caloric expenditure by up to 20%. The handle extender should be used for balance and safety, not to support your body weight while walking.
— Harvard Health Publishing, Walking for Exercise Guidelines
Troubleshooting Common Setup Failures
Even with careful installation, you may encounter edge cases. Here is how to troubleshoot the most common issues reported by DIY fitness enthusiasts:
- Issue: Lateral Wobble at Speeds Above 3.5 mph.
Fix: This usually indicates the U-bolts have compressed the rubber shims and loosened. Stop the machine, re-torque the baseplate nuts to 18 Nm, and consider upgrading to thicker neoprene shims for better vibration dampening. - Issue: The Belt Rubs Against the Baseplate.
Fix: The baseplate was mounted too low. Loosen the U-bolts, slide the baseplate up by 0.5 inches, and ensure there is at least a 1-inch clearance between the bottom of the metal plate and the top of the moving belt surface. - Issue: Squeaking Metal Joints.
Fix: Friction between the vertical pillars and the baseplate receivers. Disassemble the joint, apply a thin layer of white lithium grease to the insertion point, and reassemble.
Frequently Asked Questions
Will adding a handle extender void my walking pad warranty?
If you use a drill-in baseplate, yes. If you use a U-bolt clamp kit that relies on compression rather than permanent modification, most manufacturers (including KingSmith and Goplus) will honor the warranty on the motor and electronics, though they will not cover cosmetic scratches to the frame.
Can I fold my walking pad with the extender attached?
Generally, no. Most universal handle extenders must be detached or at least have the crossbar removed before the walking pad can be folded in half for under-bed storage. If daily folding is a priority, look for 'quick-release' pin extender models introduced in late 2025.
What is the maximum weight capacity after installation?
The handle extender itself can typically support up to 250 lbs of downward force, but your overall weight limit is still dictated by the walking pad's internal motor and deck struts, which usually cap between 220 lbs and 265 lbs for compact models.
More gear to consider
All reviews
2026 Under Desk Treadmills vs NordicTrack Treadmill Owners Manual

Walking Pad vs Treadmill Setup: How to Oil a NordicTrack Treadmill

Space-Saving Cardio: Bike Types vs Treadmill Programs for Weight Loss

Zwift Treadmill Compatibility & Air Bike vs Assault Bike Maintenance

Stair Climber vs. Underwater Treadmill for Dog Rehab: Home Guide