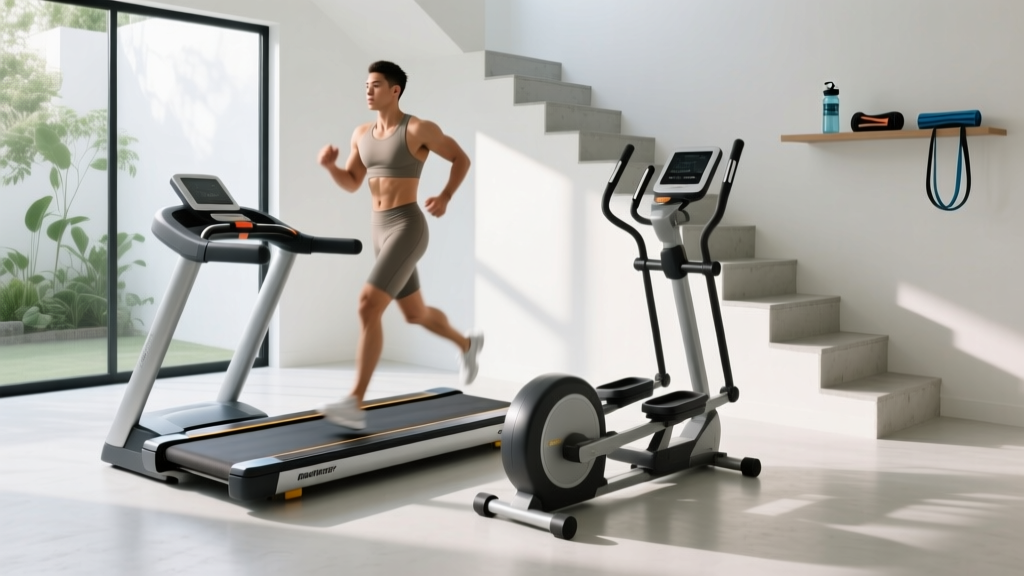
Stair Climber vs Swimmer's Treadmill: Beginner Home Guide
Compare the swimmer's treadmill to home stair climbers. Follow our beginner step-by-step guide to setup, posture, and a 4-week climbing protocol.

The Appeal: Swimmer's Treadmill vs. Home Stair Climber
When researching low-impact, high-resistance cardio equipment, you will inevitably encounter the swimmer's treadmill (often integrated into aquatic therapy pools or high-end swim spas). These aquatic systems provide phenomenal zero-gravity resistance and are staples in elite sports rehab. However, as of 2026, a residential swim spa with an integrated aquatic treadmill costs between $25,000 and $45,000, requires specialized 220V plumbing, and demands a reinforced concrete pad.
For 99% of home gym beginners, a stair climber machine offers a remarkably similar cardiovascular and lower-body muscular stimulus at a fraction of the cost and spatial footprint. While the swimmer's treadmill relies on water drag, the stair climber utilizes gravity and magnetic friction to elevate your heart rate while minimizing the joint-pounding impact of traditional running.
Cost & Space Comparison Matrix
| Feature | Swimmer's Treadmill (Aquatic Spa) | Vertical Stair Climber (e.g., Bowflex Max M9) | Mini-Stepper (e.g., Sunny Health SF-S902308) |
|---|---|---|---|
| Average 2026 Cost | $28,000 - $45,000+ | $1,500 - $2,200 | $120 - $350 |
| Footprint | ~150 sq. ft. (plus utility space) | ~12 sq. ft. | ~3 sq. ft. |
| Joint Impact | Near Zero (Buoyant) | Low (Closed kinetic chain) | Low to Moderate |
| Installation | Crane, concrete pad, 220V, plumbing | Standard 120V outlet, 2-person assembly | None (Plug and play) |
If you are a beginner looking to build cardiovascular endurance and glute strength at home without the logistical nightmare of an aquatic system, the stair climber is your ideal choice. Below is your step-by-step guide to setting up, mastering, and programming your home stair climber.
Step 1: Spatial Planning and Floor Preparation
The most common point of failure for home stair climber owners is improper spatial planning. Unlike a stationary bike, stair climbers involve significant vertical displacement.
The Ceiling Clearance Trap
Beginners often measure the machine's height and assume it will fit in a room with standard 8-foot (96-inch) ceilings. This is a critical error. When you step up, your body rises, and your head naturally bobs. The Formula for Safe Clearance:
- Your Height (in inches)
- Plus: Machine's Maximum Step-Up Height (usually 14 to 18 inches)
- Plus: 6 inches for head-bob and arm extension
- Equals: Minimum Ceiling Height
Example: A 6-foot tall user (72 inches) on a machine with a 16-inch step-up requires a minimum ceiling height of 94 inches (7 feet 10 inches). If you have standard 8-foot ceilings, you must opt for a low-profile mini-stepper or a pedal-based elliptical climber rather than a traditional vertical stairmill.
Flooring and Vibration Dampening
Stair climbers generate repetitive downward pound-force. Do not place these machines directly on hardwood or carpet. Purchase a 3/8-inch thick vulcanized rubber horse stall mat (typically $40-$60 at agricultural supply stores). This protects your subfloor, prevents the machine's leveling feet from creeping during high-RPM intervals, and dampens acoustic transfer to rooms below.
Step 2: Biomechanics and Posture Setup
Using a stair climber incorrectly will not only rob you of caloric burn but can also lead to lumbar strain and knee hyperextension. According to the American Council on Exercise (ACE), improper form on vertical cardio equipment is a leading cause of early workout abandonment due to localized lower-back fatigue.
The 'Handrail Lean' Penalty: Draping your upper body weight over the handrails reduces your lower-body load and decreases caloric expenditure by up to 30%. Your hands should rest lightly on the rails solely for balance, not for suspension.
Proper Foot Placement
- Flat Foot vs. Toe-Only: Avoid stepping only on the balls of your feet. This overworks the calves and places undue stress on the Achilles tendon. Aim to land with a flat foot, driving through the heel to engage the gluteus maximus and hamstrings.
- Knee Tracking: Ensure your knees track directly over your second toe. Do not let your knees cave inward (valgus collapse) as you press down on the pedal.
- Core Bracing: Maintain a neutral spine. Imagine a string pulling the crown of your head toward the ceiling. Engage your transversus abdominis as if preparing for a light punch to the stomach.
Step 3: Your First 30 Days (Couch-to-Climber Protocol)
Stair climbing is metabolically demanding. The American Heart Association recommends 150 minutes of moderate-intensity aerobic activity per week, but beginners should not attempt to achieve this entirely on a stair climber in week one. The eccentric loading on your quadriceps will cause severe delayed onset muscle soreness (DOMS) if rushed.
The 4-Week Beginner Progression
Week 1: Acclimation (3 Days/Week)
- 5-minute dynamic warm-up off the machine (leg swings, bodyweight squats).
- 10 minutes on the climber at a slow, conversational pace (approx. 40-50 steps per minute).
- Focus entirely on the heel-drive and upright posture mentioned in Step 2.
Week 2: Endurance Building (3 Days/Week)
- Increase duration to 15 minutes continuous climbing.
- Introduce 'Rest-Pause': Climb for 4 minutes, step off and stand on the side rails for 1 minute, repeat 3 times.
Week 3: Introduction to Resistance (4 Days/Week)
- 20 minutes total time. Keep the RPM steady, but increase the magnetic resistance level by 2-3 notches. You should feel a distinct 'push' required to depress the pedal.
Week 4: Interval Integration (4 Days/Week)
- 5-minute warm-up at low resistance.
- Interval Blocks: 1 minute at high RPM / high resistance, followed by 2 minutes at low RPM / low resistance. Repeat 4 times.
- 5-minute cool-down.
Step 4: Maintenance and Edge Cases
Home stair climbers, particularly magnetic resistance models in the $300–$800 range, require basic upkeep to prevent failure modes that mimic those of commercial gym equipment.
Common Failure Mode: Drive Belt Slippage
If you experience a 'skipping' sensation when pressing down heavily on the pedal, the internal poly-V drive belt may be losing tension. On machines like the Sunny Health & Fitness stepper series, this usually occurs around the 6-month mark of heavy use. Consult your manual for the tensioner bolt located near the bottom flywheel housing. A simple quarter-turn with a standard 14mm socket wrench usually resolves the issue.
Sweat Corrosion on Side Rails
Because stair climbers induce heavy sweating, the side handrails are prone to rust if the powder coating is compromised. Wipe down the rails with a damp microfiber cloth and a mild, non-bleach antibacterial spray after every session. Avoid harsh chemical cleaners that strip the protective clear coat.
Frequently Asked Questions
Is a stair climber better than a swimmer's treadmill for weight loss?
For pure caloric expenditure per minute, a vigorous stair climbing session can burn between 8 to 11 calories per minute, which is comparable to aquatic treadmill running. However, the swimmer's treadmill allows for longer, sustained sessions due to the cooling effect of the water and zero joint impact, which may result in higher total weekly caloric burn for individuals with severe joint limitations.
Will stair climbing make my legs bulky?
No. Stair climbing is primarily an aerobic and muscular endurance exercise. While it will tone and strengthen your quadriceps, hamstrings, and glutes, it lacks the progressive overload and heavy resistance required to induce significant muscle hypertrophy (bulk). As noted by Mayo Clinic fitness guidelines, aerobic exercises improve cardiovascular efficiency and muscle endurance rather than sheer muscle size.
Can I use a stair climber if I have bad knees?
Stair climbers are a 'closed kinetic chain' exercise, meaning your foot stays in contact with the pedal, eliminating the striking impact of running. However, if you suffer from patellofemoral pain syndrome or severe osteoarthritis, the deep knee flexion under load might cause discomfort. In such cases, the buoyancy of a swimmer's treadmill or the horizontal glide of a recumbent elliptical is a safer starting point. Always consult a physical therapist before beginning a new vertical loading regimen.
More gear to consider
All reviews
Curved vs Motorized: Which Marathon Treadmill Fits Your Training?

Beyond NordicTrack Treadmill Deals: Spin & Recumbent Bike Care
Setup Guide: 200 Meters on Treadmill Test & Noise Levels

What Is the Curved Treadmill Called? Compact Portable Cardio Picks
Air Bike vs Assault Bike vs Treadmill That Moves When You Run
