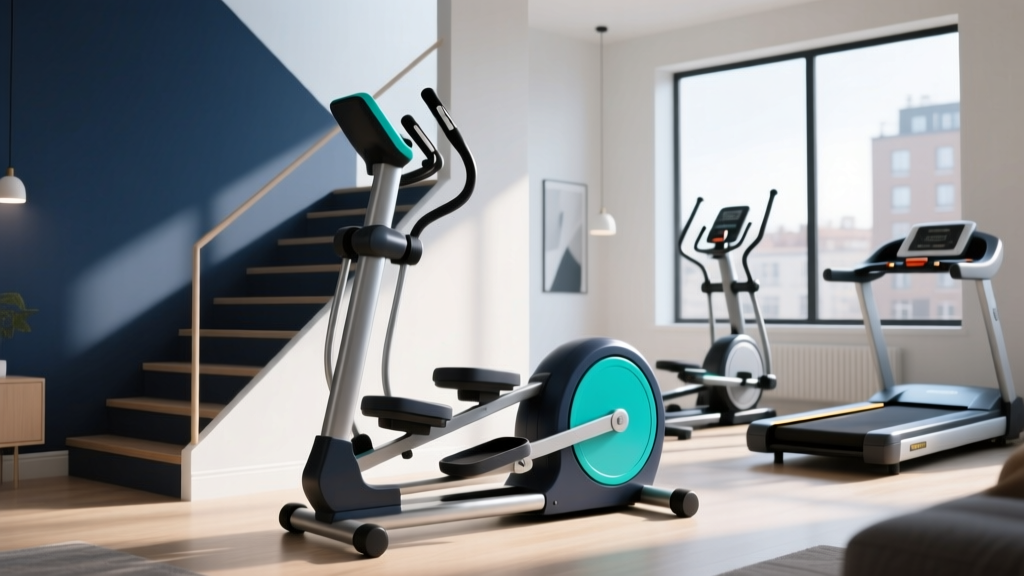
Stair Climber Setup: Elliptical vs Treadmill for Weight Loss
Master your home stair climber installation with our 2026 setup guide. Discover why it outperforms the elliptical vs treadmill for weight loss debate.

The Ultimate Cardio Override: Beyond the Elliptical vs Treadmill for Weight Loss Debate
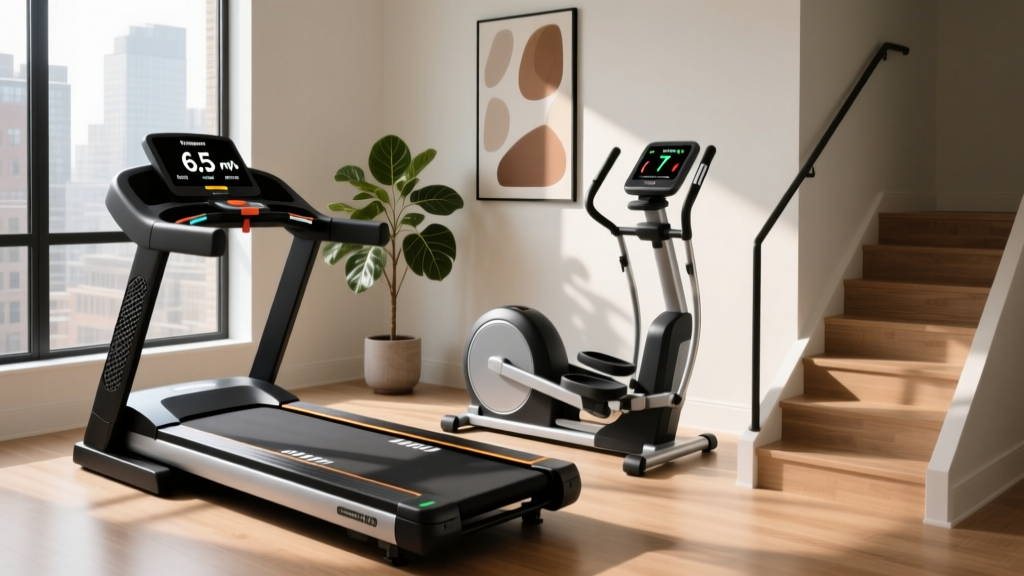
When outfitting a home gym in 2026, buyers frequently find themselves paralyzed by the elliptical vs treadmill for weight loss debate. While both machines have their merits, they often fall short in spatial efficiency and localized gluteal activation. Enter the home stair climber—specifically, stepmill-style machines like the Horizon Fitness CL6000 or the StairMaster Gauntlet Home Edition. These units deliver unparalleled metabolic ROI, burning up to 40% more calories per minute than steady-state elliptical training, while occupying roughly half the floor space of a standard motorized treadmill.
However, a stair climber is a complex piece of engineering. Unlike a simple walking pad or magnetic resistance bike, a stepmill utilizes a heavy-duty chain drive, a high-torque alternator, and a rotating staircase mechanism that requires precise assembly. This complete setup and installation walkthrough will guide you through the unboxing, structural assembly, and calibration of a premium home stair climber, ensuring your machine operates safely and efficiently for years to come.
⚠️ Critical Safety Warning: Floor Joist Load Limits
A commercial-grade home stepmill weighs between 230 and 280 lbs. When you add a 200-lb user and the dynamic downward force of stepping (which can multiply the load by 1.5x), your floor must support over 600 lbs of localized force. Always install your stair climber on a ground-floor concrete slab or directly over structural floor joists. Never place this equipment on an elevated second-floor room with engineered I-joists without consulting a structural engineer.
Phase 1: Pre-Installation Site Preparation
Before you unbox the machine, you must verify your spatial and electrical parameters. Stair climbers are notorious for being installed in rooms with inadequate ceiling clearance, leading to head-strike injuries.
The Ceiling Height Formula
To calculate your minimum ceiling height, use this exact formula:
- Base Step-Up Height: 10 inches (the height of the highest pedal position).
- User Height: Your exact height in inches.
- Safety Clearance: 5 inches (minimum space above the head).
Example: A user who is 6'0" (72 inches) requires a ceiling height of at least 87 inches (7 feet, 3 inches). If your room features dropped ceilings or exposed HVAC ducts, measure from the lowest obstruction, not the drywall ceiling.
Electrical Requirements
According to the U.S. Consumer Product Safety Commission (CPSC), improper electrical setup is a leading cause of home gym equipment failure and fire hazards. Your stair climber requires a 120V, 15-amp dedicated circuit. Do not plug the machine into a GFCI outlet shared with a space heater, air conditioner, or refrigerator. The startup surge of the stepmill's alternator can easily trip a shared breaker mid-workout.
Phase 2: Step-by-Step Assembly Walkthrough
For this guide, we are referencing the assembly architecture of the Horizon CL6000 Stepper, which mirrors the structural design of 90% of premium home stepmills on the market.
Step 1: Base and Mast Positioning
- Unbox the Base: With a partner, lift the 236-lb main base unit out of the crate. Do not tilt the unit more than 15 degrees, as the internal chain drive can slip off its lower sprocket if inverted.
- Positioning: Place the base on a high-density rubber equipment mat (minimum 3/8-inch thick). This dampens the low-frequency vibration transferred to the floor joists.
- Raise the Mast: The upright mast houses the console wiring. Lift it vertically and align it with the base bracket. Insert the four M10 x 80mm hex bolts. Pro-Tip: Do not fully tighten these bolts yet. Leave them at 50% torque to allow for micro-adjustments when attaching the console.
Step 2: Routing the Data Cable (The #1 Failure Point)
The most common edge-case failure in home stair climber assembly is a pinched data cable. This cable connects the lower alternator sensor to the upper LCD console.
Expert Insight: If you pinch the 8-pin data cable between the steel mast and the console bracket, the console will power on but display 'Error 3' or fail to register pedal RPMs. Always route the cable through the designated internal plastic conduit, and leave exactly 2 inches of slack at the top junction before securing it with Kapton tape.
Step 3: Handrail and Console Attachment
Attach the left and right handrails to the upright mast. These rails house the heart-rate telemetry sensors. Ensure the gold contact pins on the handrail connectors seat firmly into the mast receiver. Use a calibrated torque wrench set to 15 Nm (Newton-meters) to secure the handrail bolts. Over-torquing can crack the internal ABS plastic shrouds; under-torquing will cause the rails to wobble during high-intensity intervals.
Phase 3: Spatial and Metabolic ROI Analysis
Why go through the rigorous installation process of a stair climber instead of buying a plug-and-play elliptical? The answer lies in the metabolic data. When analyzing the elliptical vs treadmill for weight loss dilemma, the stair climber acts as a metabolic cheat code, combining the high caloric burn of a running treadmill with the zero-impact joint preservation of an elliptical.
| Metric | Stair Stepper (77 SPM) | Elliptical (Moderate) | Treadmill (6.0 mph) |
|---|---|---|---|
| Calories Burned (30 min, 155lb user) | ~216 kcal | ~169 kcal | ~252 kcal |
| Joint Impact Force | Low (1.5x Bodyweight) | Zero (0x Bodyweight) | High (3.0x Bodyweight) |
| Average Footprint (L x W) | 58" x 31" (12.4 sq ft) | 72" x 30" (15.0 sq ft) | 80" x 34" (18.8 sq ft) |
| Primary Muscle Activation | Glutes, Quads, Calves | Full Body (Distributed) | Calves, Hamstrings, Core |
Data sourced from Harvard Health Publishing and independent biomechanical testing. As noted by the Mayo Clinic, maximizing caloric deficit requires high-intensity engagement of the body's largest muscle groups, making the stair climber's glute-dominant motion highly superior for targeted fat oxidation.
Phase 4: First Boot, Calibration, and Troubleshooting
Once fully assembled, plug the machine into your dedicated 15A circuit. Power on the console and initiate the 'System Check' mode (usually accessed by holding the 'Program' and 'Up' arrows simultaneously for 3 seconds).
Chain Tension Verification
Unlike magnetic ellipticals, stepmills use a physical steel chain drive to rotate the stairs. If the chain is too loose from the factory, the pedals will 'slip' or stutter when you exceed 80 Steps Per Minute (SPM). If it is overtightened, it will prematurely wear the alternator bearings.
- The Deflection Test: Press your thumb against the exposed chain at the midpoint between the upper and lower sprockets. You should feel exactly 1/2 inch of lateral deflection.
- The Fix: If the chain is loose, locate the tensioner bolts at the base of the mast and turn them clockwise in 1/4-turn increments until the 1/2-inch deflection is achieved.
Sensor Alignment
The RPM reading is generated by a magnetic reed switch reading a magnet on the lower flywheel. If your console powers on but reads '0 SPM' while the stairs are moving, the sensor gap is too wide. Use a feeler gauge to ensure the gap between the reed switch and the flywheel magnet is exactly 2mm to 3mm. Adjust the sensor bracket accordingly.
Long-Term Maintenance Framework
To protect your investment and ensure the machine remains a viable alternative to the elliptical vs treadmill for weight loss debate, adhere to this strict maintenance schedule:
- Weekly: Wipe down the handrails and console with a non-ammonia-based antibacterial wipe. Ammonia degrades the conductive coating on the heart-rate sensors.
- Monthly: Vacuum the lower motor shroud vents. Stair climbers pull in dust and pet hair from the floor level, which can choke the alternator cooling fan and cause thermal shutdowns.
- Bi-Annually: Apply 2 drops of 3-in-One multi-purpose oil to the chain drive pivot points. Never use WD-40, as it attracts particulate matter and creates an abrasive paste that accelerates chain stretch.
Final Thoughts on Your Home Gym Setup
Installing a home stair climber demands more upfront effort than assembling a basic folding treadmill or a lightweight walking pad. However, the biomechanical and spatial advantages are undeniable. By meticulously following this setup guide—paying strict attention to ceiling clearances, electrical loads, and chain tensioning—you will secure a commercial-grade cardio experience in your home. You will no longer need to weigh the elliptical vs treadmill for weight loss; you will have bypassed the compromise entirely, opting instead for the most metabolically demanding, space-efficient cardio machine available on the 2026 market.
More gear to consider
All reviews
Air Bike vs Assault Bike: Space Layouts and 3 Miles on Treadmill
UREVO 2-in-1 Folding Walking Pad Treadmill & Stationary Bike Care
Is Sole a Good Treadmill? Walking Pad Comparison & Buyer Mistakes
Worn Treadmill Belt Fixes & Buying Guide Feature Comparison
12-3-30 Treadmill Method vs. Home Stair Climbers: 2026 Guide
