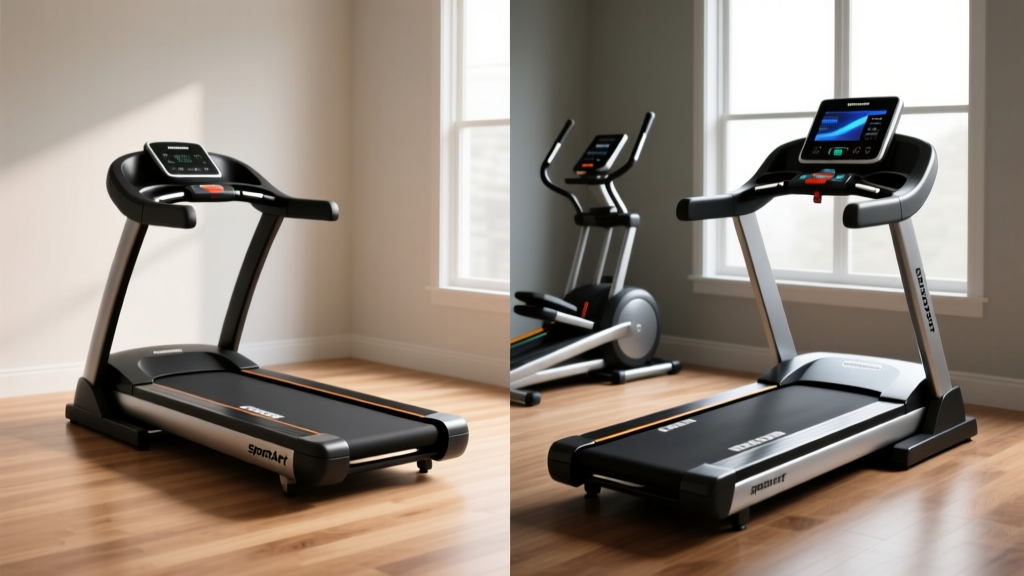
SportsArt Fitness Treadmill Setup: Curved vs Motorized
Master your SportsArt fitness treadmill installation. Compare setup steps, space needs, and calibration for curved manual vs motorized models.

The 2026 Installation Standard: Curved vs. Motorized Treadmills
When outfitting a commercial facility or high-end home gym, the installation of your cardio equipment dictates its lifespan, safety, and performance. The SportsArt fitness treadmill lineup represents two distinct engineering philosophies: the heavy-duty motorized series (like the 6300 and 8300 models) and the biomechanically driven curved manual treadmills. While both demand precision during setup, their installation workflows, spatial requirements, and calibration protocols diverge significantly.
This comprehensive walkthrough provides facility managers and home gym owners with the exact technical specifications, tool requirements, and edge-case troubleshooting needed to properly install and calibrate both platforms.
⚠️ Safety & Compliance Notice: All motorized treadmill installations must adhere to ASTM International safety standards, specifically ASTM F2278, which mandates minimum rear-clearance zones to prevent severe injury in the event of a user fall. Always consult local commercial building codes for electrical requirements.Phase 1: Pre-Installation Site Assessment
Before unboxing, you must verify that the deployment zone meets the structural and electrical prerequisites for your specific model. A failure here is the leading cause of premature motor burnout and belt drift.
Motorized (SportsArt 6300 Series) Requirements
- Electrical: Requires a dedicated 20-amp, 120V circuit. Sharing this circuit with HVAC or other heavy draw equipment will cause voltage drops, triggering E01 (Over Current) or E02 (Under Voltage) error codes on the console.
- Footprint & Clearance: Machine dimensions are 84" L x 36" W. You must leave a minimum of 78 inches of unobstructed clearance behind the treadmill, and 24 inches on both sides.
- Flooring: Must be level within 1/4 inch over a 10-foot span. Use a digital level to verify; an uneven floor will cause the 22-inch running belt to track laterally and fray the edges.
Curved Manual (SportsArt Non-Motorized) Requirements
- Electrical: Zero electrical requirements. The curved treadmill is entirely self-powered via the user's stride and an internal magnetic resistance generator.
- Footprint & Clearance: More compact at roughly 70" L x 33" W. Because the belt only moves when the user moves, the strict 78-inch rear drop-zone mandated for motorized units is not legally required, though 36 inches of clearance is recommended for safe mounting/dismounting.
- Flooring: Requires a high-density rubber mat (minimum 3/8" thick) beneath the unit to absorb the acute impact forces generated by the curved slat belt, which can be up to 15% higher than on a motorized deck.
Phase 2: Unboxing and Frame Assembly
Both units arrive partially assembled, but their weight distribution requires different handling strategies.
Assembling the Motorized Frame
The SportsArt 6300 weighs approximately 380 lbs. Do not attempt to lift the main chassis without a two-person team or a hydraulic equipment dolly.
- Position the main deck assembly on the floor. Attach the uprights using the provided 17mm flange bolts. Torque these to 45 ft-lbs using a calibrated torque wrench to prevent frame flex during heavy sprinting.
- Mount the console mast and route the internal telemetry cables. Ensure the blue data connector clicks firmly into the lower control board; a loose connection here results in a blank console despite the unit receiving power.
- Attach the handrail assembly and secure the heart rate contact grips.
Assembling the Curved Manual Frame
The curved model is lighter (approx. 280 lbs) but highly top-heavy due to the curved steel track and magnetic flywheel housing.
- Stand the main curved track assembly upright. Attach the front and rear stabilizer feet using 6mm Allen head bolts.
- Install the dual-side handrails. Unlike the motorized version, the curved handrails are angled specifically to encourage a forward-leaning sprint posture. Ensure the left and right rails are not swapped, as indicated by the laser-etched 'L' and 'R' markers on the mounting brackets.
- Attach the digital display console. Because there is no internal motor to draw power from, the console is powered by an internal lithium-ion battery that charges via the kinetic energy of the belt, supplemented by a standard USB-C charging port.
Phase 3: Belt Calibration and Tensioning
This is where the technical divergence between the two machines becomes most apparent. According to guidelines on equipment maintenance from the American College of Sports Medicine (ACSM), improper belt tension is the primary catalyst for joint discomfort and equipment failure.
Motorized Belt Tracking
The SportsArt 6300 uses a 22" x 60" continuous loop belt over a phenolic-coated deck.
- Tension Test: With the machine off, lift the belt in the center of the deck. It should raise exactly 2 to 3 inches. If it lifts higher, tighten both rear roller adjustment bolts clockwise by exactly one-quarter turn.
- Tracking Test: Power the unit on and set the speed to 3.0 MPH. Observe the belt for 60 seconds. If it drifts left, tighten the left rear bolt one-quarter turn and loosen the right by one-quarter turn. Never adjust tracking while the belt is moving faster than 4.0 MPH.
Curved Slat Belt Alignment
The curved treadmill utilizes a vulcanized rubber slat belt that glides over UHMWPE (Ultra-High-Molecular-Weight Polyethylene) guide rails. There is no motorized rear roller to adjust.
- Lubrication: Before the first run, apply a specialized PTFE (Teflon) dry spray lubricant to the UHMWPE guide rails. Never use silicone-based wet lubricants, as they attract dust and create a grinding paste that will destroy the slat bearings.
- Tension Verification: The slat belt tension is factory-calibrated via the internal magnetic resistance flywheel. If the belt feels 'sluggish' or requires excessive force to initiate movement, locate the magnetic brake calibration dial under the rear shroud and reduce the resting resistance by one notch.
Setup & Calibration Comparison Matrix
| Feature | SportsArt Motorized (6300) | SportsArt Curved Manual |
|---|---|---|
| Avg. Setup Time | 2.5 - 3 Hours (2 Techs) | 1.5 Hours (1-2 Techs) |
| Power Requirement | Dedicated 120V / 20-Amp | None (Self-Powered / USB-C) |
| Primary Tools Needed | 17mm Socket, Torque Wrench, Multimeter | 6mm Allen Key, PTFE Lubricant, Digital Level |
| Belt Maintenance | Silicone deck wax every 3,000 miles | PTFE rail spray every 1,500 miles |
| Estimated Retail Price | $6,500 - $8,200 | $5,000 - $6,500 |
Phase 4: First-Run Telemetry and FTMS Syncing
In 2026, commercial cardio equipment is expected to integrate seamlessly with wearable tech. Both SportsArt models feature Bluetooth FTMS (Fitness Machine Service) and ANT+ broadcasting.
💡 Expert Pairing Trick: To force the SportsArt console into FTMS pairing mode, press and hold the 'Incline Down' and 'Speed Down' buttons simultaneously for 5 seconds until the Bluetooth icon flashes rapidly. This bypasses the standard menu and connects directly to Apple Watch, Garmin, or Zwift-compatible devices.For the motorized unit, verify that the automatic incline calibration completes its full sweep (0% to 15%) during the first boot. If the incline stalls at 8%, the lift motor limit switch requires manual resetting via the dip switches on the lower control board. For the curved unit, perform a 2-minute walk at 3.0 MPH to allow the internal kinetic battery to reach a baseline charge, ensuring the console does not dim during high-intensity interval tracking.
Edge-Case Troubleshooting Guide
Even with meticulous installation, environmental factors can cause anomalies. Use this framework to diagnose post-installation issues:
Motorized Unit: 'E05' Incline Calibration Error
The Problem: The console displays E05 and the deck drops to 0% and freezes.
The Cause: The incline potentiometer has lost its zero-point reference, often caused by moving the treadmill while it was powered on.
The Fix: Turn off the main power switch. Press and hold the 'Start' button while flipping the power switch back on. The deck will perform a violent full-range sweep to recalibrate the optical sensor. Stand clear during this process.
Curved Unit: Lateral Slat Drift and Squeaking
The Problem: The slat belt slowly shifts to the right side of the track, accompanied by a high-pitched squeak.
The Cause: Uneven flooring causing asymmetric user strike patterns, combined with dry UHMWPE rails.
The Fix: First, shim the left rear stabilizer foot with a 2mm rubber washer to perfectly level the chassis. Second, remove the side track covers and apply a generous coat of PTFE dry lubricant to the guide channels. Manually rotate the belt by hand for 60 seconds to distribute the lubricant evenly.
Final Thoughts on Longevity
Whether you are deploying the heavy-duty motorized 6300 for a high-traffic commercial floor or installing the curved manual treadmill for elite athletic conditioning, the setup process is not merely about assembly—it is about environmental integration. By respecting the distinct electrical, spatial, and mechanical demands of each platform, you ensure that your SportsArt fitness treadmill delivers biomechanical precision and operational reliability for years to come. Always refer to the official SportsArt resource library for firmware updates and model-specific torque schematics.
More gear to consider
All reviews
WalkingPad C2 Treadmill Motor Guide: HP vs CHP Explained

Does a Treadmill Make You Lose Weight? Budget Folding Picks

Cardio Machine Noise Comparison: Glute Workout on Treadmill Fixes

WalkingPad A1 Pro Folding Treadmill: Small Space Budget Review

Echelon Stride Folding Treadmill vs Rowing Machine: 2026 Guide
