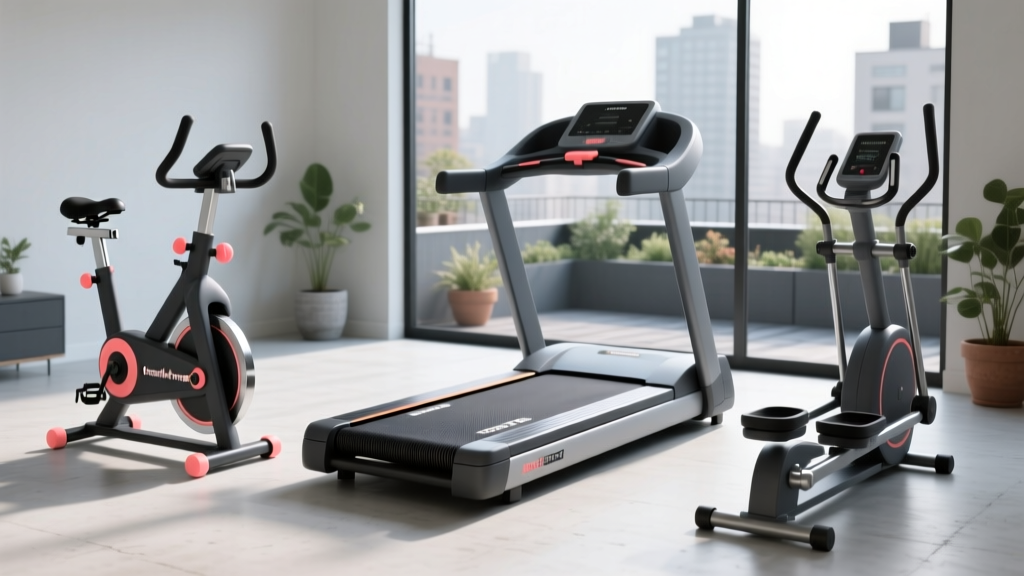
Spirit 185 Treadmill Setup & Motor Horsepower Guide
Master your Spirit 185 treadmill setup with our complete installation walkthrough, featuring a deep dive into motor horsepower and electrical requirements.

Why Motor Horsepower Dictates Your Installation Plan
When unboxing a new cardio machine, most users immediately focus on the console and the running belt. However, as a fitness equipment technician, I always start with the heaviest, most critical component: the motor. If you are preparing for a Spirit 185 treadmill setup (officially known in the Spirit Fitness lineup as the XT185), you are working with a 2.5 Continuous Horsepower (CHP) motor. Understanding the exact specifications of this motor size is not just an academic exercise; it fundamentally dictates your electrical preparation, physical assembly strategy, and long-term maintenance.
In this comprehensive setup and installation walkthrough, we will decode treadmill motor sizes, calculate the exact electrical draw of the Spirit 185, and walk through the physical assembly with a focus on protecting the drivetrain from day one. Whether you are upgrading your home gym in 2026 or replacing an aging unit, treating the motor as the focal point of your installation will prevent tripped breakers, voided warranties, and premature belt wear.
Decoding Motor Size: The Truth About CHP vs. Peak HP
Before you plug in your machine, you must understand the horsepower rating. The fitness industry is notorious for misleading marketing regarding motor size. You will often see terms like "Peak Horsepower" or "Treadmill Duty." Here is how to separate marketing fluff from engineering reality.
| Metric | Definition | Relevance to Setup |
|---|---|---|
| Peak HP | The maximum power the motor can produce for a fraction of a second before failing. | Irrelevant for installation. Purely a marketing metric. |
| Treadmill Duty | A loosely regulated term that generally implies a motor designed for walking, not sustained running. | Indicates lighter electrical requirements but poor durability for runners. |
| Continuous Duty (CHP) | The power the motor can sustain indefinitely during a standard workout without overheating. | Critical. This dictates your circuit breaker size and wiring gauge. |
The Spirit 185 treadmill features a 2.5 CHP motor. This means it can continuously output 2.5 horsepower while a user is actively running. For walkers, a 2.0 CHP motor is sufficient, but for runners weighing over 200 lbs, the 2.5 CHP threshold is the minimum recommendation to prevent the PWM (Pulse Width Modulation) motor controller from overheating.
Electrical Prep: Matching the Circuit to the Spirit 185 Treadmill Motor
This is where most home gym installations fail. A 2.5 CHP motor requires a specific electrical environment. Let us do the exact math for the Spirit 185 treadmill.
The Amperage Calculation
One mechanical horsepower equals exactly 746 watts. Therefore, a 2.5 CHP motor outputs roughly 1,865 watts of mechanical power. Factoring in motor efficiency (typically around 85% for residential DC treadmill motors), the electrical draw from your wall is closer to 2,194 watts.
- Formula: Watts / Volts = Amps
- Calculation: 2,194W / 120V (Standard US Outlet) = 18.28 Amps
According to guidelines aligned with the National Electrical Code (NEC) published by the NFPA, high-draw fitness equipment requires a dedicated circuit. For a 2.5 CHP motor like the one in the Spirit 185, you must install a dedicated 20-amp circuit with 12-gauge wiring. Do not use extension cords. If an extension cord is absolutely unavoidable during a temporary setup, it must be a heavy-duty, 12-gauge cord no longer than 10 feet, though this is strongly discouraged by manufacturers.
Step-by-Step Physical Assembly (Managing the Motor Weight)
The 2.5 CHP motor, combined with the Spirit 185's steel frame, makes the front deck exceptionally heavy. Improper lifting during setup can bend the uprights or damage the motor housing. Follow this exact sequence.
Step 1: Positioning and Unboxing
Do not assemble the treadmill in the center of the room and try to move it later. The Spirit 185 weighs approximately 165 lbs fully assembled. Move the boxed unit to its final destination, ensuring you have at least 24 inches of clearance on both sides and 78 inches behind the machine for safety, a standard recommended by the U.S. Consumer Product Safety Commission (CPSC) to prevent entrapment injuries.
Step 2: Securing the Uprights
The uprights house the wiring that connects the console to the motor controller in the front deck.
- Cut the zip ties securing the uprights to the base, but do not disconnect the wire harnesses.
- Have a second person lift the right upright while you guide the wire harness through the frame tube. Pinch hazards are severe here; keep fingers away from the bolt holes.
- Insert the M8 x 15mm carriage bolts. Hand-tighten them first to ensure the threads are not cross-threaded. Once all four bolts are seated, use the provided hex wrench to torque them down firmly.
- Repeat for the left upright, ensuring the console wire harness is securely clicked into place before tightening the final bolts.
Step 3: Console and Handrail Attachment
Mount the console using the M6 bolts. Connect the ground wire (usually green or bare copper) to the designated grounding screw on the console bracket. This prevents static buildup from the running belt from frying the motor controller's logic board.
Belt Alignment: Protecting Your 2.5 CHP Motor from Premature Failure
A misaligned or over-tightened belt creates excess friction. Friction forces the 2.5 CHP motor to draw more amperage to maintain speed, leading to thermal shutdowns and degraded windings. Checking belt tension is a mandatory part of the setup walkthrough.
The "Lift Test" Protocol
Stand on the side rails and power the machine on. Set the speed to 1.0 MPH. Walk to the back of the treadmill and attempt to lift the edge of the running belt.
- Optimal Tension: You should be able to lift the belt exactly 2 to 3 inches off the deck.
- Too Tight: If you can only lift it 1 inch or less, the motor is working up to 30% harder than necessary. Loosen both rear roller adjustment bolts by one-quarter turn counter-clockwise.
- Too Loose: If it lifts more than 4 inches, the belt will slip underfoot when you step on it, causing a dangerous stutter. Tighten both bolts one-quarter turn clockwise.
Pro-Tip: Never adjust just one side of the rear roller. Uneven adjustments will cause the belt to track left or right, eventually fraying the edges and exposing the motor deck to debris.
Lubrication Check
While the Spirit 185 typically ships with a pre-lubricated belt, environmental factors during shipping can dry the silicone. Lift the belt and feel the deck. If it feels dry to the touch, apply exactly 1 oz of 100% pure silicone treadmill lubricant in a zigzag pattern across the center of the deck. Run the treadmill at 2.0 MPH for 3 minutes to distribute the silicone evenly.
Calibration and First-Power Walkthrough
With the physical assembly complete and the electrical requirements verified, it is time to calibrate the motor controller to the console.
- Plug the treadmill directly into your dedicated 20-amp wall receptacle.
- Insert the magnetic safety key into the console.
- Enter the engineering menu (usually by holding the 'Incline Up' and 'Speed Down' buttons simultaneously for 5 seconds, though refer to your specific Spirit 185 manual for the exact key combination).
- Run the Auto-Calibration sequence. The treadmill will cycle through its speed range (0.5 to 10.0 MPH) and incline range (0% to 10%) without a user on the belt. This allows the motor controller to map the voltage output to the actual belt speed.
Load Testing the Motor
Step onto the belt. Set the speed to 5.0 MPH and the incline to 5%. Run for 10 minutes. Monitor the console for any flickering, and listen to the motor housing. A healthy 2.5 CHP motor produces a low, consistent hum. If you hear a high-pitched whining or a rhythmic clicking, power down immediately and re-check your belt tension and roller alignment.
Troubleshooting Matrix: Motor Symptoms vs. Setup Errors
Even with careful installation, issues can arise. Use this diagnostic matrix to identify setup errors before calling for a warranty replacement.
| Symptom | Probable Setup Error | Corrective Action |
|---|---|---|
| Breaker trips 5 minutes into a run. | Shared 15A circuit or belt over-tightened. | Move to dedicated 20A circuit; perform 2-3 inch lift test. |
| Console resets when foot strikes the belt. | Voltage drop due to thin extension cord. | Remove extension cord; plug directly into wall. |
| Belt stutters or hesitates at walking speeds. | Dry deck causing excessive friction load. | Apply 1 oz of 100% silicone lubricant under the belt. |
| Static shocks when touching the console. | Missing ground wire on console bracket. | Secure the green/copper ground wire to the chassis. |
By respecting the engineering behind the Spirit 185 treadmill's 2.5 CHP motor and adhering to strict electrical and mechanical setup protocols, you ensure a smooth, quiet, and durable running experience for years to come. Never compromise on circuit capacity or belt tension—your motor's lifespan depends on it.
More gear to consider
All reviews
The Patricia Tarka Treadmill Effect: 2026 Under-Desk Office Trends
Is a Treadmill Good for Losing Belly Fat? The Motor Horsepower Guide

Elliptical vs Treadmill: Sole F85 Treadmill Older Model Analysis

LifeSmart TM3000 PowerTouch Treadmill vs Air Bike: Assault Guide

XTERRA Fitness TRX3500 Treadmill Motor Size & Troubleshooting