
Single Leg Press Machine vs Sled: Beginner Leg Guide
Master lower body training with our beginner guide comparing the single leg press machine and sled push pull equipment for maximum gains.

The Biomechanics of Unilateral Leg Training
Building a resilient, powerful lower body requires more than just bilateral squats. In 2026, modern sports science heavily emphasizes unilateral training to correct imbalances, improve joint stability, and enhance athletic transfer. Two pieces of equipment dominate this space: the single leg press machine and sled push pull equipment. While one offers isolated, fixed-path hypertrophy, the other delivers raw, functional power. According to the ExRx Anatomy Directory, understanding the distinct hip and knee flexion demands of each tool is critical for beginners looking to avoid injury and maximize muscle recruitment.
Beginner Insight: Unilateral training forces the core and stabilizers to work overtime to prevent rotational forces. This guide will walk you step-by-step through mastering both the single leg press machine and sled work to build a complete leg day protocol.Mastering the Single Leg Press Machine
The single leg press machine is a staple in commercial and high-end home gyms. Unlike a standard bilateral leg press, it isolates one limb, eliminating the dominant leg's ability to compensate for the weaker one. Commercial selectorized models, like the Prime Fitness Single Leg Press (retailing around $3,800) or the Atlantis Dual Stack Leg Press (approximately $4,500), feature adjustable cams that match the natural strength curve of the quadriceps and glutes.
Step-by-Step Execution for Beginners
- Seat Setup: Adjust the seat so your hips are firmly pressed into the backrest. A reclined angle of roughly 45 degrees is standard for optimal lumbar support.
- Foot Placement: Place your foot dead-center on the platform. Moving your foot 2 inches higher shifts the bias to the glutes and hamstrings, while a lower placement targets the vastus lateralis (outer quad).
- The Eccentric Phase: Unrack the weight and lower the platform slowly for a 3-second count. Stop when your knee reaches 90 to 110 degrees of flexion. Do not allow your lower back to round (butt wink).
- The Concentric Phase: Drive through the mid-foot, extending the knee and hip simultaneously without locking out the knee joint at the top.
Sled Push and Pull: The Ultimate Functional Finisher
Sled push pull equipment bridges the gap between strength training and metabolic conditioning. Entry-level models like the EliteFTS Push/Pull Sled (around $225) or the heavy-duty Rogue Butcher V3 ($450 base price) are incredibly versatile. Sled training relies on ground reaction forces and friction coefficients rather than gravity, meaning there is zero eccentric muscle damage, resulting in minimal delayed onset muscle soreness (DOMS).
Push Mechanics: Triple Extension
The sled push mimics the acceleration phase of a sprint. The National Strength and Conditioning Association (NSCA) frequently highlights resisted sled pushes for improving horizontal force production.
- Posture: Maintain a rigid, 45-degree spinal angle from your head to your heels. Do not let your hips pike upward.
- Hand Position: Grip the high poles for a more upright torso (easier for beginners) or the low handles to force a deeper hip flexion angle.
- Leg Drive: Use a 'piston-like' stepping motion. Each step requires full triple extension (ankle, knee, and hip) before the next foot strikes the turf.
Pull Mechanics: Retro-Walking for Knee Health
Backward sled walking (retro-walking) has surged in popularity for bulletproofing the knees. It heavily targets the vastus medialis oblique (VMO), the teardrop-shaped quad muscle crucial for patellar tracking.
- Setup: Attach a pulling harness or tricep rope to the sled.
- Execution: Lean back slightly, bend the knees, and walk backward. Focus on fully extending the knee at the end of each backward step.
- Load: Keep it light. Aim for 50% to 75% of your body weight for continuous tension over 10-15 yards.
Head-to-Head Comparison Matrix
How do these two modalities stack up against each other for a beginner? Review the data table below to understand where each tool fits into your programming.
| Feature | Single Leg Press Machine | Sled Push/Pull Equipment |
|---|---|---|
| Primary Focus | Isolated Quad/Glute Hypertrophy | Full-Body Power & Conditioning |
| Joint Impact | Very Low (Fixed Path, No Axial Load) | Low (Concentric Only, High Friction) |
| Avg. Equipment Cost | $3,200 - $4,500 | $225 - $600 (plus weight plates) |
| Space Required | 4x6 ft footprint | 20-30 yard runway (turf required) |
| Learning Curve | Low (Highly Beginner Friendly) | Moderate (Requires postural coaching) |
The 2026 Beginner Hybrid Leg Day Protocol
You do not need to choose between these two tools. The most effective modern leg routines integrate the single leg press machine for targeted muscle damage and sled work for metabolic stress and athletic transfer. Here is a step-by-step beginner routine.
Phase 1: Joint Prep & Warm-Up (Sled)
Perform 5 minutes of backward sled walking (retro-walking). Load the sled with roughly 40% of your body weight. This pumps nutrient-rich blood into the patellar tendon and activates the VMO without causing fatigue.
Phase 2: Primary Hypertrophy (Single Leg Press)
Move to the single leg press machine. Perform 3 sets of 8-10 repetitions per leg. Leave 2 reps in reserve (RIR) on the first two sets, and push to technical failure on the final set. Rest exactly 90 seconds between legs to allow for ATP replenishment.
Phase 3: Metabolic Finisher (Sled Push)
Load the sled with 1.25x to 1.5x your body weight. Perform 4 rounds of 20-yard pushes. Focus on violent, explosive leg drives. Rest for 60 seconds between rounds. This will spike your heart rate and flood the lower body with lactate, triggering a massive growth hormone response.
Troubleshooting Common Edge Cases
'The sled is stuttering and jerking forward.' - This happens when you push on concrete or rubber flooring with standard UHMW plastic runners. Sled push pull equipment requires artificial turf to maintain a consistent friction coefficient. If turf is unavailable, reduce the weight by 30% and focus on walking steps rather than sprinting.
Another common issue on the single leg press machine is hip shift. If you notice your pelvis lifting off the seat on the working side, your hamstring flexibility or hip mobility is restricting your range of motion. Do not force depth. Limit the eccentric phase to a comfortable range and incorporate dedicated hip flexor stretches into your cool-down. For more on assessing weight room mobility standards, consult the ExRx Weight Room Testing guidelines.
By combining the isolated, controlled tension of the single leg press machine with the raw, ground-based force production of sled push pull equipment, beginners can build a foundation of leg strength that is both aesthetically impressive and functionally bulletproof.
More gear to consider
All reviews
Cable Leg Workouts vs Leg Press Machine Benefits: Maintenance Guide

How Much Does a Leg Press Machine Weigh Without Weights? Home Compare

Massage on a Budget: Evidence-Based, Affordable Relief Without Sacrificing Quality
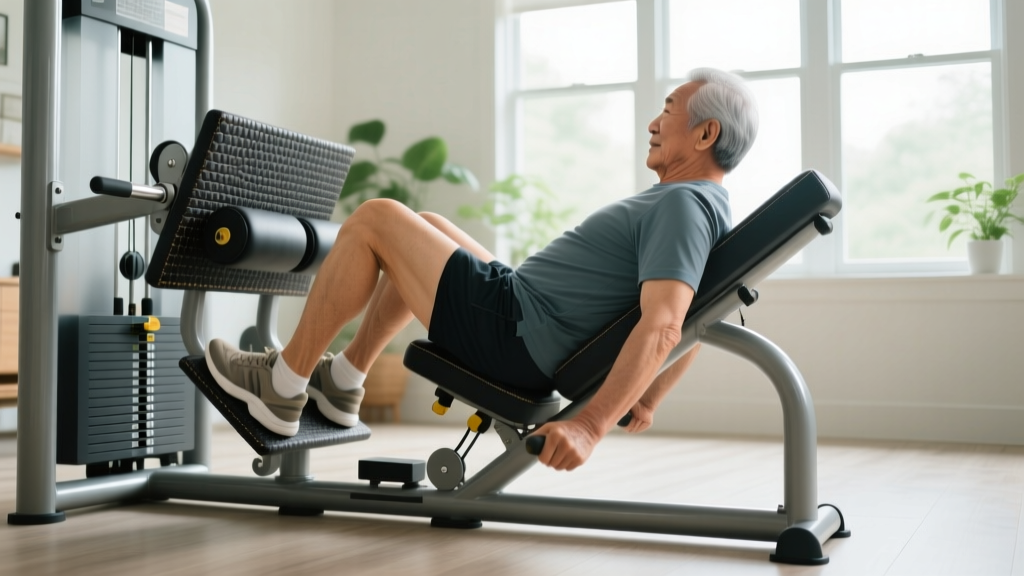
Hip Thrust Pads and the Leg Press Machine for Seniors: Budget Guide
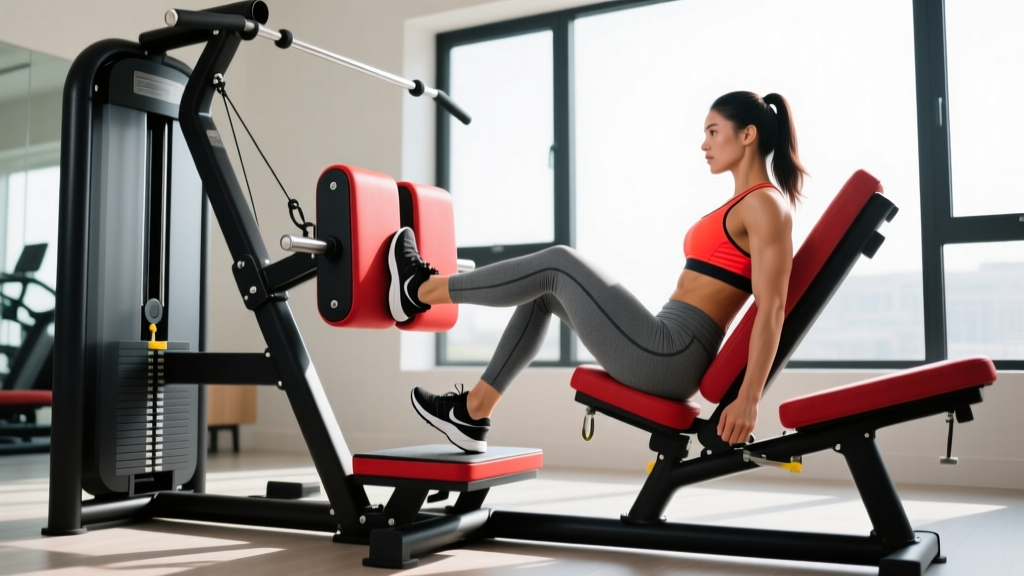
Standing vs Seated Calf Raises & Leg Press Machine Foot Placement
