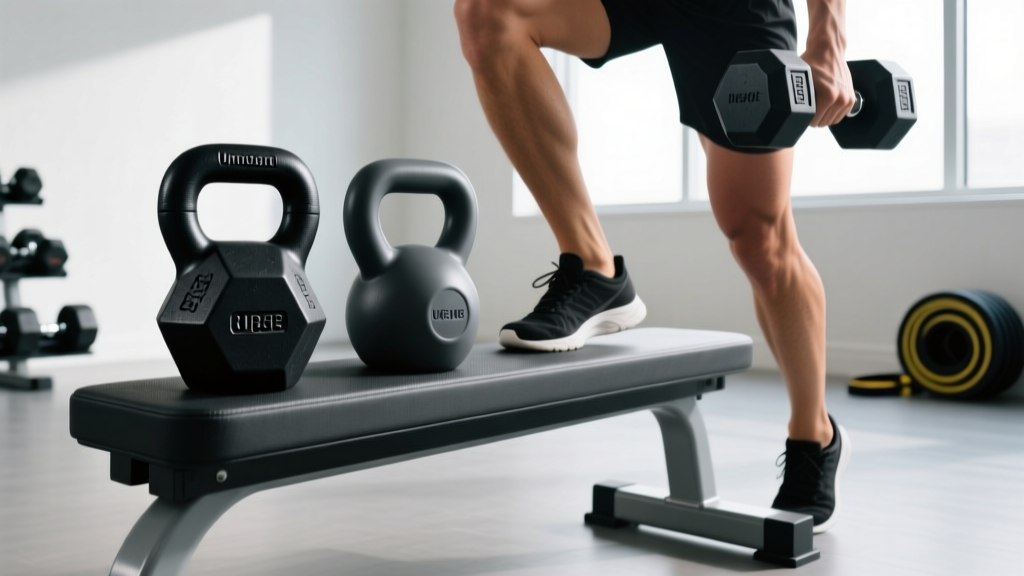
Seated Dumbbell Shrugs Muscles Worked: Neoprene Home Gym Setup
Discover the seated dumbbell shrugs muscles worked and learn how to set up your home gym with neoprene dumbbells for optimal trap isolation and safety.

The Biomechanics: Seated Dumbbell Shrugs Muscles Worked
Building a dedicated isolation station in your home gym requires more than just buying equipment; it demands an understanding of biomechanics and spatial ergonomics. When evaluating the seated dumbbell shrugs muscles worked, we are primarily targeting the descending fibers of the upper trapezius and the levator scapulae. Unlike standing shrugs, which often invite momentum from the hips and lower back, the seated variation enforces strict scapular elevation.
Anatomy Highlight: The Trapezius Complex
The upper trapezius originates at the external occipital protuberance and the spinous processes of C7-T12, inserting on the lateral third of the clavicle and the acromion process. According to kinesiology data from ExRx.net, isolating these fibers requires pure vertical elevation of the scapulae without rotational compensation. Furthermore, the Cleveland Clinic notes that the trapezius is crucial for neck stabilization and posture, making proper setup and execution vital for preventing cervical strain.
By sitting on a flat or slightly inclined bench, you eliminate the ability to use 'body English' (hip drive) to move the weight. This forces the upper traps to handle the entire load, resulting in superior hypertrophy and reduced lumbar shear forces. However, to execute this safely and effectively at home, your equipment selection and physical space installation must be meticulously planned.
Why Neoprene Dumbbells for Home Isolation Work?
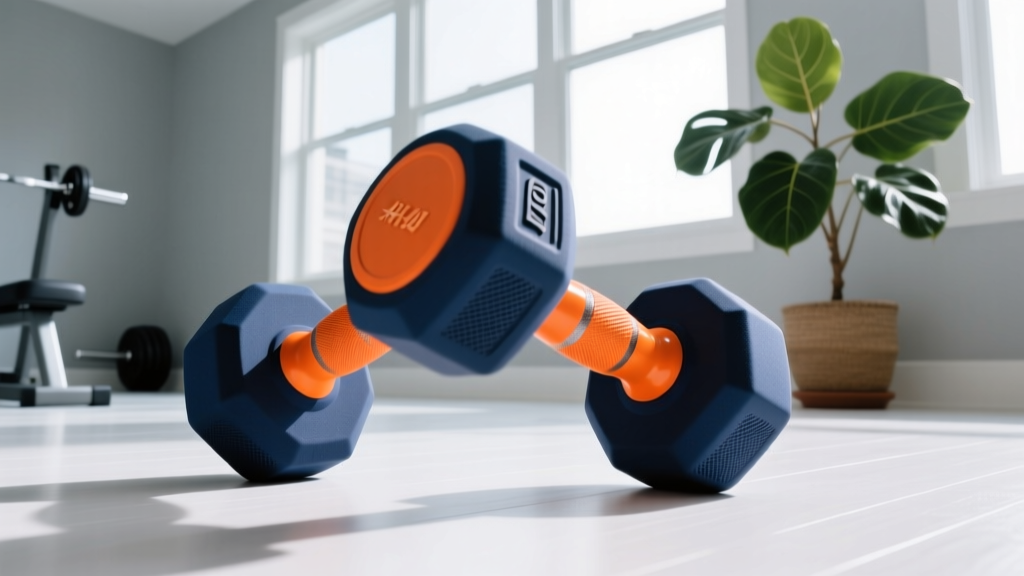
Neoprene-coated dumbbells have become a staple in modern home gyms, particularly for isolation movements like shrugs, lateral raises, and tricep extensions. Neoprene (polychloroprene) is a synthetic rubber that offers a soft, tactile grip and protects hardwood floors or home gym mats from scuffing.
Advantages for the Home Environment
- Acoustic Dampening: Neoprene significantly reduces the 'clank' of metal-on-metal or metal-on-rack contact, which is critical for home gyms located in shared living spaces or apartments.
- Ergonomic Grip: The slight texture of neoprene prevents slipping during high-rep shrug sets where forearm fatigue and sweat can compromise your hold.
- Hexagonal Anti-Roll Design: Most neoprene dumbbells (such as the popular Yes4All or CAP Barbell lines) feature a hex-shaped head, allowing you to set them on your lap safely before kicking back into the seated position.
The Limitations to Consider
While excellent for light-to-moderate isolation work, neoprene dumbbells typically max out at 50 lbs per hand in commercial sets. Advanced lifters who can shrug 80+ lb dumbbells will eventually need to transition to urethane or bare steel. Additionally, neoprene is susceptible to degradation from prolonged UV exposure and the acidic pH of human sweat. In 2026, premium sets utilize a sealed neoprene wrap over a cast-iron core, but they still require wiping down with a pH-neutral cleaner post-workout to prevent the coating from becoming sticky or peeling.
Material Comparison: Neoprene vs. Urethane vs. Rubber
When outfitting your isolation station, it helps to understand where neoprene sits in the equipment hierarchy. Below is a 2026 market comparison for home gym owners.
| Material | Cost per Pound (Avg) | Durability & Odor | Best Use Case |
|---|---|---|---|
| Neoprene | $1.50 - $2.20 | Low odor, medium durability (degrades with UV/sweat) | Home isolation, light cardio, quiet environments |
| Virgin Rubber | $2.00 - $2.80 | High durability, initial strong odor (off-gassing) | Garage gyms, heavy compound movements |
| Urethane | $3.50 - $5.00+ | Extreme durability, zero odor, scratch-resistant | Commercial gyms, premium home setups, heavy drops |
Complete Setup and Installation Walkthrough
Dumbbells do not require 'installation' in the traditional sense, but creating a dedicated, biomechanically sound isolation station in your home gym absolutely does. Here is the step-by-step walkthrough to installing your seated shrug and upper-back station.
Step 1: Subfloor Preparation and Matting
Before placing your bench, you must install proper flooring. For a home gym, interlocking vulcanized rubber mats (minimum 3/8-inch or 8mm thickness) are mandatory. This protects your subfloor from the inevitable dropped dumbbell and provides a non-slip surface for your feet during heavy seated shrugs. Installation Tip: Leave a 1-inch gap between the mats and the wall to allow for thermal expansion, and use a straight edge and utility knife to cut the mats precisely around your bench footprint.
Step 2: Bench Selection and Placement
For seated shrugs, a flat utility bench is preferred over an adjustable FID (Flat/Incline/Decline) bench. Adjustable benches often have a slight gap between the pad and the frame, or a contoured lumbar support that can push your lower spine out of alignment when sitting bolt-upright.
- Recommended Model: Rogue Utility Bench 2.0 or the Rep Fitness AB-3100 (set to flat).
- Pad Width: Look for a 10-inch to 12-inch wide pad. Anything wider will interfere with your arms hanging straight down, forcing your shoulders into internal rotation and altering the shrug path.
- Placement: Position the bench exactly 24 inches in front of your dumbbell rack. This allows you to sit, lean forward, grab the dumbbells, and hinge back into position without straining your lower back.
Step 3: Tiered Rack Assembly and Spatial Mapping
Neoprene dumbbells are best stored on a 3-tier A-frame or horizontal rack. When assembling your rack, ensure the bottom tier holds your heaviest pairs (e.g., 35-50 lbs) at roughly mid-shin height. The middle tier (20-30 lbs) should sit at hip height. This spatial mapping ensures that when you are fatigued at the end of a shrug set, you can safely lean forward and deposit the weights onto the rack without bending over completely, protecting your lumbar spine.
Execution: Maximizing Your Home Setup
With your station installed, proper execution is paramount to target the correct muscles.
- The Pickup: Sit on the edge of the bench with the neoprene dumbbells on the floor beside your feet. Hinge at the hips, grab the dumbbells, and use your legs to help guide them up as you sit bolt-upright.
- Postural Alignment: Keep your chest proud and your cervical spine neutral. Do not look up at the ceiling; keep your gaze fixed straight ahead. Looking up prematurely shortens the range of motion for the upper traps.
- The Elevation: Drive your shoulders straight up toward your ears. Imagine trying to touch your acromion process to your earlobes.
- The Pause: Hold the peak contraction for a full 1.5 to 2 seconds. This is where the levator scapulae and upper traps are forced to stabilize the load without momentum.
- The Descent: Lower the weight slowly (3-second eccentric) to a full stretch at the bottom, allowing the scapulae to fully depress before the next rep.
"The biggest mistake lifters make with seated shrugs is rolling the shoulders backward at the top of the movement. This does not increase trapezius activation; it merely places unnecessary shear stress on the rotator cuff and AC joint. Pure vertical elevation is all you need."
Maintenance Protocol for Neoprene Gear
To ensure your home gym installation remains pristine and your equipment lasts through years of heavy trap training, implement this simple maintenance protocol:
- Post-Workout Wipe: Use a microfiber cloth dampened with water and a drop of mild dish soap to wipe the neoprene handles. Sweat contains urea and salts that will break down the polychloroprene bonds over time, leading to a sticky, degraded surface.
- UV Protection: Never install your dumbbell rack directly in front of a south-facing window. Prolonged UV exposure will cause the vibrant colors of the neoprene coating to bleach and the material to become brittle.
- Hardware Checks: Every 6 months, check the internal hex bolts on your adjustable bench and dumbbell rack. The micro-vibrations from dropping heavy neoprene dumbbells onto the rack can slowly back out standard hardware over time.
By understanding the exact seated dumbbell shrugs muscles worked and meticulously installing a dedicated home gym station tailored to neoprene equipment, you create an environment that fosters strict form, maximizes hypertrophy, and preserves the longevity of your gear.
More gear to consider
All reviews
Cast Iron vs Competition Kettlebell Care & Front Raises GIF

Barbell Collar Types Compared & Dumbbell Block Guide
EZ Curl Bar vs Straight Bar: Beyond the Dumbbell Shrugs GIF
Power Rack vs Squat Stand: Mistakes & Women's Dumbbell Workout Arms
Stiff Legged Deadlifts with Dumbbells: Top Neoprene Picks