Gym Setup: Seated Dumbbell Shoulder Press & Barbell Knurling Guide
Master your gym setup: install your bench for the seated dumbbell shoulder press and choose the right Olympic barbell weight and knurling profile.

Phase 1: Rack Anchoring and Bench Placement
Building a high-performance pressing station requires more than just unboxing equipment; it demands a calculated installation walkthrough. Whether you are outfitting a commercial facility or a premium home gym in 2026, the foundation of your setup begins with the power rack and bench alignment. Start by anchoring your rack—such as a Titan T-3 or Rogue R-3—directly into concrete using 3/8-inch wedge anchors, or bolt it to a reinforced plywood platform if you are on a second floor. Ensure the uprights are perfectly plumb using a digital level before tightening the crossmembers.
Optimizing the Seated Dumbbell Shoulder Press
Once the rack is secured, the next step is configuring the adjustable utility bench for overhead pressing. The seated dumbbell shoulder press is a staple for anterior deltoid hypertrophy, but improper bench angles are a leading cause of rotator cuff impingement.
Expert Setup Tip: Do not set your bench to a perfectly vertical 90 degrees. A 90-degree backrest forces the humerus into an unnatural path, increasing shoulder impingement risk. Adjust the ladder or pin to a 75 to 85-degree angle. This slight decline allows the scapula to retract and tilt properly, maximizing deltoid engagement while protecting the joint capsule.Position the bench centrally within the rack. If you are using specialized dumbbell spotter arms, install them at the lowest point of your pressing range of motion—typically 2 to 3 inches above your chest when seated. For the subsequent barbell work, install your UHMW-lined J-cups at eye level when standing, allowing you to unrack the barbell without having to calf-raise or tiptoe.
Phase 2: Olympic Barbell Weight and Steel Specifications
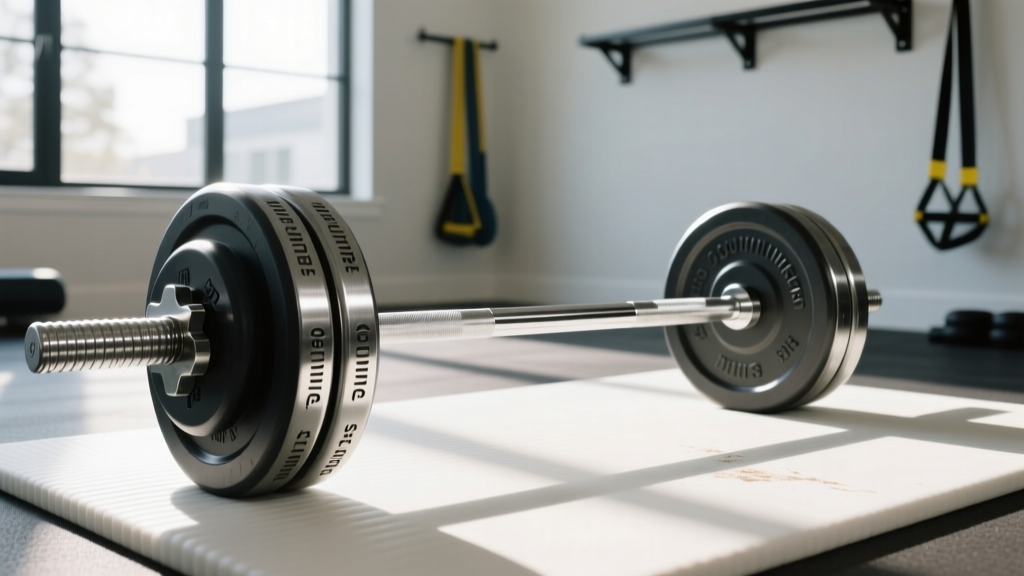
With the bench and rack installed, we transition to the rack's primary implement: the Olympic barbell. Selecting the right barbell is a critical decision that impacts everything from grip security to bar whip during dynamic movements. When evaluating an Rogue Fitness Ohio Power Bar or similar premium models, you must look beyond the basic 20kg (44lb) weight specification and examine the steel's tensile strength and finish.
Tensile Strength and Yield Strength
Tensile strength, measured in pounds per square inch (PSI), dictates how much stress the barbell can endure before permanently deforming or snapping.
- 165,000 - 180,000 PSI: Standard commercial gym bars. Adequate for general fitness but prone to permanent bending if dropped with heavy loads.
- 190,000 - 205,000 PSI: The gold standard for powerlifting and heavy strength training (e.g., Rogue Ohio Power Bar at 205k PSI). Offers exceptional rigidity for squats and bench presses.
- 215,000+ PSI: Premium specialty bars (e.g., Kabuki Strength or Eleiko). Often paired with specialized heat treatments for maximum durability and specific whip characteristics.
Shaft Diameter and Weight Tolerances
A standard men's Olympic barbell weighs exactly 20kg, features a 28mm to 29mm shaft diameter, and measures 2200mm in total length. A women's 15kg bar features a narrower 25mm shaft, which is crucial for lifters with smaller hand sizes to achieve a proper hook grip. In 2026, top-tier manufacturers guarantee weight tolerances of +/- 1% or better, meaning your 20kg bar will weigh between 19.8kg and 20.2kg—a vital metric for competitive lifters tracking exact micro-loading.
Phase 3: The Knurling Profile Matrix
Knurling is the cross-hatched pattern machined into the steel shaft to provide grip. According to BarBend's comprehensive knurling guide, the geometry of the knurl drastically alters how the bar feels in your hands. Understanding the three primary profiles is essential for matching the bar to your training style.
| Knurl Profile | Geometry Description | Aggressiveness | Best Application |
|---|---|---|---|
| Hill | Rounded peaks with shallow valleys. Smooth to the touch. | Passive / Mild | Olympic weightlifting, high-rep conditioning, bare hands. |
| Mountain | Sharp, prominent peaks that dig deeply into the skin. | Aggressive / Sharp | Heavy deadlifts, powerlifting meets, chalk-heavy environments. |
| Volcano | Rimmed edges with a hollowed center. Grippy without tearing. | Moderate / Tacky | All-around use, squats, bench press, daily volume work. |
"The volcano knurl is widely considered the most versatile profile for modern home gyms. It provides the surface area necessary for a secure grip on heavy squats, but lacks the尖锐 (sharp) peaks of a mountain knurl that can tear calluses during high-volume hypertrophy work."
Phase 4: Knurl Placement and IPF vs. IWF Standards
Beyond the shape of the knurl, the placement of the knurl rings dictates hand positioning and competition legality. The International Powerlifting Federation (IPF) and the International Weightlifting Federation (IWF) utilize different spacing standards.
Ring Spacing
- IWF Marks (910mm apart): Found on Olympic weightlifting bars. The wider spacing accommodates the snatch grip. These bars typically feature a more passive 'hill' knurl and increased 'whip' to aid in the clean and jerk.
- IPF Marks (810mm apart): Found on powerlifting bars. The narrower rings dictate the maximum legal hand width for the bench press. These bars are stiffer and feature deeper, more aggressive knurling.
- Dual Marks: Many modern 'multi-purpose' bars feature both sets of rings, making them ideal for general strength athletes who do not compete in sanctioned meets.
The Center Knurl Debate
Powerlifting bars feature a center knurl (typically 120mm to 150mm wide) designed to bite into the upper back during low-bar squats, preventing the bar from sliding up the traps. However, for athletes who primarily focus on Olympic lifts, deadlifts, or CrossFit, a center knurl can cause painful abrasions on the chest and neck during cleans and front squats. If your gym setup is strictly for powerlifting, prioritize a bar with a deeply cut center knurl. If you are running a versatile facility, opt for a bar with a smooth center or a very mild, passive center knurl.
Phase 5: Final Installation and Load Testing
With your bench angled perfectly for the seated dumbbell shoulder press and your Olympic barbell selected based on tensile strength and knurl geometry, the final step is the load test.
- Inspect the Sleeves: Spin the barbell sleeves. They should rotate freely and smoothly, indicating proper bushing or needle bearing installation. A grinding sound requires immediate manufacturer warranty service.
- Apply Protection: Ensure your J-cups are fitted with UHMW plastic liners. Bare metal J-cups will destroy the knurling and finish of your new barbell upon reracking.
- Load and Collar: Load the bar with calibrated steel plates. Always use heavy-duty spring collars or locking clamp collars to secure the plates, even when just testing the rack's stability.
- Test the Spotter Arms: Set the safety spotter arms one inch below your lowest range of motion for the bench press. Perform a few reps with a controlled negative to ensure the bar rests securely on the safeties without bouncing.
By meticulously executing this setup and installation walkthrough, you ensure that every rep—from the precise joint alignment of a seated dumbbell shoulder press to the heavy, knurl-biting tension of a max-effort barbell squat—is performed safely and effectively.
More gear to consider
All reviews
Bumper vs Iron Plate Longevity: Maintenance & Dumbbell End Cap Care

Best Neoprene Dumbbells for Home Dumbbell Work Outs: 2026 Guide

Dumbbell Triceps Kickbacks: Rubber Hex vs Urethane 2026 Market Trends

Bumper vs Iron Plate Care & Shoulder Workout with Dumbbells Chart
2026 Dumbbell Rack Trends: Optimizing Storage for Heavy Dumbbell Moves for Chest