Rowing Machine Setup vs Treadmill HIIT Workouts for Beginners
Master your rowing machine setup and installation. We compare rower mechanics to treadmill HIIT workouts for beginners for a safe, effective home gym.

Why Transition from Treadmill HIIT Workouts for Beginners to Rowing?
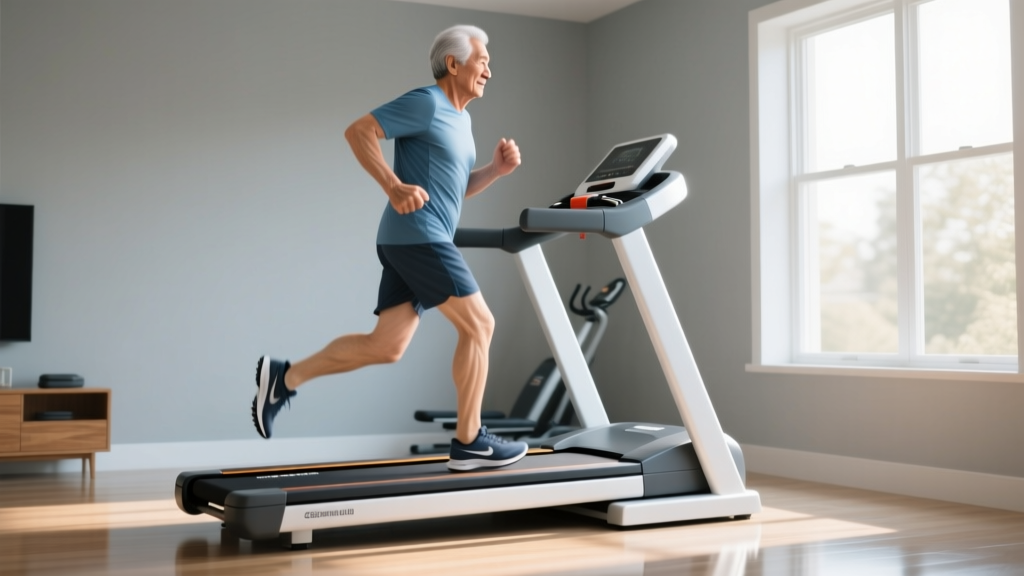
When building a home cardio routine, many fitness enthusiasts start by exploring treadmill hiit workouts for beginners. While sprint intervals on a belt are excellent for cardiovascular conditioning, the repetitive impact of up to 2.5 times your body weight on the knee and ankle joints can lead to overuse injuries like shin splints or patellar tendinopathy. According to Harvard Health Publishing, rowing offers a zero-impact, full-body alternative that engages 86% of the body's musculature, making it a superior long-term investment for joint health and functional strength.
This comprehensive guide bridges the gap between buying your first indoor rower and executing your first interval session. We will walk through the complete setup, installation, and technique required to transition safely from the treadmill to the ergometer.
Pre-Installation: Space, Flooring, and Power Requirements
Before unboxing your machine, you must prepare the installation zone. Unlike a folding walking pad, a performance rowing machine requires dedicated spatial planning.
Dimensional Requirements: A standard air rower (like the Concept2 RowErg) measures 96 inches long and 24 inches wide during use. You must allocate a minimum 10x4 foot clearance zone to allow for full slide and handle return without striking walls or furniture.Floor Protection and Dynamic Load
A common installation failure is placing the rower directly on hardwood or luxury vinyl plank (LVP) flooring. While the machine's static weight might only be 57 to 100 pounds, the dynamic lateral force exerted during a high-intensity sprint can exceed 300 pounds of pressure on the front stabilizers.
- Matting: Purchase a 3/4-inch thick, high-density EVA foam equipment mat (approx. 4x8 feet). This absorbs vibration, prevents micro-scratches on hardwood, and stabilizes the machine during aggressive drive phases.
- Power Access: If you opt for a smart electromagnetic rower (e.g., Hydrow or NordicTrack RW900), ensure your chosen location is within 6 feet of a standard 110V grounded outlet to avoid using extension cords, which pose a tripping hazard during dismounts.
Step-by-Step Rowing Machine Assembly Walkthrough
For this walkthrough, we will use the industry-standard Concept2 RowErg as our baseline model, as its mechanical assembly principles apply to 90% of air and magnetic rowers on the market.
Step 1: Attaching the Front Stabilizer
Remove the main beam from the box and rest it on the foam mat. Align the front leg assembly with the pre-drilled holes on the beam. Insert the two 10mm hex bolts. Pro Tip: Do not fully tighten the bolts until both are threaded. Once threaded, use the included 10mm Allen wrench to torque them down firmly, ensuring the leveling feet are in contact with the mat.
Step 2: Mounting the Monitor Arm
Slide the monitor arm into the receiver bracket on the front cage. Secure it using the provided 1/4-inch hex bolts. Route the monitor cable carefully through the plastic clips on the arm to prevent the chain from catching the wire during high-stroke-rate intervals.
Step 3: Chain and Handle Inspection
Pull the handle out to inspect the nickel-plated steel chain. Factory chains are often coated in a heavy, sticky grease that attracts dust. Wipe the chain with a clean microfiber cloth and apply 3 to 4 drops of purified liquid paraffin or 20-weight silicone oil. Never use WD-40, as it strips the internal lubrication and accelerates wear on the sprockets.
2026 Buying Guide: Top Rowing Machines for HIIT Beginners
If you are still in the purchasing phase, selecting the right resistance type is critical for mimicking the interval structure of treadmill sprints. Below is a comparison of the top three models dominating the 2026 home fitness market.
| Model | Resistance Type | Price (2026) | Best For |
|---|---|---|---|
| Concept2 RowErg | Air | $990 | Data accuracy, durability, and competitive HIIT benchmarking. |
| Hydrow (Gen 2) | Electromagnetic | $2,495 | Immersive, guided classes and near-silent operation for apartments. |
| Echelon Row | Magnetic | $599 | Budget-conscious buyers needing a foldable footprint. |
Beginner Technique: The 4-Phase Stroke Breakdown
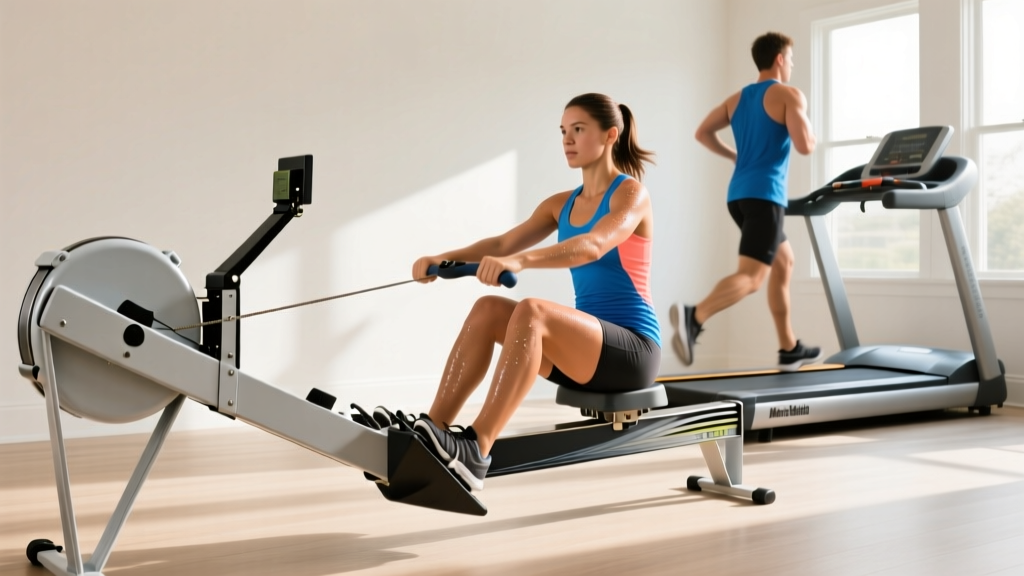
The biggest mistake beginners make when transitioning from treadmill hiit workouts is treating the rowing machine like a pull-down station. Rowing is a pushing motion. According to the Concept2 Official Technique Guide, the power distribution should be roughly 60% legs, 20% core, and 20% arms.
1. The Catch (The Starting Position)
Slide forward until your shins are perfectly vertical (perpendicular to the floor). Your arms should be straight, shoulders relaxed, and torso leaning forward at roughly an 11 o'clock angle. Do not over-compress; your heels can lift slightly, but do not crush your knees against your chest.
2. The Drive (The Power Phase)
Initiate the movement by driving explosively through your heels. Do not pull with your arms yet. Once your legs are nearly fully extended, hinge your hips backward (opening to a 1 o'clock angle), and finally, draw the handle into your lower ribcage/sternum.
3. The Finish
At the back of the stroke, your legs are flat, your core is braced, and the handle is resting just below your pectoral muscles. Your wrists must remain flat and neutral, not curled inward.
4. The Recovery
The recovery is the exact reverse of the drive and should take twice as long. Extend your arms forward first, hinge your torso back to 11 o'clock, and finally, bend your knees to slide back to the catch.
Setting the Damper: Beginners often set the side damper lever to 10, assuming higher equals better. This is a critical error that mimics rowing a heavy, muddy boat and leads to lower back fatigue. Set the damper between 3 and 5. This yields a 'Drag Factor' of 110-130 on the monitor, which accurately simulates the hydrodynamics of a sleek racing shell on water.Troubleshooting Common Installation and Setup Failures
Even with meticulous assembly, home gym equipment requires ongoing maintenance. Here are three common edge cases and their solutions:
- Squeaking Seat Rollers: If the seat squeaks during the recovery phase, the polyurethane wheels are likely accumulating microscopic dust. Wipe the stainless steel rail with isopropyl alcohol and a paper towel. Do not lubricate the rail itself, as this will cause the wheels to slip and degrade.
- Foot Strap Slippage: During high-intensity intervals, the standard nylon foot straps can loosen, breaking your rhythm. If the factory straps fail, replace them with 1.5-inch heavy-duty nylon webbing and metal cam buckles from a hardware store for under $15.
- Monitor Arm Wobble: Over time, the vibration from air resistance can loosen the monitor arm pivot. If the screen droops, apply a single drop of Loctite 242 (blue threadlocker) to the pivot bolt threads before re-tightening. This secures the bolt while still allowing manual screen adjustments.
Final Thoughts on Your Cardio Evolution
Moving away from the treadmill does not mean sacrificing calorie burn or cardiovascular adaptation. By meticulously setting up your rowing machine, respecting the spatial requirements, and mastering the leg-driven biomechanics of the stroke, you unlock a highly efficient, joint-friendly modality. Whether you are executing 30-second sprint intervals or steady-state endurance pieces, a properly installed and calibrated rower will serve as the cornerstone of your home fitness ecosystem for years to come.
More gear to consider
All reviews
Curved vs Motorized: Treadmill Exercises for Beginners Compared

2026 Treadmill Buying Guide: Optimize Your Treadmill Running Form

Assault Bike vs Air Bike: Budget & Life Fitness 95T Treadmill
Horizon T101 Connect Treadmill vs Walking Pads: 2026 Review
Stair Climber Home Guide: Setup vs PaceRocker Walking Pad Treadmill