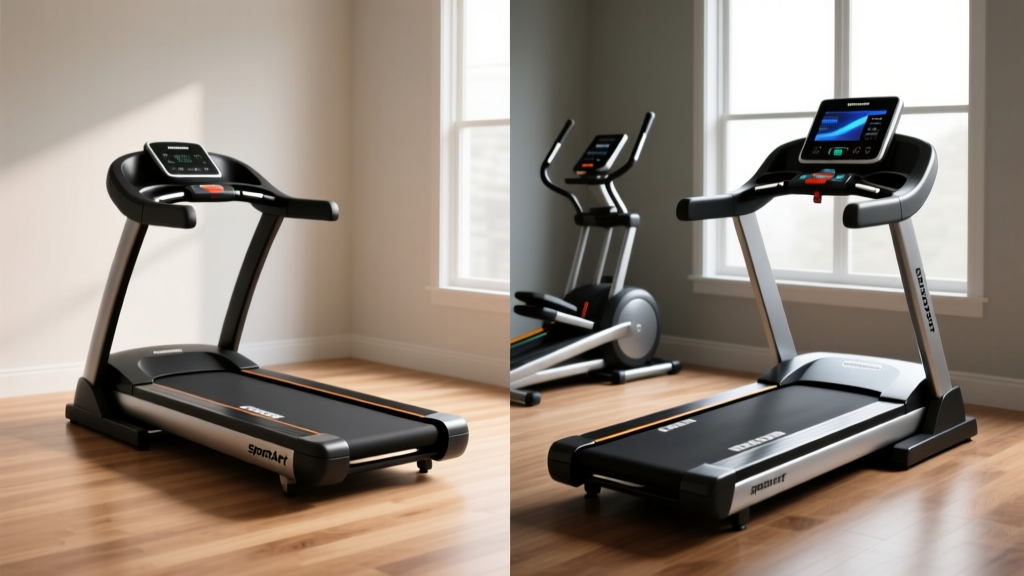
Rowing Machine Buying Guide, Setup & Treadmill for Toning Legs
Master rowing machine buying, technique, and setup. Plus, compare it with a treadmill for toning legs in our complete installation walkthrough.

The Ultimate Lower-Body Cardio Dilemma
When designing a comprehensive home gym in 2026, fitness enthusiasts frequently face a critical equipment decision: should you invest in a full-body ergometer or a dedicated lower-body machine? While the rowing machine remains the gold standard for total-body cardiovascular conditioning and posterior chain development, many athletes still seek out a treadmill for toning legs to target specific muscle groups through high-incline walking and sprint intervals. This guide provides an exhaustive rowing machine buying guide, a meticulous setup and installation walkthrough, and a breakdown of proper rowing technique, while also exploring how a treadmill complements your leg-day goals.
Rowing Machine Buying Guide: 2026 Market Breakdown
The indoor rowing market has segmented into three primary resistance types: air, magnetic, and water. Understanding the mechanical differences is crucial before making a $1,000+ investment.
- Air Resistance (e.g., Concept2 RowErg): The industry standard for competitive rowers. The flywheel generates dynamic resistance, meaning the harder you pull, the more drag it creates. Priced around $1,100, it is virtually indestructible but notably loud.
- Magnetic Resistance (e.g., Hydrow Arc, Echelon Row): Utilizes electromagnetic brakes for a near-silent, glass-smooth stroke. Ideal for shared living spaces or early-morning workouts. Prices range from $999 to $1,495, though they lack the raw, explosive "catch" feel of air rowers.
- Water Resistance (e.g., WaterRower Club): Features a polycarbonate tank and wooden or steel frame. The auditory feedback of rushing water is highly meditative. Expect to pay around $1,500, but be prepared for periodic water purification maintenance.
| Model (2026) | Resistance Type | Approx. Price | Operational Footprint | Max User Weight |
|---|---|---|---|---|
| Concept2 RowErg | Air | $1,100 | 106" L x 24" W | 500 lbs |
| Hydrow Arc | Electromagnetic | $1,495 | 102" L x 21" W | 300 lbs |
| WaterRower Club | Water | $1,500 | 84" L x 22" W | 1,000 lbs |
Complete Setup and Installation Walkthrough
Proper installation is critical for both safety and machine longevity. A poorly assembled rail or inadequate floor support will lead to premature wear and noisy operation.
Step 1: Floor Preparation and Electrical Mapping
Do not place heavy cardio equipment directly on hardwood or plush carpet. For rowers, use a high-density 3/4-inch rubber horse stall mat (typically $50-$70 at farm supply stores) cut to size. This absorbs the lateral micro-vibrations generated during the drive phase. If you are also installing a motorized treadmill nearby, ensure it is plugged into a dedicated 15-amp or 20-amp circuit. Sharing a circuit with a refrigerator or space heater will cause voltage drops, potentially frying the treadmill's motor control board during high-incline, high-torque draws.
Step 2: Unboxing and Rail Alignment
Most rowing machines ship in two pieces: the flywheel housing and the slide rail.
- Clear the Workspace: You need at least 10 feet of length and 4 feet of width to safely maneuver the rail.
- Connect the Rail: For the Concept2 RowErg, align the quick-release friction pin. Push down firmly until you hear a distinct "click." If the pin is not fully seated, the seat carriage will derail during the recovery phase, potentially scratching the aluminum track.
- Level the Feet: Use a carpenter's level across the rail. Adjust the threaded leveling feet on the rear stabilizer until the bubble is perfectly centered. An unlevel rail causes the seat to drift laterally, creating uneven wear on the polyurethane wheels.
Step 3: Calibrating the Drag Factor
A common beginner mistake is setting the damper (the lever on the side of the flywheel cage) to 10. This mimics rowing a heavy, slow barge, not a sleek racing shell. Access the hidden diagnostic menu on your monitor (on the PM5, go to More Options > Display Drag Factor) and pull a few strokes. Adjust the damper until the drag factor reads between 110 and 130. This is the biomechanical sweet spot for optimal power transfer and lower back safety.
Mastering the Rowing Technique: The 4-Phase Stroke
Rowing is 60% legs, 30% core, and only 10% arms. According to the Concept2 official technique guide, mastering the sequence is vital to prevent lumbar strain and maximize caloric output.
The Golden Rule of the Drive: "Legs, core, arms. On the recovery, it is arms, core, legs. Never reverse the sequence, or you will leak power and stress your lower spine."
Phase Breakdown
- The Catch: Shins should be perfectly vertical (not compressed past 90 degrees, which limits power and stresses the knees). Arms are straight, shoulders relaxed, and torso hinged forward at roughly 11 o'clock.
- The Drive: Initiate the movement by pushing explosively through the mid-foot. The arms remain completely straight until the handle passes the knees. Only then does the core swing open to 1 o'clock, followed by the arms drawing the handle to the lower sternum.
- The Finish: Legs are fully extended (without hyperextending the knees), torso leaned back slightly, and handle resting just below the pectoral line.
- The Recovery: Extend the arms, hinge the torso forward past the knees, and finally allow the knees to bend, gliding smoothly back to the catch. The recovery should take twice as long as the drive (a 1:2 stroke ratio).
Common Failure Mode: "Shooting the slide." This occurs when the legs push back, but the hips and shoulders don't move in unison, causing the lower back to absorb the load. If you experience lumbar pain, record your stroke from the side and check for this hinge lag.
Why Add a Treadmill for Toning Legs?
While rowing provides unparalleled cardiovascular and posterior-chain benefits, it does not isolate the quadriceps, calves, and glutes in the same way that weighted or inclined locomotion does. This is where integrating a treadmill for toning legs becomes a strategic advantage in a dual-machine home gym.
The 12-3-30 Method and Incline Mechanics
Treadmills capable of sustaining a 12% to 15% incline (such as the Sole F63 or NordicTrack T Series) allow for low-impact, high-tension muscle endurance work. The viral "12-3-30" protocol (12% incline, 3 mph speed, for 30 minutes) forces the gluteus maximus and hamstrings into continuous time-under-tension without the eccentric joint pounding of outdoor running. According to Harvard Health Publishing, combining varied modalities like rowing and inclined walking prevents overuse injuries by altering the biomechanical load on the joints while sustaining the aerobic base recommended by the American Heart Association.
Treadmill Setup Considerations
If your gym space includes a heavy incline treadmill, remember that the operational footprint extends beyond the machine's static dimensions. You must leave at least 6 to 8 feet of clearance behind the treadmill. In the event of a fall or emergency stop, a user will slide off the back of the belt; without adequate clearance, this results in severe impact injuries against walls or furniture.
Ongoing Maintenance: Protecting Your Investment
To ensure your equipment lasts a decade or more, adhere to this strict maintenance schedule:
- Rowing Rail Care: Wipe the stainless steel or aluminum rail with isopropyl alcohol and a paper towel after every 3-4 sessions to remove microscopic polyurethane dust from the seat wheels. Never use silicone spray or WD-40 on the rail, as it attracts grime and creates a slipping hazard.
- Chain Lubrication: Every 50 hours of use, apply a teaspoon of purified mineral oil or chain-specific lubricant to a paper towel, and pull it along the rowing chain. Wipe away excess oil to prevent drips onto the floor mat.
- Treadmill Belt Alignment: Every 3 months, check the treadmill belt tension. If it slips during heavy incline walking, tighten the rear roller bolts by exactly one-quarter turn clockwise on both sides. Over-tightening will destroy the motor bearings.
By understanding the biomechanical nuances of the rowing stroke, executing a flawless installation, and strategically pairing your ergometer with an incline treadmill, you create a synergistic home gym capable of delivering elite cardiovascular conditioning and profound lower-body muscular endurance.
More gear to consider
All reviews
Matrix Treadmill TF30 vs. Rowing Machines: 2026 Buying Guide
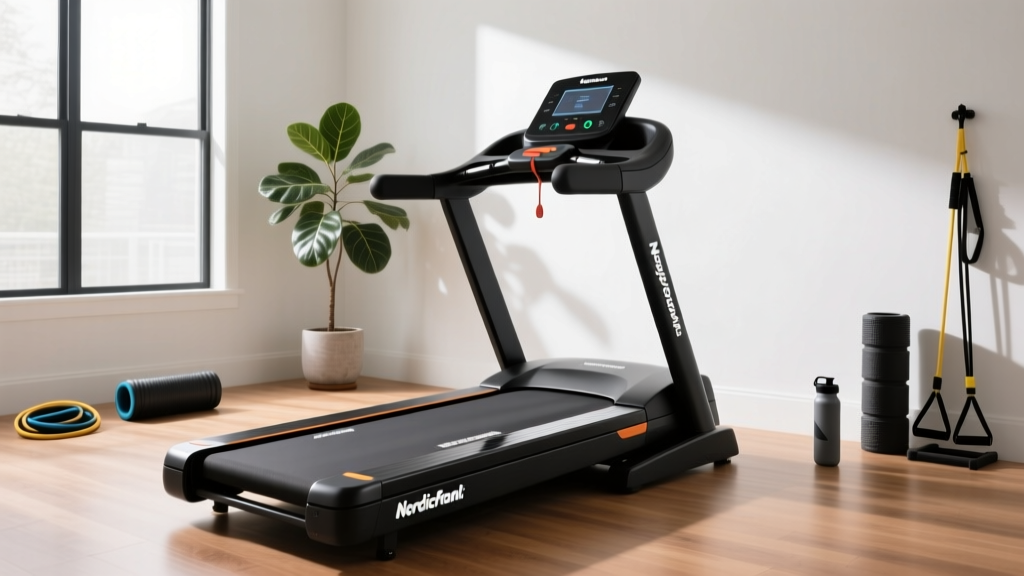
Curved vs Motorized: NordicTrack T Series 8 Review Guide
Practical Safety Tips for Drivers: Evidence-Based Strategies That Save Lives

NordicTrack C1900 Treadmill vs Home Stair Climber: 2026 Guide

Cardio Treadmill Workouts: 2026 Belt Maintenance & Lubrication Guide